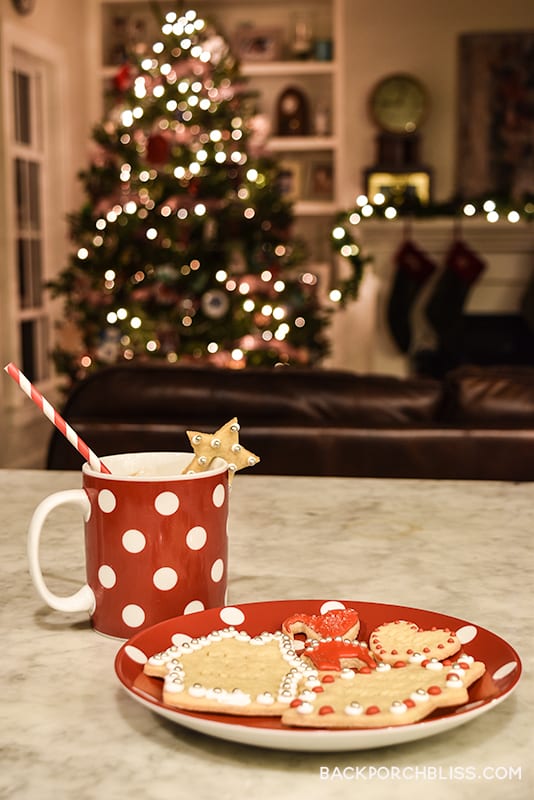
Decorating sugar cookies is one of my favorite holiday traditions. I took a class just over a year ago to learn how to decorate using royal icing and we’ve made these cookies about 10 times since then. They are so fun and festive for the holidays. It gives me such joy to bag these up with a pretty ribbon and share them. And a new take on these: mug cookies!
Mug Cookies + Fun Supplies
I thought it would be fun to try these as “mug buddy cookies,” meaning the cute little cookies that sit on the side of your mug. My hubby 3d printed a few cookie cutters from Thingiverse (star, house, heart) and we gave it a whirl. Or you can purchase this set or this 3d gingerbread house. Adorable!
While we were at it, I tried my new house cookie cutter and stamps that I’m using on another holiday project. Stay tuned on that one.
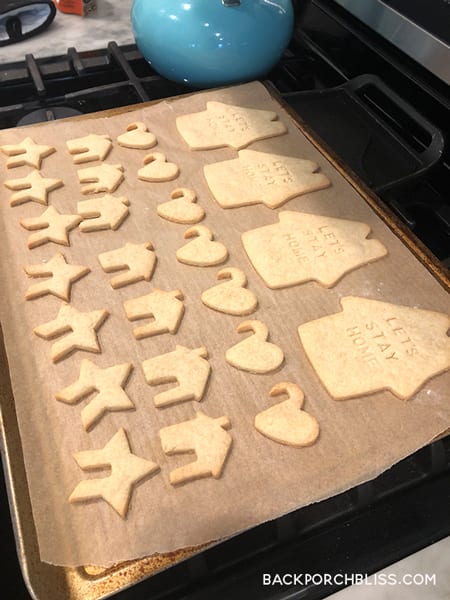
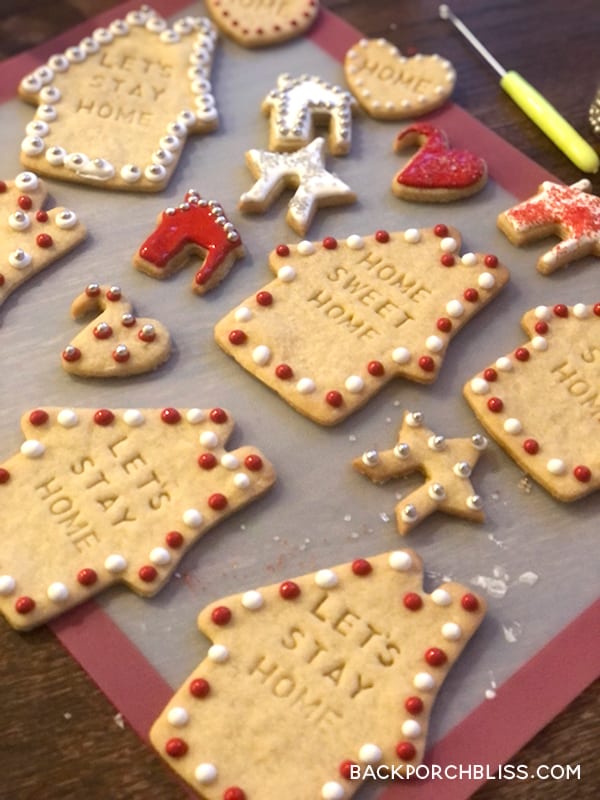
In the spirit of “staying home,” we made cookies that say “Let’s Stay Home” and “Home Sweet Home” using these cute food-safe stamps.
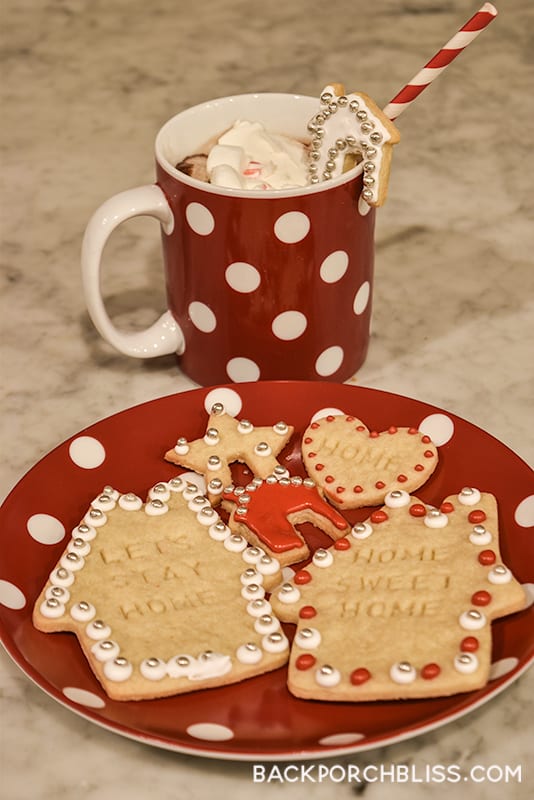
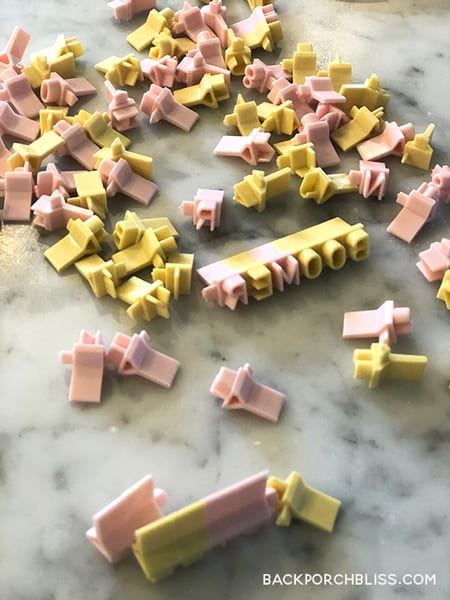
The letters fit together so you can easily express yourself on cookies! As pictured, you can even call someone a “Boomer” on a cookie if you want. #IAmNotABoomer
The stamps come with a little bag for easy storage.
Let’s Make Cookies
We followed our old standby recipe from the American Girl Cookies cookbook to make the sugar cookie dough, and we use this recipe for royal icing.
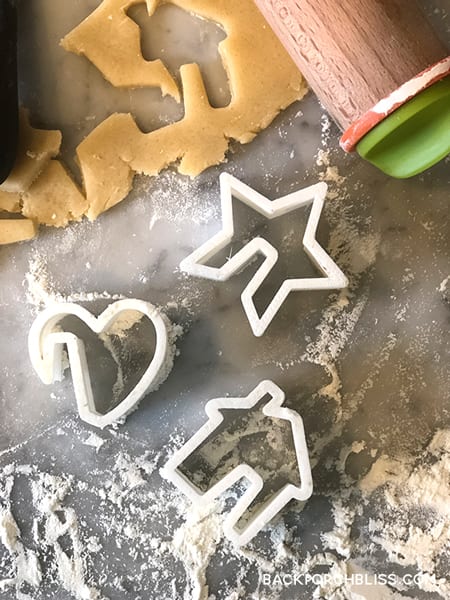
The process takes time, but it’s simple– make your cookie dough, refrigerate it, roll it out and use your cookie cutters.
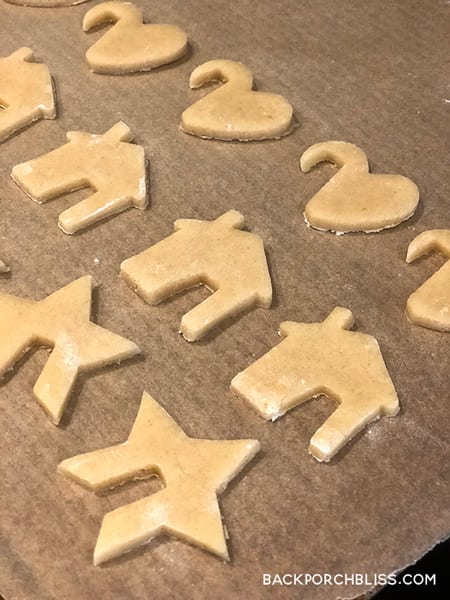
Bake your cookies and cool on a cooling rack. Somewhere in the background you can prep your royal icing.
Print
Sugar Cookies
- Total Time: 34 minutes
- Yield: ~30 cookies, depending on the size of your cutters
Ingredients
- 3 cups all purpose flour
- 1 teaspoon baking powder
- 1/2 teaspoon salt
- 1 cup unsalted butter, room temperature
- 1 1/4 cups sugar
- 1 large egg
- 2 teaspoons vanilla extract
- 1 tablespoon heavy cream
Instructions
- In a medium bowl, whisk together flour, baking powder and salt.
- In the large bowl of a mixer, beat the butter and sugar on medium-high speed until light and fluffy, 2-3 mins.
- Add egg and vanilla and beat on low speed until well combined.
- Turn off the mixer and scrape down the bowl again.
- Add cream and beat on low speed just until combined.
- Lightly dust a clean work surface with flour.
- Using a rubber spatula, scrape the dough out onto the work surface, then use your hands to shape into a flattened rectangle.
- Wrap in plastic wrap and refrigerate until firm, at least an hour or overnight.
- Preheat oven to 350 degrees.
- Line two cookie sheets with parchment paper.
- Lightly dust work surface with flour, unwrap dough and set on surface. If the dough is too hard, you can let it stand at room temp for a few minutes.
- Dust rolling pin with flour and roll out dough to an even 1/4 thickness.
- Use cookie cutters to cut your shapes. With a floured metal spatula, carefully move cutouts to your pan. Place cutouts 1 inch apart.
- Gather dough scraps and press together, roll out again and repeat cutting more shapes until you’ve used all your dough.
- Bake cookies one sheet at a time until light golden brown, about 14-16 minutes. All ovens are different, watch yours to see what timing works best.
- Once baked, let them cool slightly, then move cutouts with a spatula to a cooling rack.
- Repeat this process until you’ve used all your dough, and baked all your cookies.
- Cool completely, and decorate with icing or sprinkles.
- Prep Time: 20 minutes
- Cook Time: 14 minutes
Decorating + Prepping
Decorating is the fun part. We spread out parchment paper and all of our decorating supplies– icing, sprinkles, silver dragees, and sometimes candy eyeballs.
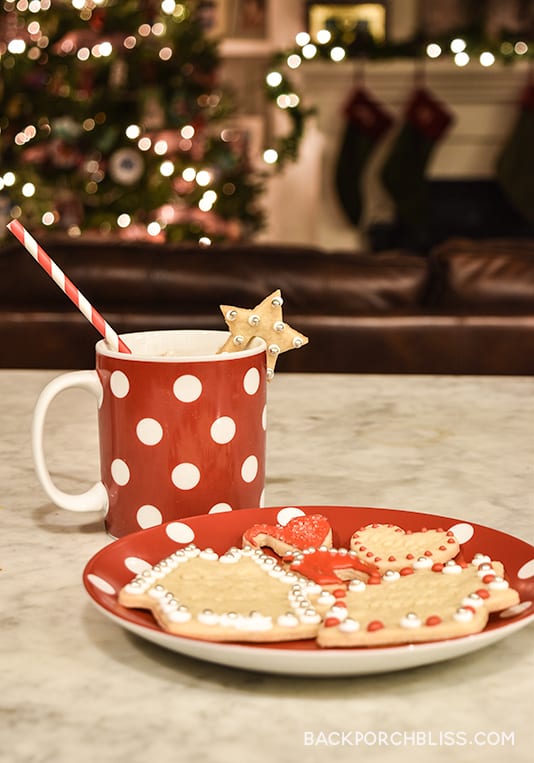
The mug cookies make a great treat on the edge of a warm cup of hot cocoa. You can use the kind in the packet, or get fancy with homemade. This recipe for peppermint hot cocoa is next on my list to try. Yum!
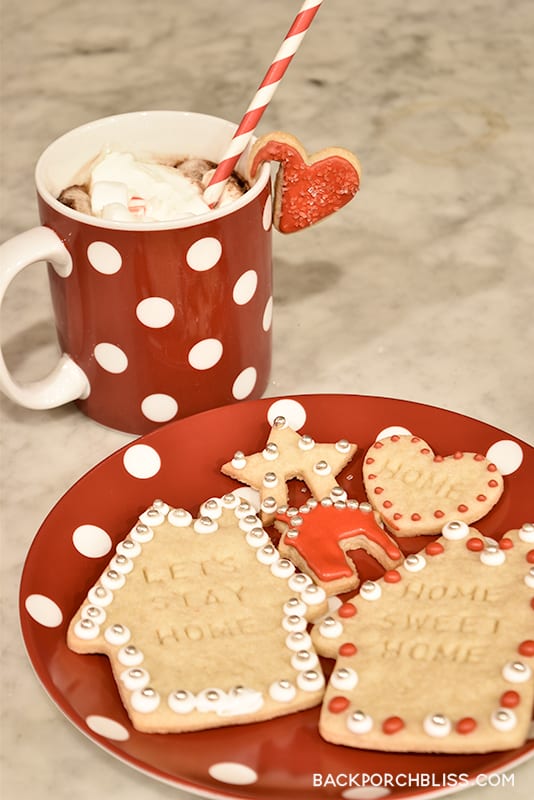
We topped the cocoa with whipped cream, marshmallows, and crushed candy cane. Don’t forget your mug buddy cookie, and maybe another one on the side if you’re extra sweet. These colorful paper straws make great stirrers.
Holiday Cookie Blog Hop
I’m really excited to participate with a group of talented bloggers in a Holiday Cookie Blog Hop hosted by my friend Jennifer at Kitchen Serf. Check out all of the yummy recipes from the list below!

Click on the Links Below to Follow the Tour!
- Stacy Ling- Easy Christmas Cookies
- Chalking Up Success– Embossed Christmas Cookies
- Just Jill– 3 Ingredient Peanut Butter Cookies
- A Loverly Life– Chocolate Chai Tea Cakes
- MTB Home Living– Snow On Plowed Ground Cookies
- Everyday Edits– 5 Ingredient Peanut Butter Fudge
- My Home And Travels– Chewy Gingersnap Cookies
- Bricks ‘N Blooms– Easy Christmas Cookies
- Shop At Blu– Holiday Cookie Recipes
- Hammers N Hugs– Christmas Pudding Cookies
- JDub By Design– Butter Pecan Cookies
- Now Choose Life- Fritos Trail Mix
- B4 And Afters– Best Cookie Cutter Cookies
- Cottage on Bunker Hill– Nana’s Italian Cookies
- American School Of Charm– Christmas Recipe For Salt Dough
If you like free downloads + fun in your inbox, sign up for the Back Porch Bliss newsletter. Hint: Right now you can get my free holiday gift tags when you sign up!
Wishing you a sweet holiday season!






Oh my goooosh…these are so cute!! I’ve never seen the cookie letter stamps before.
I love this idea that my kids (ha) can have hot chocolate and a spot for their cookie!
Also for ADULTS, Renee! 🙂 Thank you for stopping by!
Love your little house cookies and the way you’ve decorated them. I’ll need to get some letter stamp cookie cutters!
Those look really good! My girls would love to make these! xoxo
These cookies are adorable! Your recipe looks delicious!
Thanks so much, Jennifer!
Oh!!! I’ve been seeing these cookies around and they are sooo cute! I need some cookie cutters like these! I’ve pinned it.
Thanks so much Liberty!
Misty, these are a RIOT! I wish I was able to host my cookie exchange this year as these would definitely be what I made. Maybe post COVID! Anyway, so so cute. Thanks for sharing, Ali.
Thank you, Allison! They are really fun, aren’t they?