In my family, workshops are sacred spaces. My grandfather was a business owner, but also a creative spirit who made beautiful clocks and furniture on the side. I have fond memories of my dad in his workshop, which was also our garage. I remember having a small workbench where I would “use” my own tools alongside my dad, but I don’t remember ever really building anything. I think I may have hammered nails into leftover boards and painted them. Some of my favorite pieces were made by my grandfather and dad.
Jeff and I have a small workshop, also in our garage, where we like to do our DIY and build projects. We decided to make our Saturday projects a family affair, so the kids would know how to use tools and enjoy the time together. You know what they say, “the family that builds together…” Ok, I have no idea if anyone actually says that.
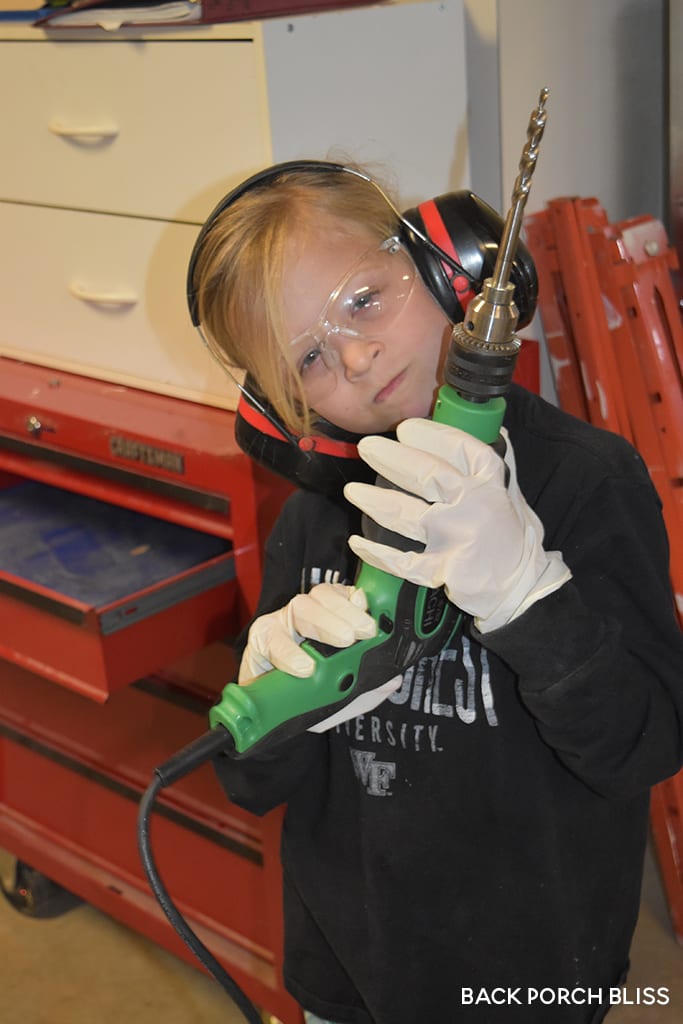
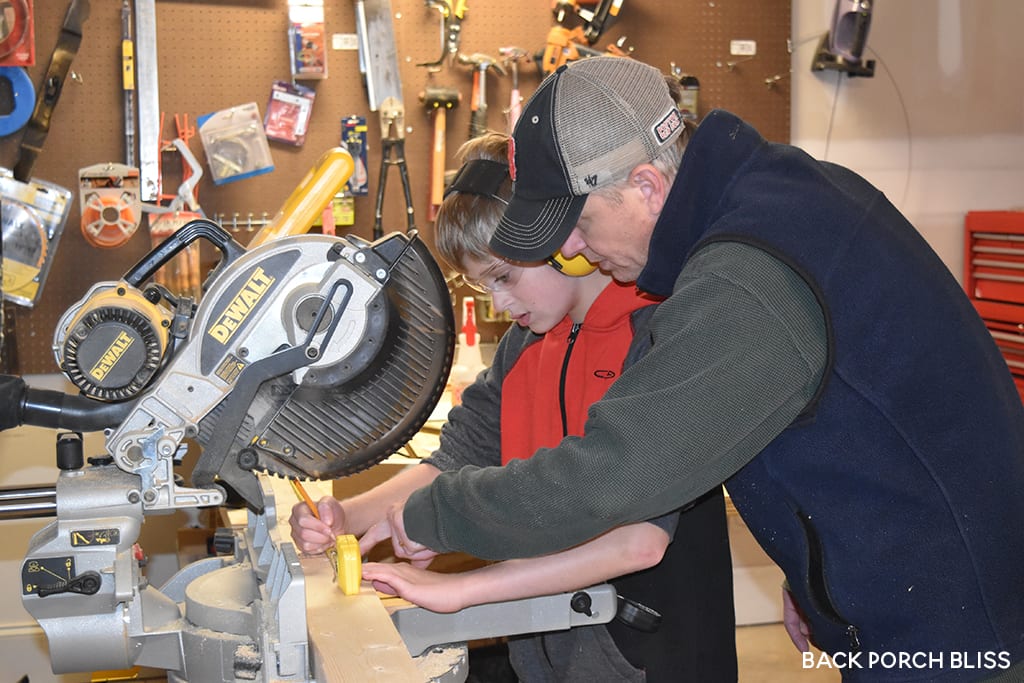
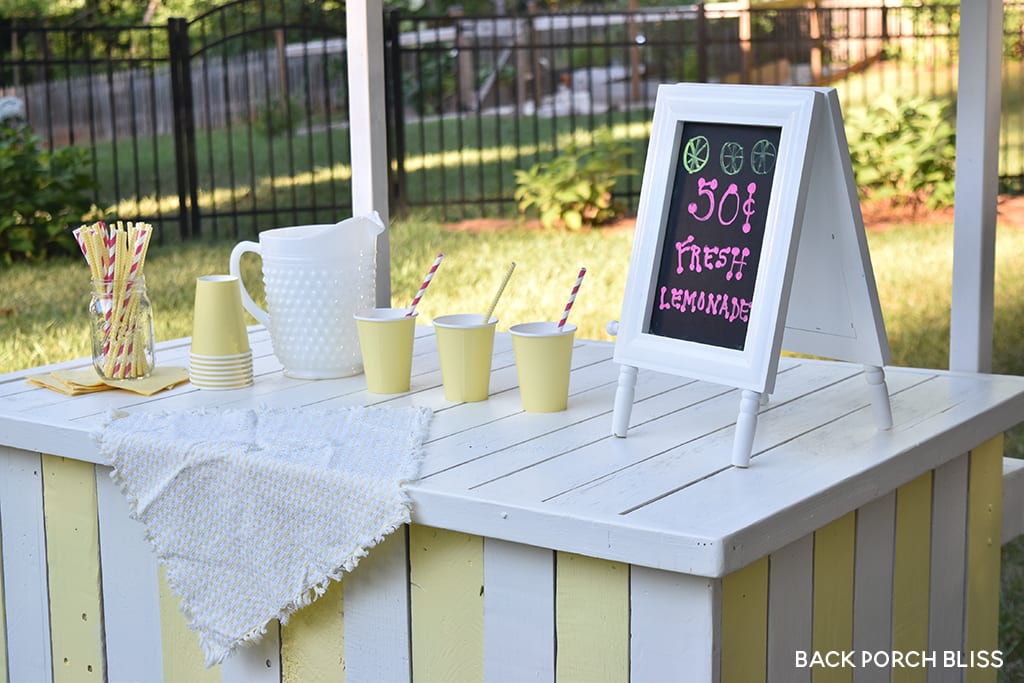
For the last couple years, my daughter has been putting together make-shift stands to sell random things, although I don’t think it’s ever been lemonade. We had a “Blue Wood For Sale” stand once, where she shouted at neighbors to buy her painted wood. When that didn’t work, she walked through the neighborhood with her mini wheelbarrow filled with blue wood, also shouting “Blue Wood for Sale!” Bless. We figured having an actual stand might help improve her sales. The lemonade stand project was our first official Sawdust Saturday!
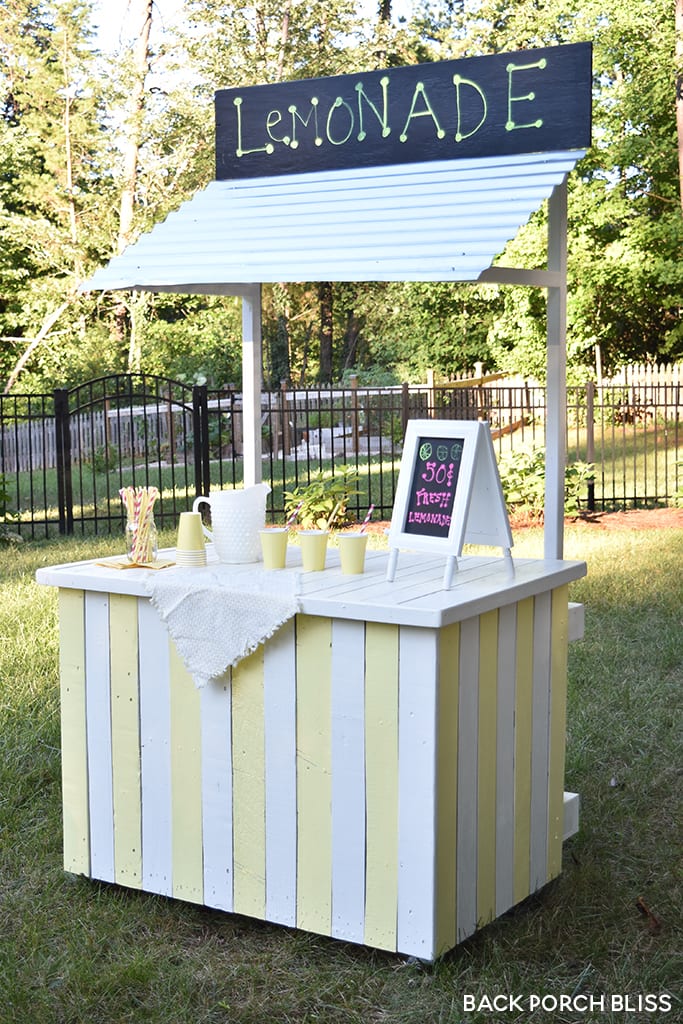
Here’s what you’ll need:
Tools
- Miter Saw
- Kreg Jig
- Brad Nailer
- Drill
- Orbital Sander
- Clamps
- Square
- Circular Saw w/diamond blade (For corrugated metal roof – optional)
Supplies
- 2×4
- 2×2
- ½ x 4 boards from pallets or 3/8” plywood boards ripped down
- 2 ½ Kreg Screws
- 1 ¼ Brad Nails
- 2 ¼ Brad Nails
- Chalk Board Paint
- Corrugated Roofing (optional)
Step 1 – Creating the Base – Its all about that BASE. Sorry, I couldn’t help myself!
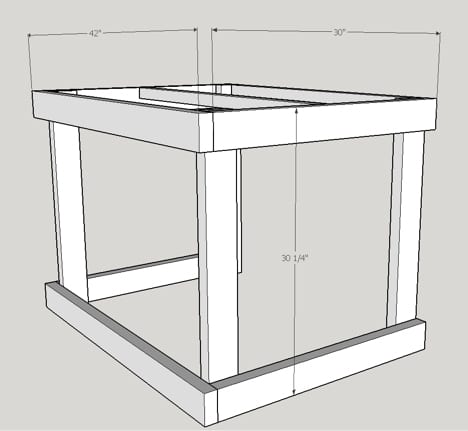
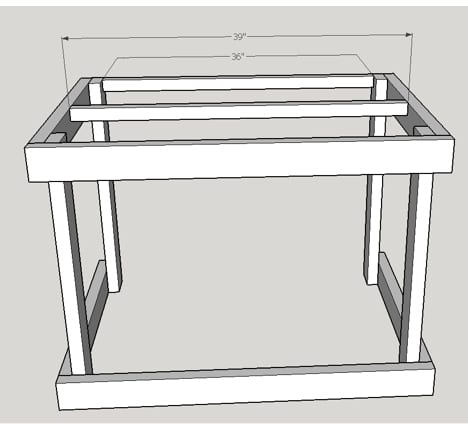
- Using your miter saw, cut the 2x4s down to the measurements specified below. (The lemonade stand turned out to be a little larger than we expected. We would have probably preferred for it to be smaller so make adjustments as you feel are needed.)
- (2) Front horizontal 2x4s – 42 inches
- (4) Side Horizontal 2x4s – 30 inches
- (4) Inside Vertical 2x4s – 30 ¼ inches
- (1) Top Horizontal 2×2 – 39 inches
- (1) Top Horizontal 2×2 – 36 inches
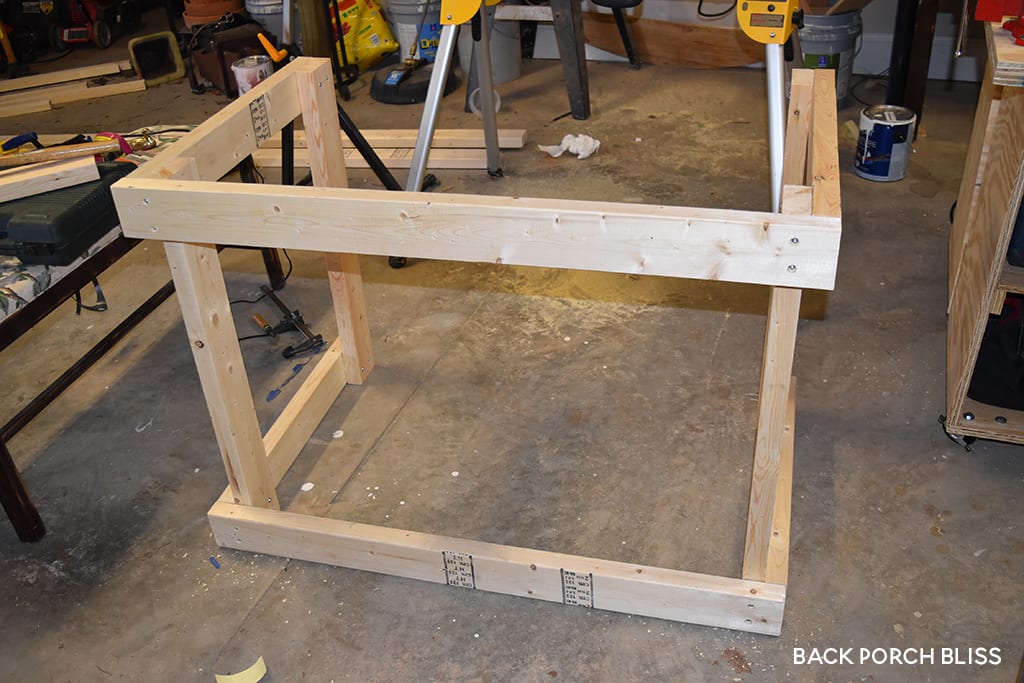
- Using the Kreg Jig, drill pockets holes at one end of each of the (4) 30-inch horizontal 2x4s and then secure them to the (2) front horizontal pieces with 2 ½ inch pocket hole screws.
- Secure the vertical 2x4s to the inside of the braces just created with 2 inch wood screws.
- Secure the (2) 2×2 pieces to the top of the brace – 39 inch piece towards the middle and the 36 inch piece on the end.
Step 2 – Building the Front/Side
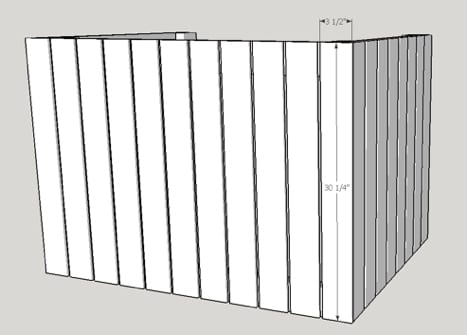
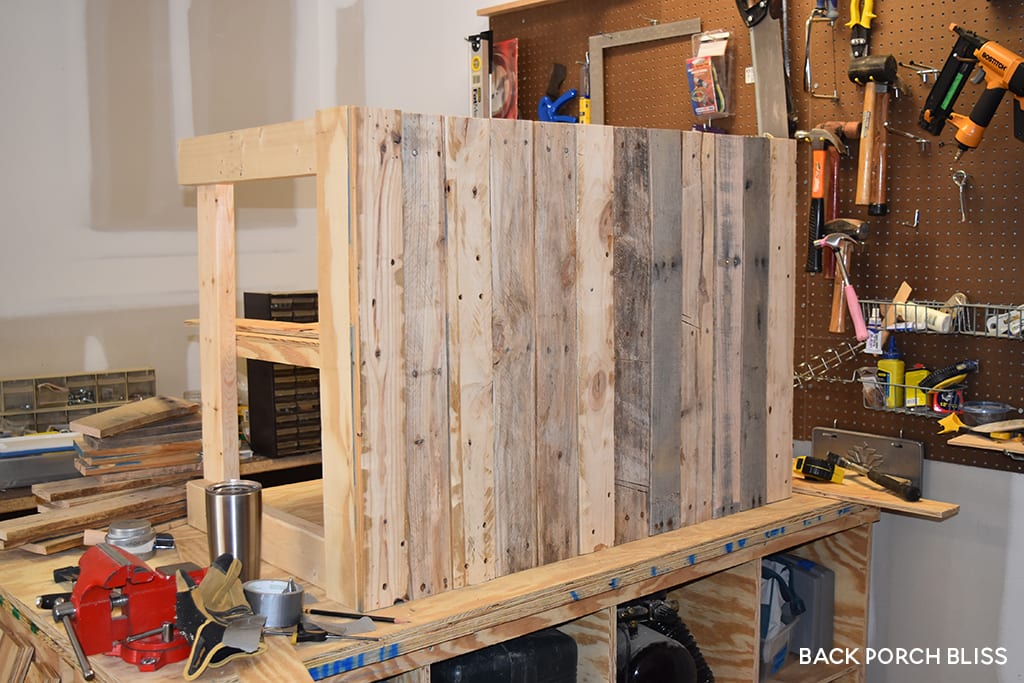
- We found old pallets to use for our walls and the width of the boards were about 3 ½ inches. We liked the beat up/weathered look. You could easily take a sheet of plywood and rip it down to the size you wanted. In this plan, the boards were 3 ½ inches wide x 30 ¼ height. We ended up needing 27 boards (11 for the front and 8 for each side).
- Front – I overhung the two ends pieces 3/8 inch so that the side pieces would butt up against them nicely. I did not measure the distance in between the planks but rather just eyed them up. I used 1 ¼ brad nails and my nailer to secure them to the base.
Step 3 – Top
The top is constructed using 2x2s and pallet wood planks or plywood. Cut the 2x2s down into (2) 42 inch pieces and (2) 34 ½ inch pieces. Cut the planks into (11) 34 ½ inch x 3 ½ inch pieces.
- Planks (11)
- Distribute the 11 planks evenly across the top. Secure them to the top braces using 1 ¼ inch brad nails.
- 42 inch 2×2 (2)
- Align the pieces with the top of your planks and secure them to the front and back brace using 2 ¼ brad nails or 2 inch wood screws.
- 34 ½ inch 2×2 (2)
- Align the pieces with the top of your planks and secure them to sides using 2 ¼ brad nails or 2 inch wood screws.
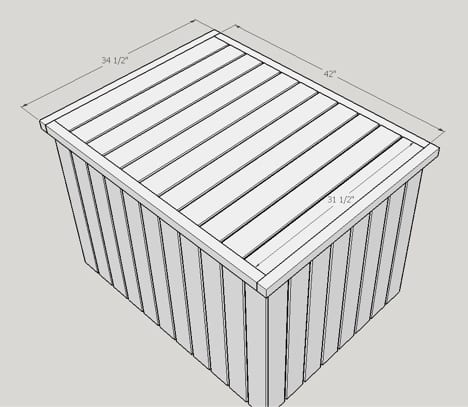
Step 4 – Shelf
Shelf is constructed by using (2) 30 ¼ inch 2x2s and (1) 36 x 30 ¼ section of plywood or you could use more plywood/pallet wood planks.
- Secure the (2) 30 ¼ inch 2x2s to the inside of the base with 2-inch wood screws. How high you would like the shelf to be is up to you.
- Secure the 36 x 30 ¼ inch section of plywood to the 2x2s with 1 ¼ brad nails.
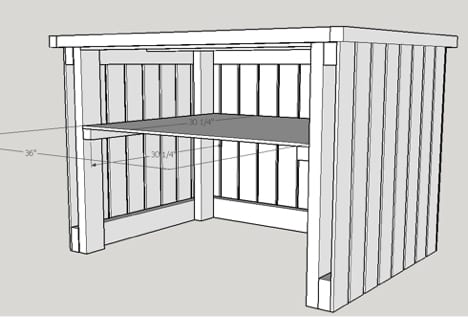
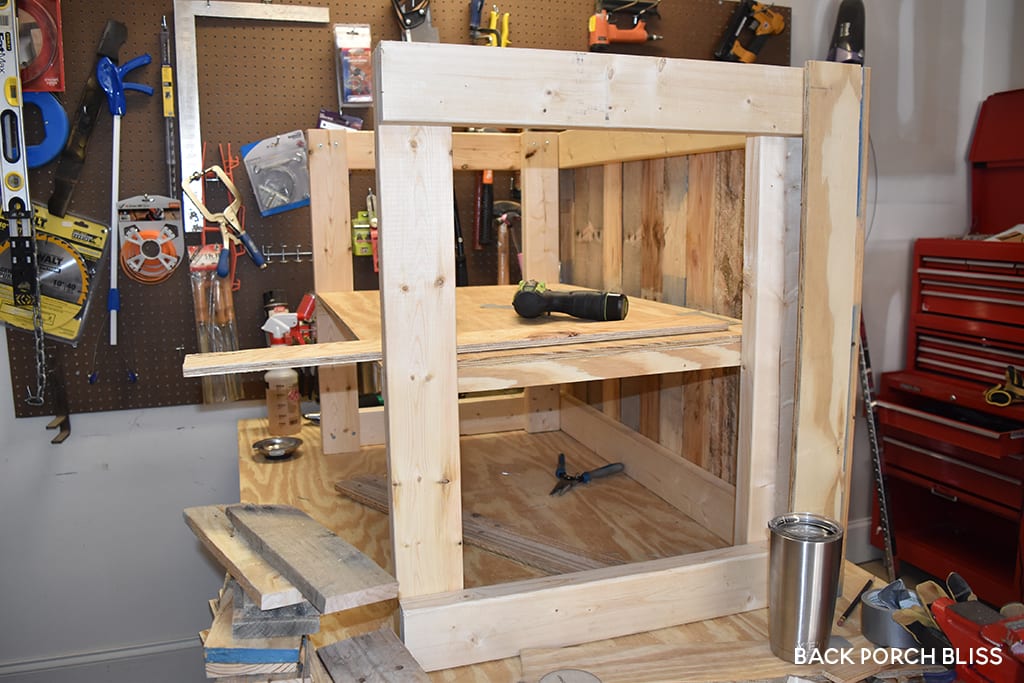
Step 5 – Roof Line and Chalkboard Sign
- Using extra pieces of 2x4s I built (4) boxes that I secured to the base that allow the sign poles to slide in and out of.
- The sign poles were built out of 2x2s at 77 inches tall.
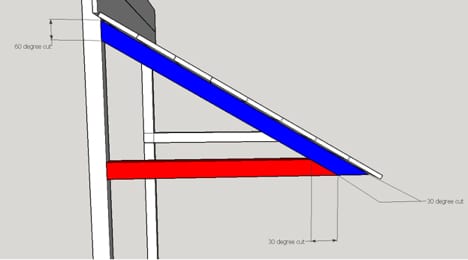
- Support for the roof – built from 2x2s
- Piece pictured in blue. The top angle was cut at 60 degrees and is 26 inches in length on top. The bottom angle of the blue piece was cut at 30 degrees.
- The red piece is 19 inches wide on the bottom and is cut at an angle of 30 degrees.
- The pieces are secured to the 2×2 posts by 1 ½ wood screws angled from the bottom.
- The roof as show in this graphic was built from pallet wood planks or plywood. You will need 10 planks measured at 46 x 3 ½ inches. They are fastened to the support with 1 ¼ brad nails
- Optional Roof – I bought corrugated roof from Home Depot – 8 x 2 foot section for about $10.00. I splurged and bought a diamond blade for my circular saw and cut the piece to the dimensions of 46×24 inches. I drilled pilot holes through the metal and secured it to the roof support with wood screws.
- Chalkboard sign was built using 1 plywood plank measuring 46 in. by 10 in. It was secured to the top with 1 ¼ inch brad nails. Paint the plank with a couple coats of chalkboard paint.




It’s AMAZING!
Thank you, Jonna!