No summer is complete without relaxing outdoor spaces, and the perfect spot to sit in the shade with a cool beverage and a book. Ahhh…
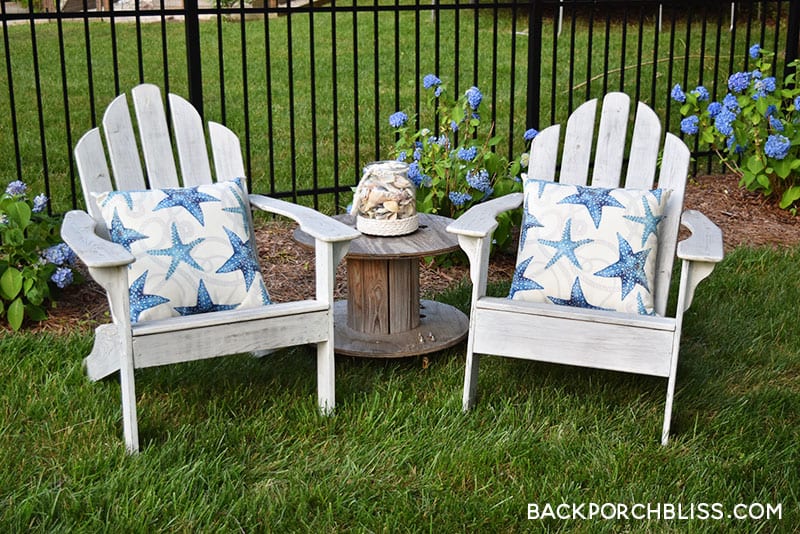
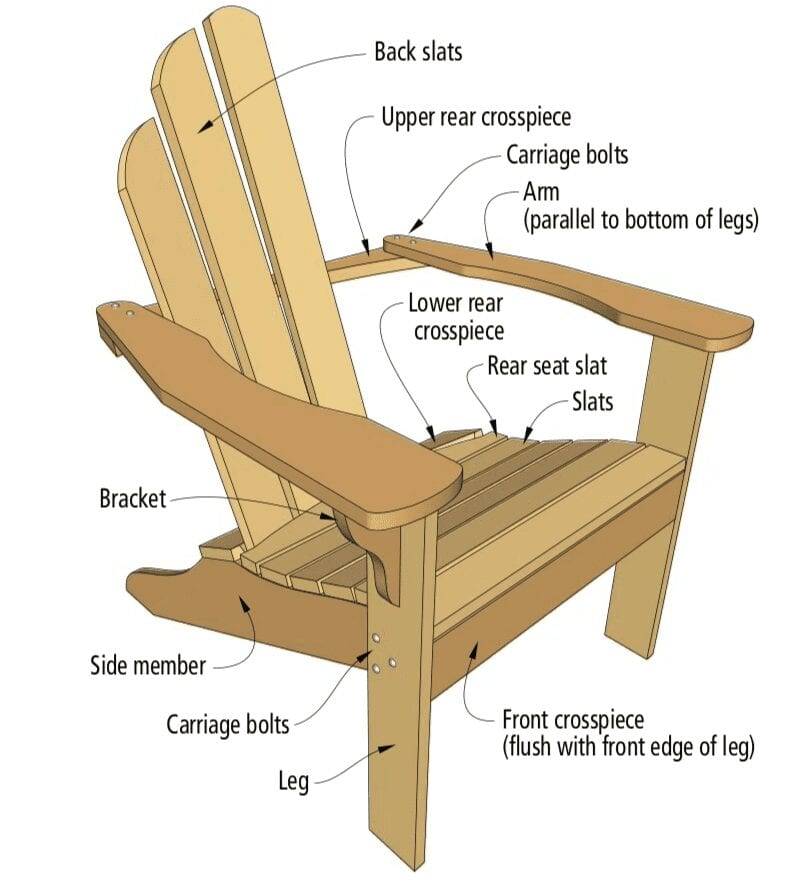
Jeff and I love the look of wood Adirondack chairs and searched high and low for plans that we liked. Our favorite was from Norm Abram’s Popular Woodworking magazine, found online. I remember sitting with my dad watching Norm on This Old House as a little girl. I thought it was the most boring show ever, but good taste comes with age, HA! We love you, Norm!
If you have ever seen the New Yankee Workshop on PBS or have seen Norm on This Old House, you know that nothing he does is ever simple, nor do any of us have the luxury of the tools at his disposal. BUT, we loved the style of his Adirondack chairs and decided to give a shot. We followed Norm’s instructions carefully– one thing that really helped us was creating an actual-size pattern in Photoshop. This made it easy to trace the pieces, giving us confidence that our chairs MAY end up looking like Norm’s.
Here’s what you’ll need:
Tools/Supplies
- Band Saw (preferred) jigsaw will work
- Plug Tool for Wood (or you can buy premade plugs)
- Countersink screw bit
- Handheld or Table Router
- 3/8 inch roundover bit for Router
- 1/4 inch roundover bit for Router
- Wood Glue
- (6) ¼ inch by 2 inch carriage bolts with washers and nuts
- 1 1/4 inch Wood Screws
- 1 5/8 inch Wood Screws
- Sandpaper
- Polyurethane Sealant
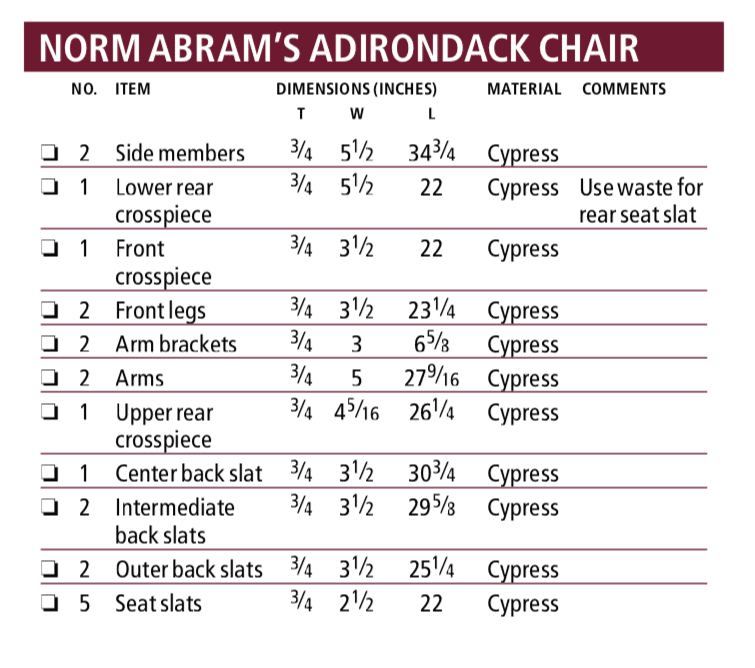
Cut List
*We used Cedar Planks, Norm uses Cypress.
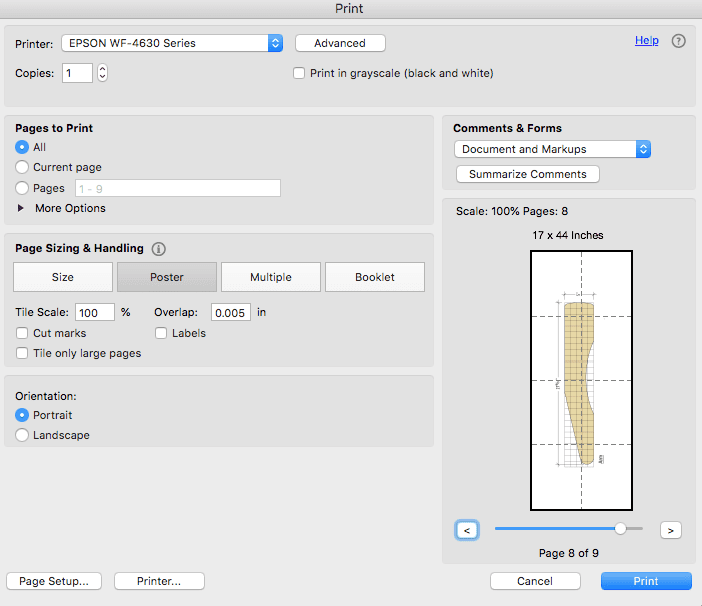
Here’s our pdf that provides actual size templates of the cut list. Print for “poster” in Page Sizing & Handling” section, pages 2-9. You can print the first page 8.5×11.
Norm Abram’s Adirondack Chair – Popular Woodworking (full plans)
New Yankee Workshop – Adirondack Chair on YouTube
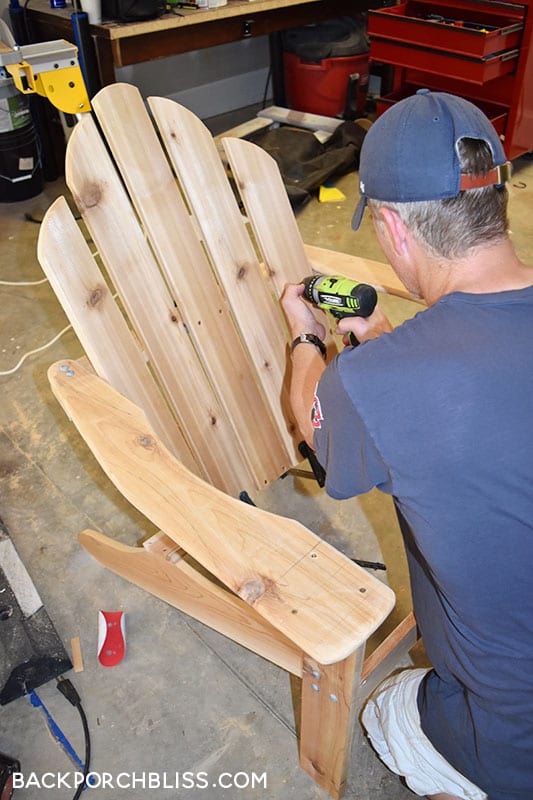
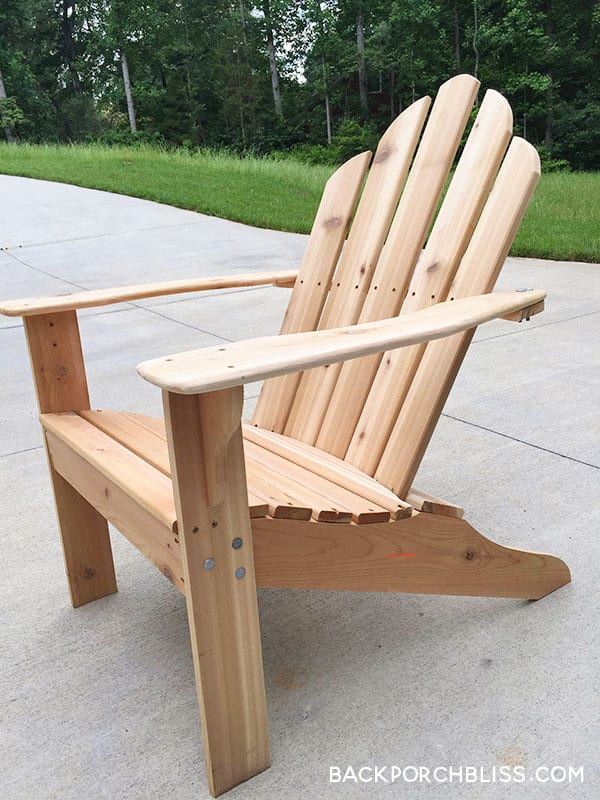
One of the last steps in the project is to install wood plugs to cover up your screws. This was a tedious of the processes because we made our own plugs. Depending on the type of wood you use for your chair, you may be able to purchase the plugs to match. There are plenty of DIY videos out there showing how to make wood plugs. Most of them require a drill press but we were able to make ours using a standard handheld drill.
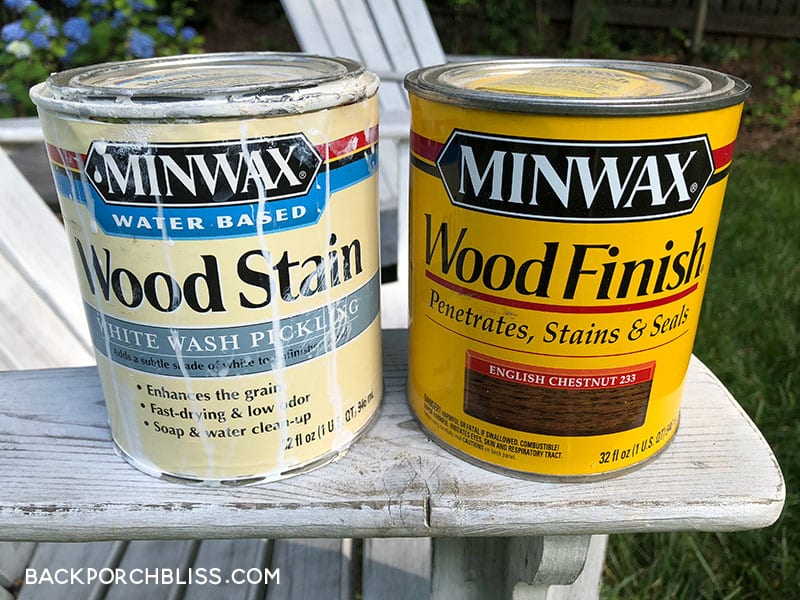
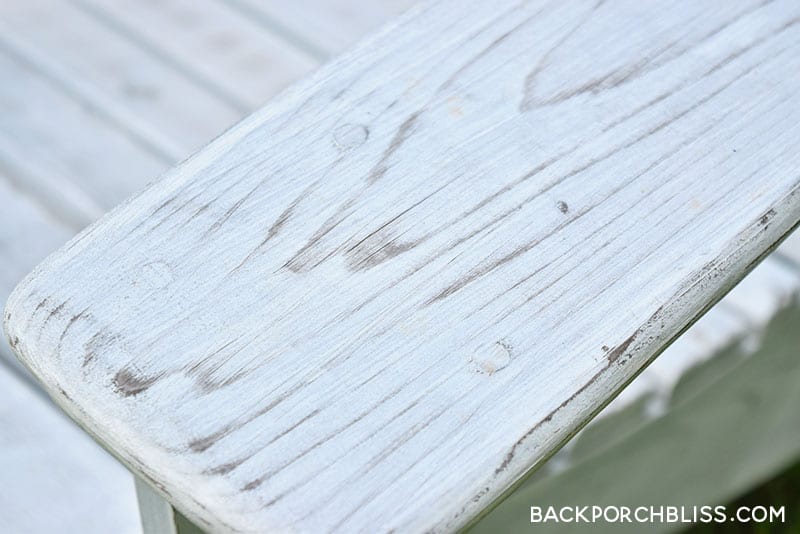
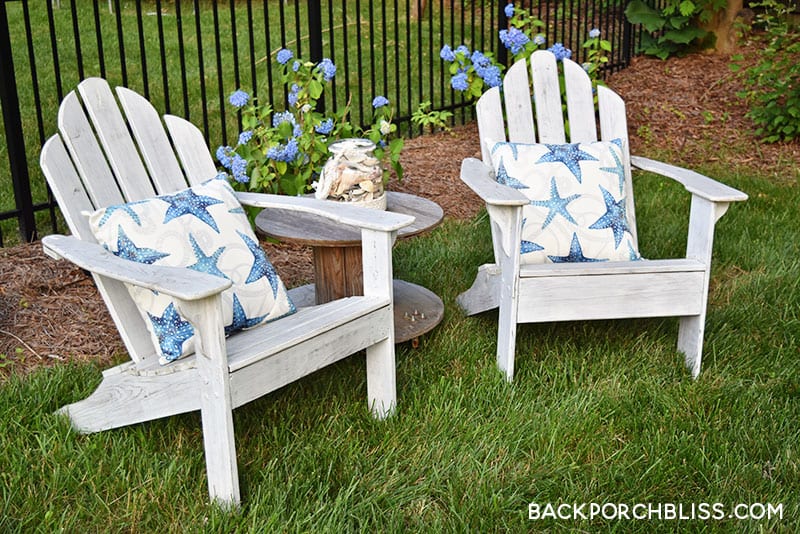
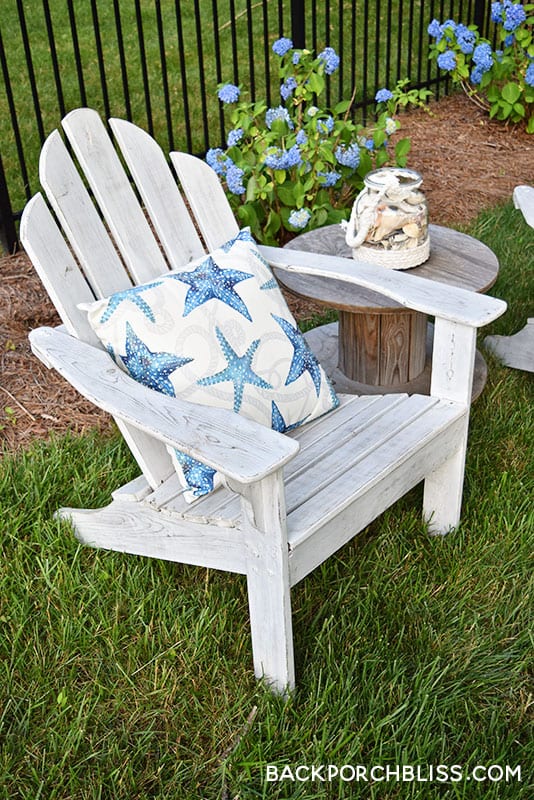
The chairs were gorgeous unfinished, but we really wanted that weathered white look. We stained the finished chairs with Minwax English Chestnut stain (one uniform coat) and then lightened them up using Minwax Whitewash Pickling (two coats), drying between coats. After the chairs were fully dry, we sanded the surfaces and edges until we achieved the weathered look we wanted. We finished by using clear polyurethane to seal them.
Voila! Pair two chairs with an oversized wire spool and you have an instant cozy conversation spot. Be sure to add comfy pillows, mason jar cocktails and plenty of shade. Happy Summer!





I am looking for a detailed plans to build pre-cut templates
Does your plan have these?
I am looking for the Norm Abrams chair