This is the (fabric!) holiday wreath you don’t have to put away with the decorations. Another bonus: you can make it in one sitting and for under $12. It can be used in several ways, year-round.
Keep it simple and use un-embellished, or add an initial, cutout, or ornament to accent. Christmas? Add a festive truck and tree, a nativity, or bottle brush trees. Fourth of July? How about a ribbon with red polka dots or navy stars? Valentine’s Day? Add a heart ornament or a cutout of the word “love.” So many options, y’all.
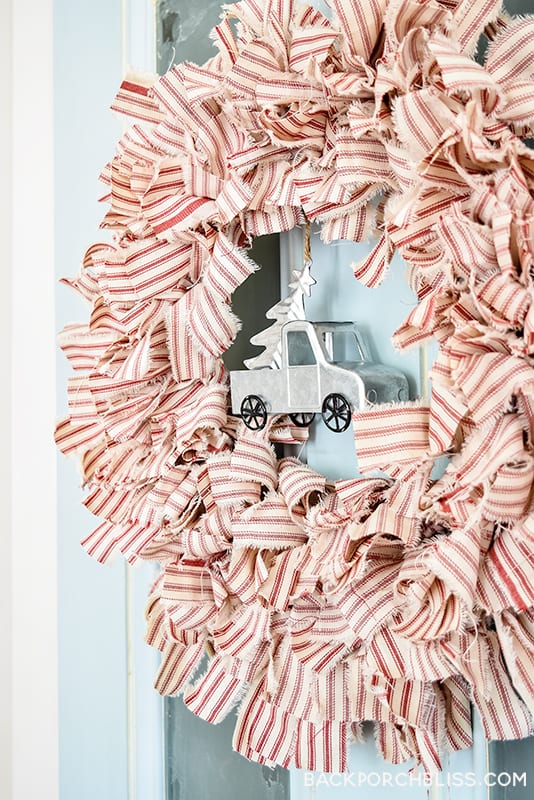
Disclosure: Some of the links on this site are affiliate links, meaning, at no additional cost to you, I will earn a commission if you click through and make a purchase.
The other good news is, it’s CHEAP! I bought the metal wreath form at the dollar store and used my coupon for my ticking fabric at the craft store. If you want to add an ornament, here are some adorable options– these Rae Dunn-inspired ornaments or this little rustic house or run to the craft store WITH your coupon.
Snip, Rip + Clip Strips
I used about a yard and a half of ticking fabric (45″ wide), and snipped the end of the fabric, the ripped each strip all the way to the end of the fabric. My strip widths were about 1.5 inches and I cut them into 9 inch pieces.
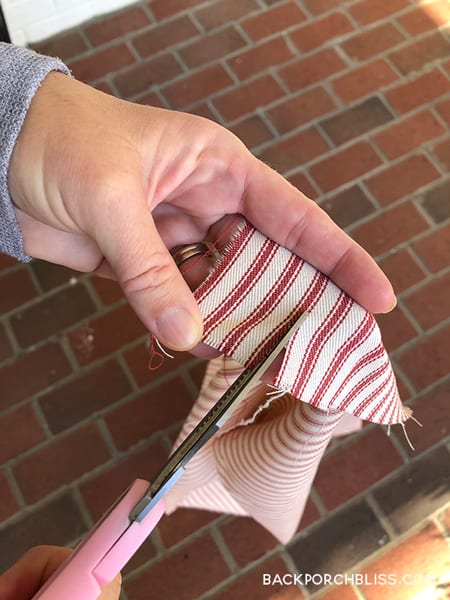
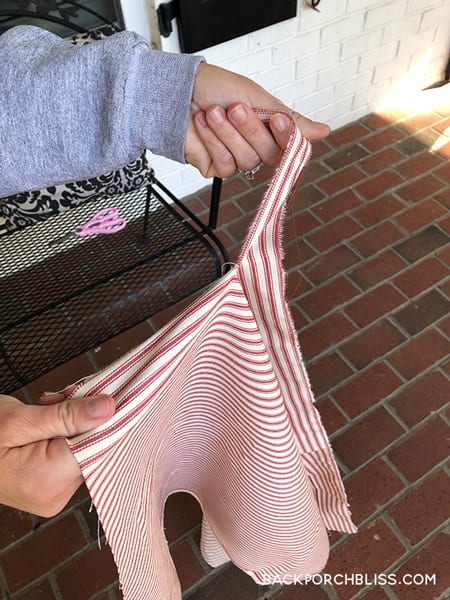
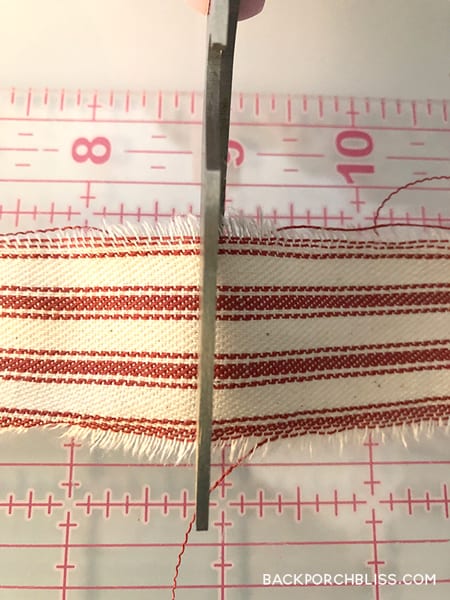
Knot Strips to Wreath Frame
Once you have your strips (or you can do this in batches), begin to loop your strips through the wire wreath frame. For each strip, put wrong sides of the fabric together in half and pull the ends around the wire.
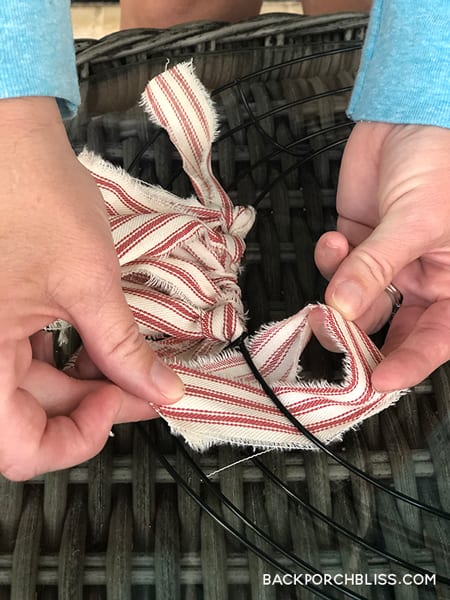
Pull the ends through the loop where the fabric is folded in half and pull tightly.
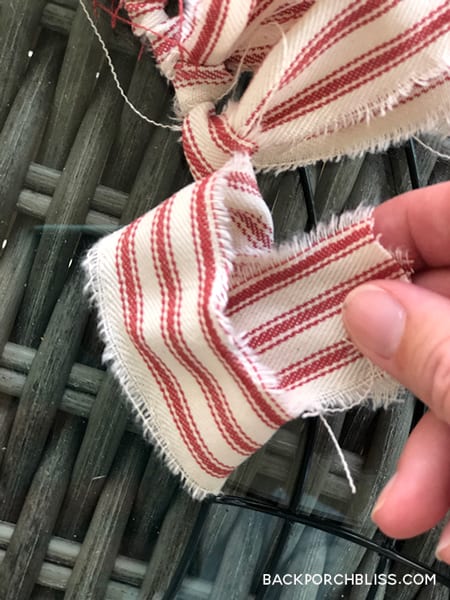
Make sure each of these are pulled snugly around the wire.
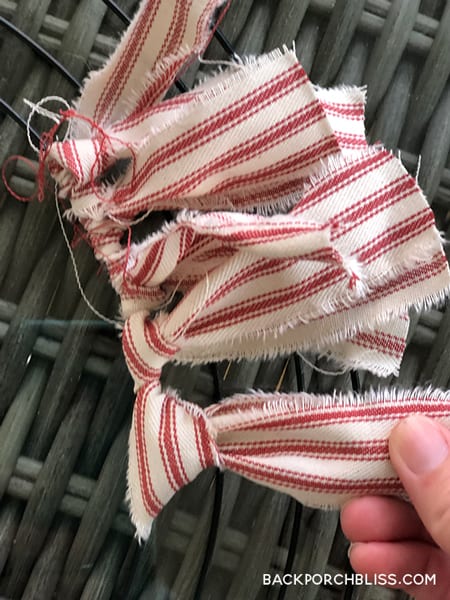
And tighten!
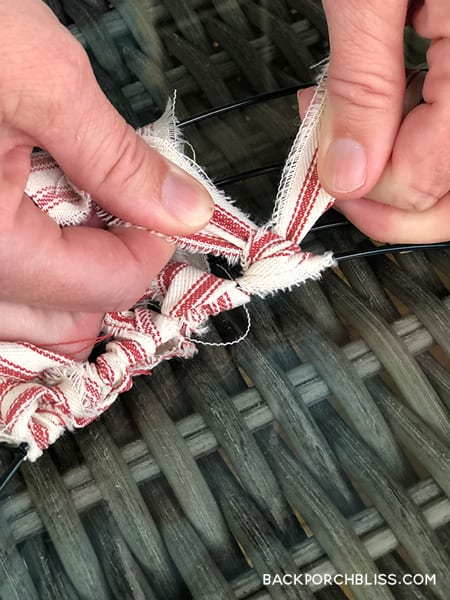
Repeat this step to cover every section and row of wire.
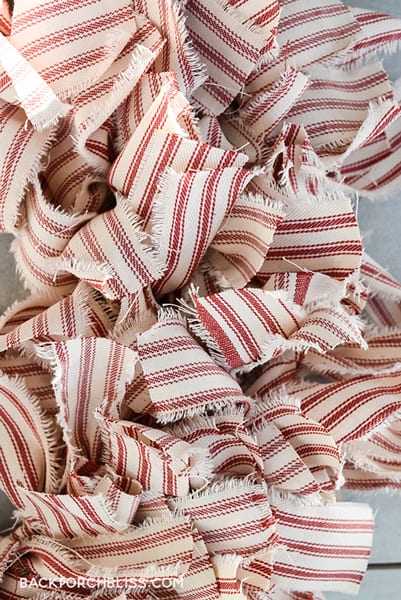
You’ll start to see the fullness of the fabric take shape. Fabric ends and ripped edges will be frayed. This is the look we want, so keep going!
Here’s what the fabric will look like up close.
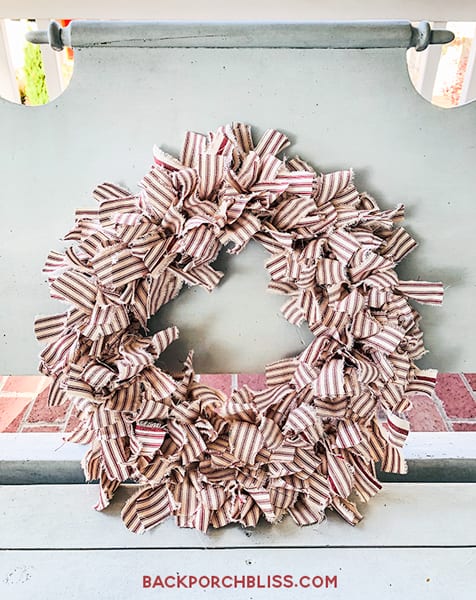
Your wreath should look something like this. You could also do this with a drop cloth, or any other fabric you like. Tip: select fabric that looks relatively good on the wrong side of the fabric, because it will show.
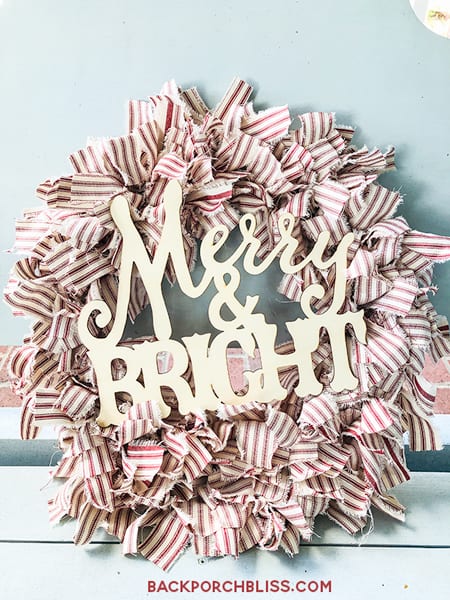
Embellish with an Ornament or Ribbon (Optional)
Here’s the fun part! Personalize or embellish your wreath. In addition to the ideas mentioned above, here are some shots of how to customize for the season or your preference.
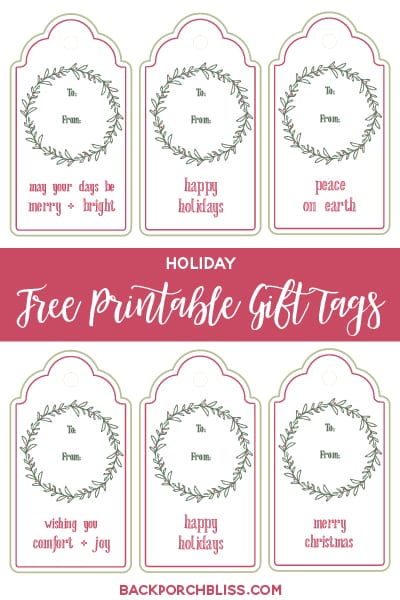
The tags and ornaments below are also fun to tie to dress up gift baskets or a wine bottle. Something so simple can really add to your gift or sentiment.
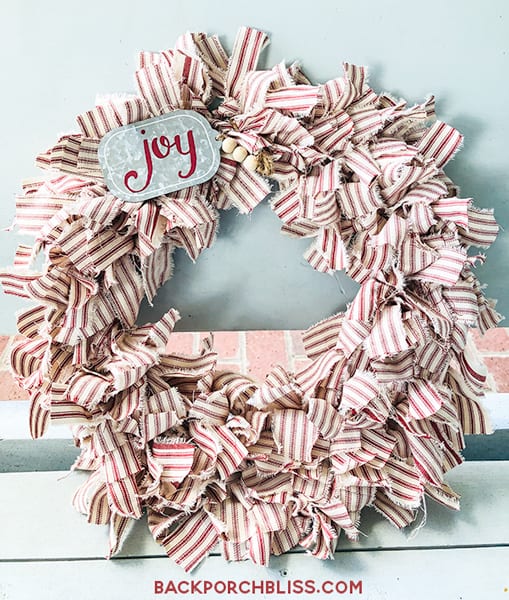
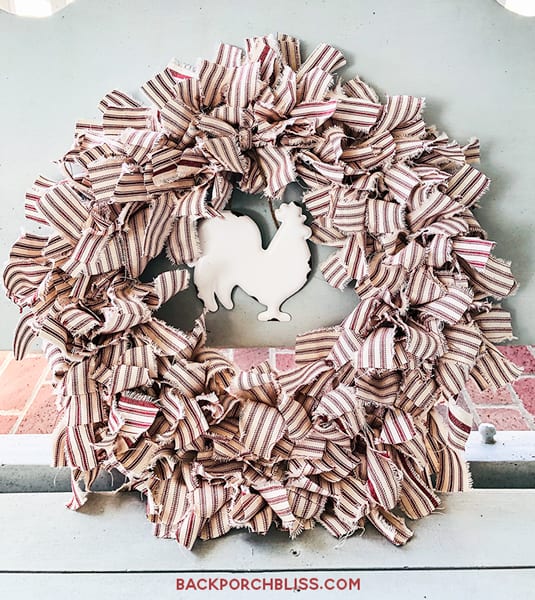
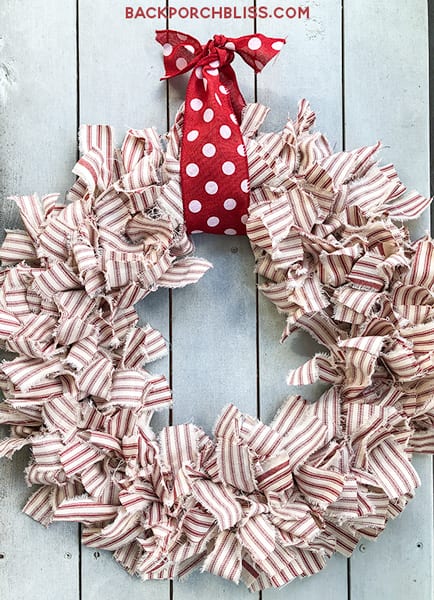
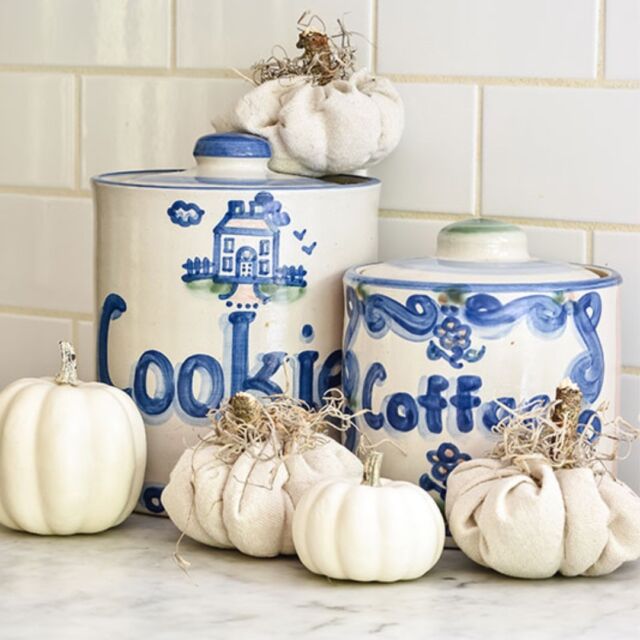
You don’t even have to put this fabric holiday wreath away with the decorations– switch out the ornament to something that fits your style and leave it up year-round. Here’s a similar one with a different fabric and easy drop cloth pumpkins for fall.
More Holiday Fun + Free Holiday Gift Tags
Check out holiday decor, tips, and recipes here.
If you like free downloads + fun in your inbox, sign up for the Back Porch Bliss newsletter. Hint: Right now you can get my free holiday gift tags when you sign up!
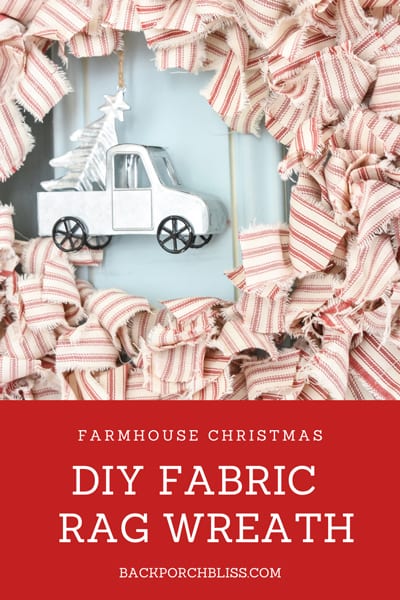
Happy decorating, y’all!





Thi is is so cute and I love ticking, so I’m going to do one. Thank you!
Thank you, Diana. This makes my day! Would love to see your finished wreath. If you post a pic, tag me @backporchbliss.com.
Thank you for the share! 🙂