Spring is in full swing– the flowers and trees are blooming and the weather has warmed up. I think the change in seasons always brings new hope and perspective. Do you feel that way?
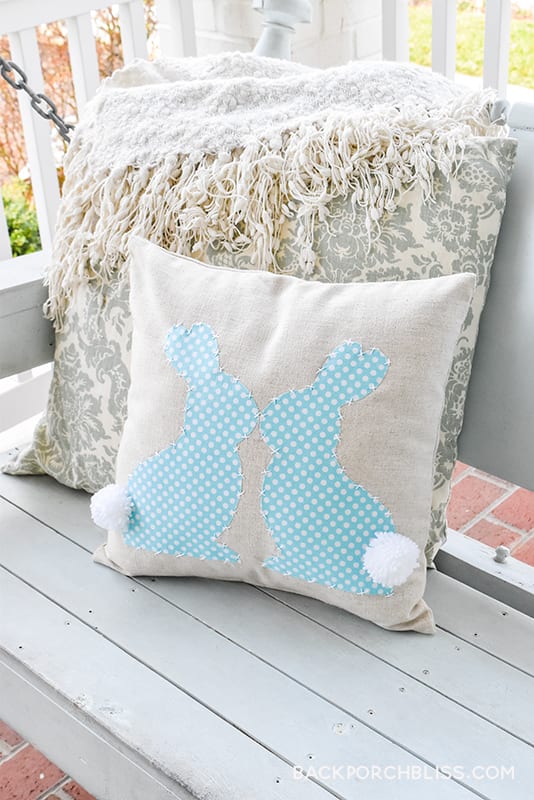
This time last year we watched a mama bunny create her nest, and baby bunnies were born right next to our house. I thought of those little cuties while designing this easy cottontail pillow.
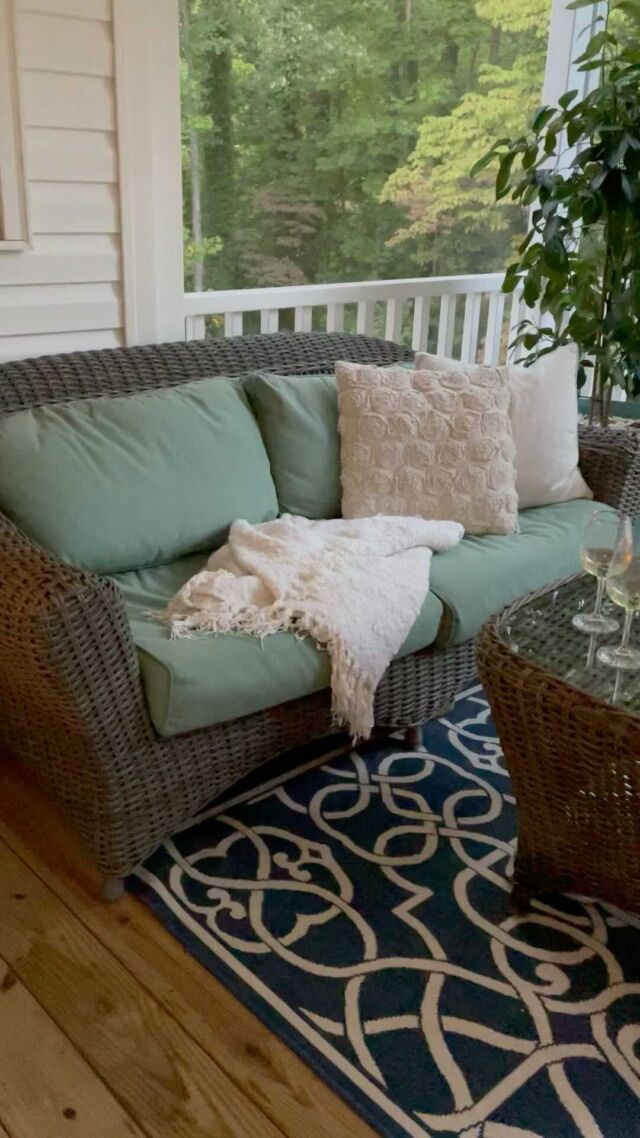
Last month I made this a similar one, but this time I sped up the process using a ready-made pillow cover and a bunny cutout. I’m loving this sweet cottontail pillow on my porch swing.
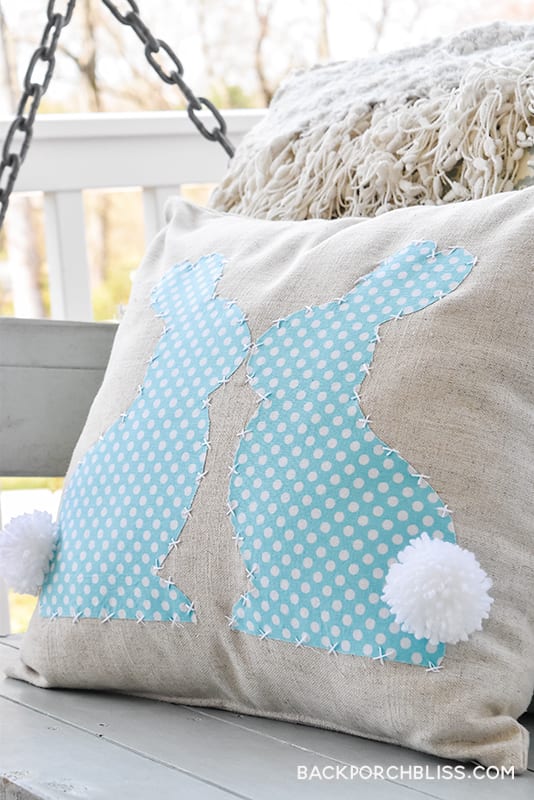
You could do this with any pattern or color fabric– it would be adorable in gingham or ticking. I went with this aqua dot left over from mask-making.
Disclosure: Some of the links on this site are affiliate links, meaning, at no additional cost to you, I will earn a commission if you click through and make a purchase.
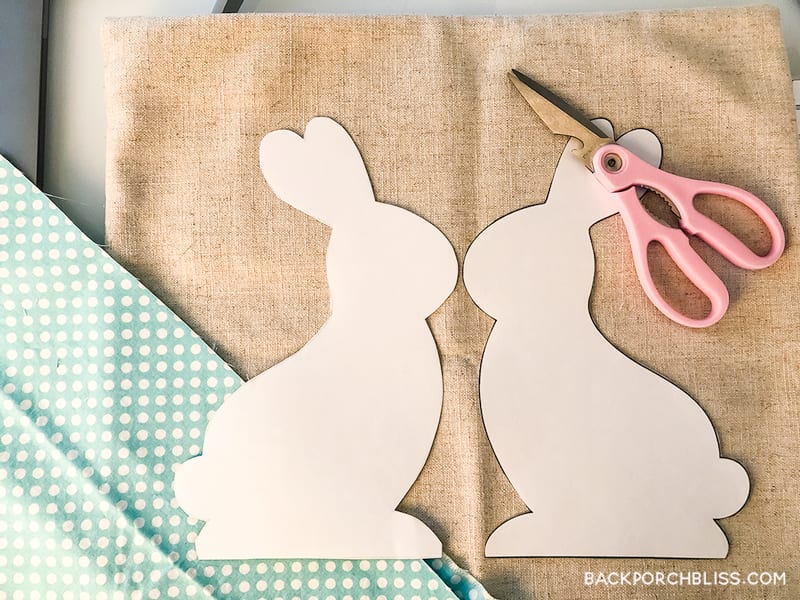
Here’s What You’ll Need:
- Pillow cover, 18″x18″
- Pins
- Iron
- EZ Steam sheets
- Aqua dot fabric (or any cotton fabric!)
- Cottontail pattern
- Pillow form, 18″ x 18″
- White DMC floss
- Needle
- Scissors
- 2 pom poms (yarn + pom-pom maker), optional
Let’s Get Started: Prep Pillow
First, iron your pillow cover and use a lint roller to remove any strings or lint.
Prep + Cut Fabric Bunnies
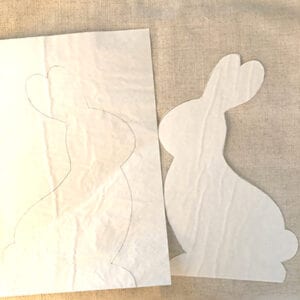
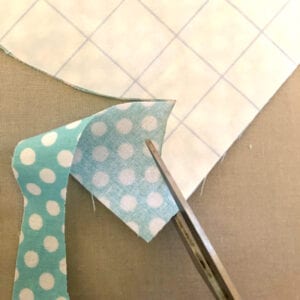
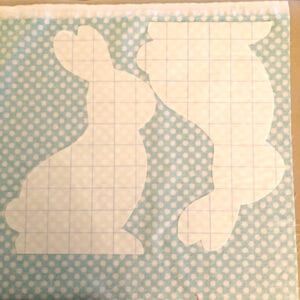
Next, use the cottontail pattern and trace two bunnies, facing opposite directions on the same side of two EZ steam sheets. Cut out the bunnies. Next, peel the backing off the EZ steam sheet and press and smooth onto the wrong side of the fabric you’re using for the bunnies. Cut around the edges and repeat the process for the second bunny.
Place + Iron Bunnies
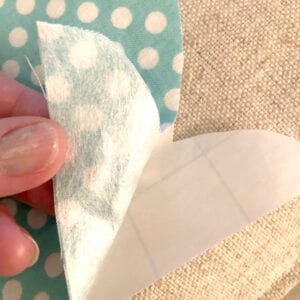
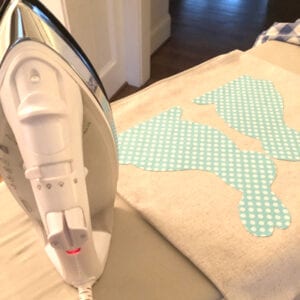
Once you have your bunny cutouts, peel the grid backing off and place them on the front of your pillow. Press with an iron, according to the package directions, using a thin cloth between your bunnies and the iron.
Farmhouse Stitches
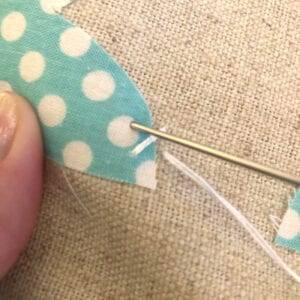
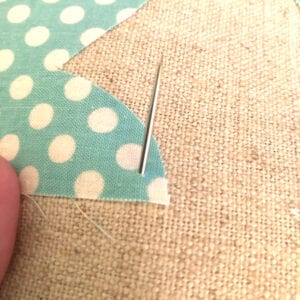
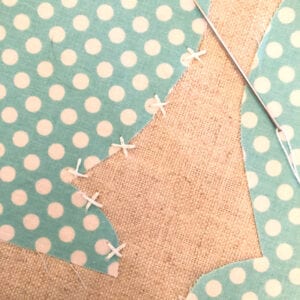
For a quaint, farmhouse look, stitch small X’s around each bunny, taking care not to sew through the backside of the pillow cover.

How to Make Pom-Poms (optional)
You don’t have to add the pom-poms tails, but I think it’s so cute, and just adds a bit of fun and dimension to your pillow! And if you like making pom-poms, you’ll love this pillow!
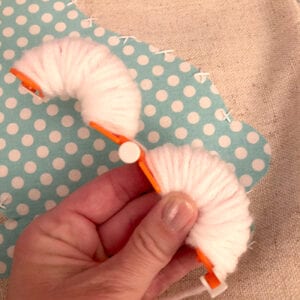
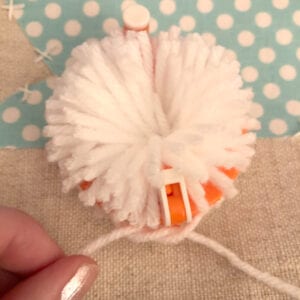
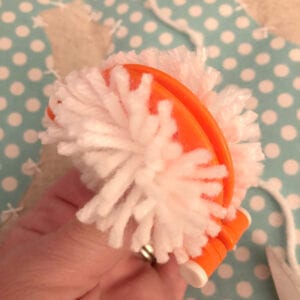
These pom poms are a cinch! First, wrap around the pom-pom maker and snap it closed. Next, snip yarn inside the groove and around the circle. Tie a piece of the yarn inside the groove and carefully remove the pom-pom from the plastic circle. Tighten the yarn again and knot. Trim your pom-pom if needed in any spots, and repeat for your second pom-pom.
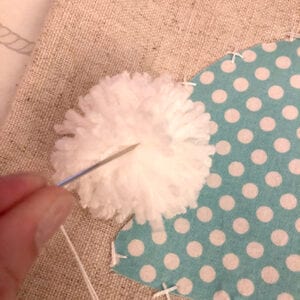
Next, sew several stitches right through the middle of the pom-pom and onto your bunny to make his tail. Again, be careful not to sew through the back of the pillow.
If you want to save this project for later, simply pin any of the images to your Easter or Spring board.
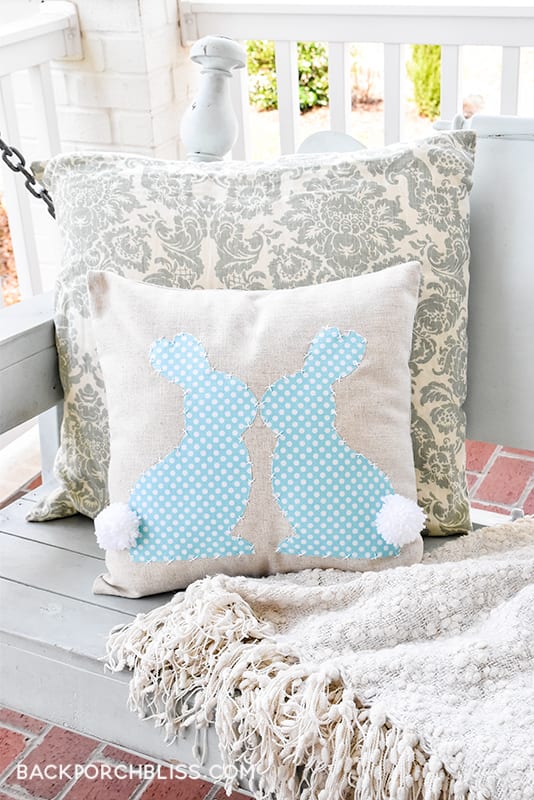
If you make a cottontail pillow, I’d love to see it. Just hop on over to Instagram and tag + follow me so I can see your Springtime creation!
Happy Spring!








This pillow is so adorable!! Great tutorial!
Such. a cute pillow craft … love the cotton tails. You make it look easy! xo
So sweet. I’ve never seen a pom pom maker before. I usually just use cardboard. Might be a good investment.
Another super cute project! I love the crafts you share. You always do a great tutorial Happy Wednesday!
Ummm, this is super adorable! And I love the stitching!
Thank you so much, Meriah!
Aw how cute! I like the simple stitches too. Hope you have a Happy Easter!
Thank you, Marie. Happy Easter to you!
So cute and easy to do! Great tutorial. I am saving to Pinterest.
Thank you so much Jennifer!
This is such a sweet little pillow! Thanks for sharing!
Thank you so much, Jen!
Thank you so much for the share!