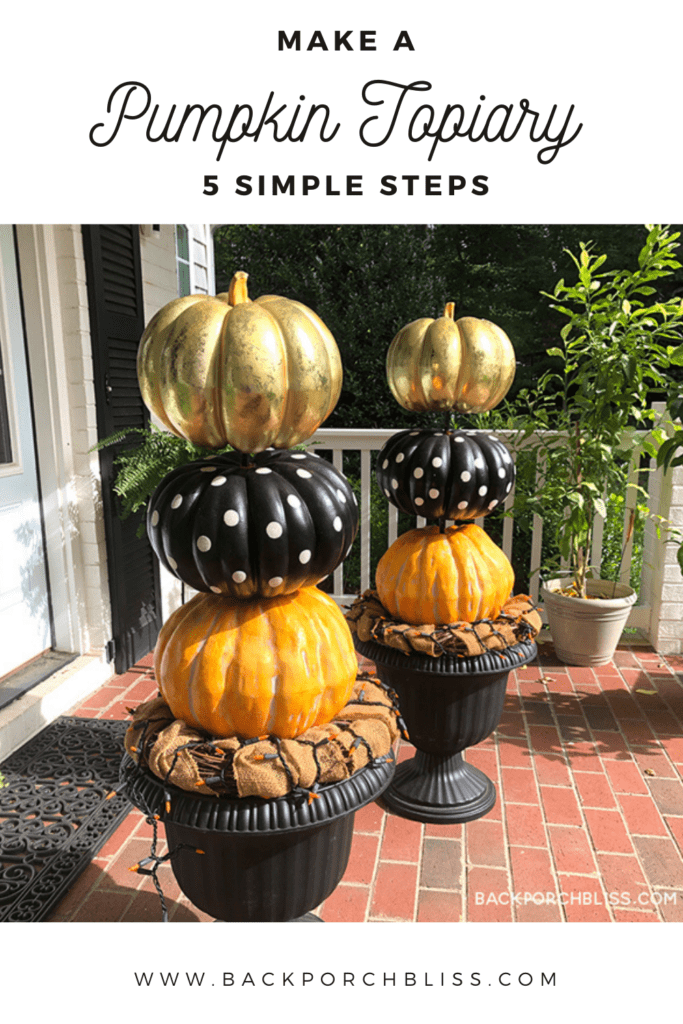
My sweet friend KariAnne at Thistlewood Farms is hosting this All the Fall Projects blog hop for her Thistlewood VIP group and I’m so excited to be a part of it! If you’re joining me from Amy Sadler Designs, I’m so grateful you’re here. Welcome! Wasn’t Amy’s patina pumpkin project incredible? I hope you’ll enjoy learning how to make a pumpkin topiary and follow along for the rest of our projects.
This pumpkin topiary can be made with just a few supplies. If you need symmetry (like me!), you’re gonna want to make two.
Disclosure: Some of the links on this site are affiliate links, meaning, at no additional cost to you, I will earn a commission if you click through and make a purchase.
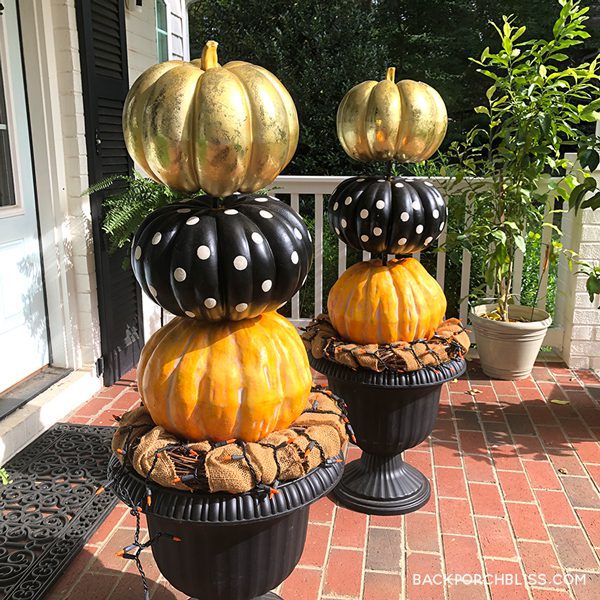
Here’s what you need for each topiary:
- Three foam pumpkins (you can make them different sizes if you’d like). These are from Joann’s.
- Wood dowels (think about the size and scale of your pumpkins when choosing a size.)
- Paint (optional)
- One pot or urn of your choice, appropriate size for your pumpkins
- One grapevine wreath, appropriate size for your bottom pumpkin to rest on
- Wide roll of burlap + string of 50 lights (optional)
- Saw (or handsaw) to cut your dowel. If you don’t have a saw, ask your hardware store to cut them for you
- Drill and bits
- Clear Gorilla glue

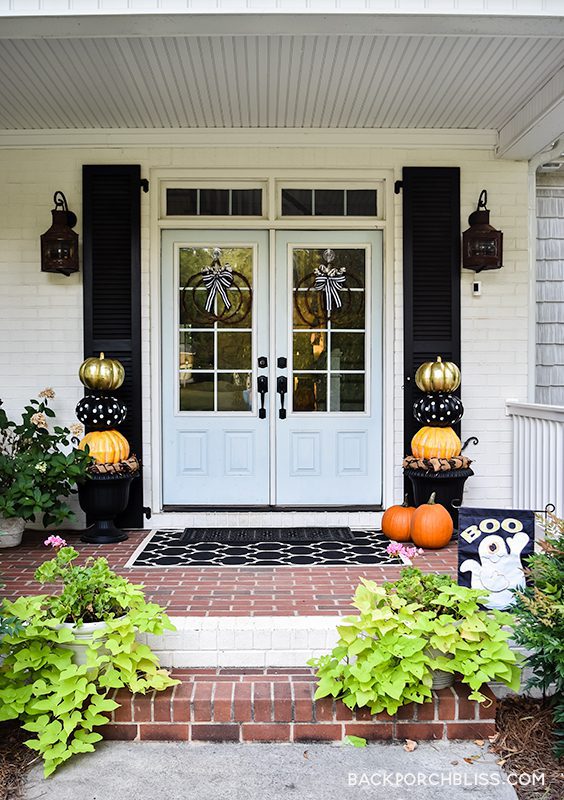
This project is easy to customize. You can choose all the same pumpkins in graduated sizes, or make them all different. Purchase pre-painted, paint your own, or leave them natural. Make small topiaries for the mantel, or oversized ones for the porch.
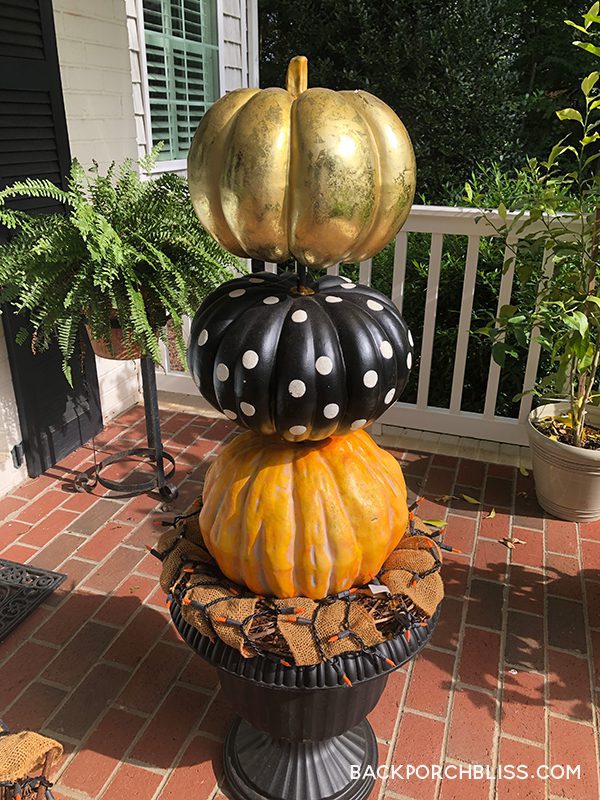
Step 1: Select Your Pumpkins
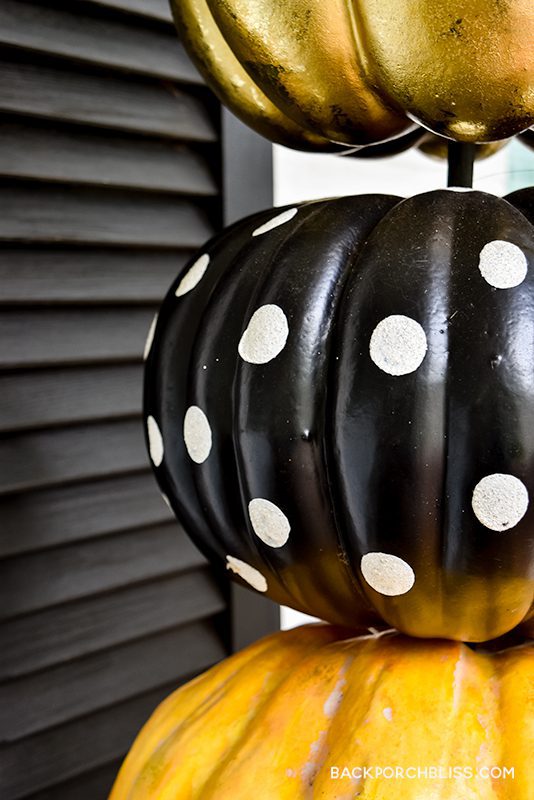
After you select your three pumpkins and determine your stacking order, remove the stems from the bottom and middle pumpkins. Leave the stem on your top pumpkin. If you’re painting your pumpkins, you’ll want to paint and let dry before you move to step 2.
Step 2: Drill Holes
Use a drill bit the size of your dowel or slightly smaller and drill about 3″ (for large pumpkins) into the top of the bottom pumpkin, and the top and bottom of the middle pumpkin. It isn’t necessary to drill all the way through.
Step 3: Determine Spacing + Prep Dowels
Decide how much you want the dowel between your pumpkins to show. And it’s ok if you want them to stack on top of each other without any of the dowel showing. For large pumpkins with a couple of inches of the dowel showing, cut your wooden dowel into about (2) 10″ pieces. Paint the dowels if you wish, and let dry.
Step 4: Assemble the Pumpkins
Insert one dowel between the bottom and middle pumpkin, use clear Gorilla glue to secure it in place. You may need to hold it until the glue dries or lay it on its side. Insert another dowel into the middle and top pumpkins, glue, and secure in place.
Step 5: Assemble the Base
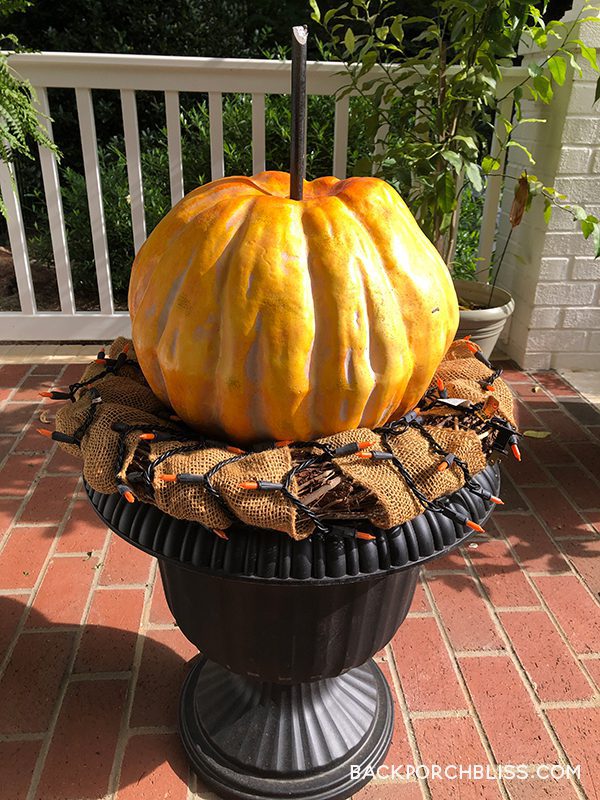
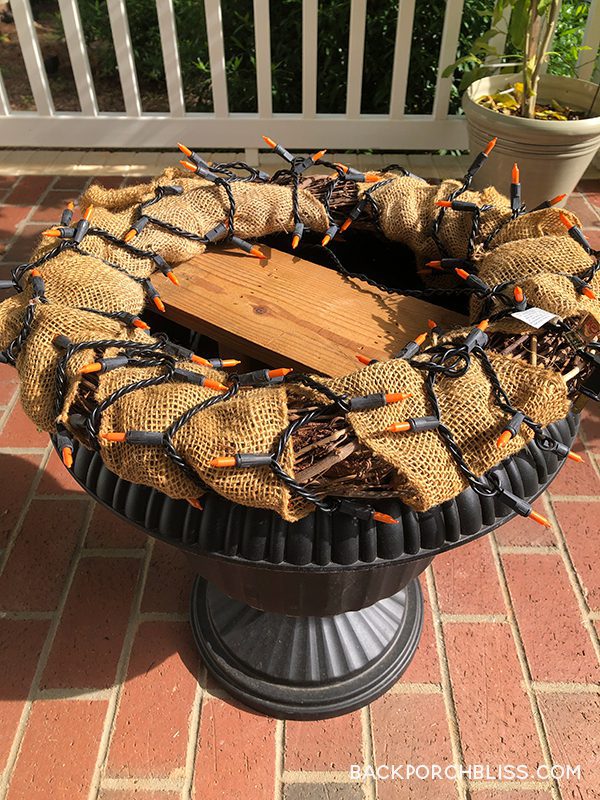
Wrap your grapevine wreaths in burlap, or another type of ribbon and/or string lights. Place the wreath on your pot or urn, and then place your pumpkin stack on top of the wreath. Our topiaries are very lightweight. If you need to secure yours, consider putting rocks in the base and using fishing line to secure the pumpkins to the base.
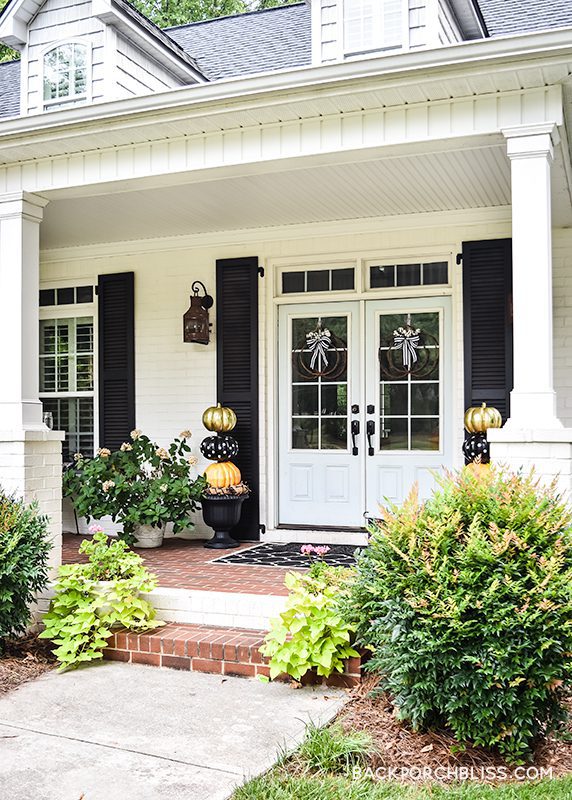
And that’s it. Display on your porch or in your home alongside potted plants, mums, pumpkins or whatever decor gives you all the fall feels!
Follow Along: All the Fall Projects
I hope you enjoyed learning to make a pumpkin topiary; thanks so much for joining me. Next up– please check out Melba’s fall wall art for more fall inspiration.

Wednesday
From Farmhouse to Florida Robyn’s French Nest Decor To Adore Eryn Whalen Online This Dear Casa
A Bushel & A Pickle
Thursday
My Homier Home Hen and Horse Design Sonata Home Design WM Design House Home with Marieza
Sweet Valley Acres
Friday
Amy Sadler Designs Back Porch Bliss Cocoon Raw Make Every Day an Event Thistlewood
Peacock Ridge Farm Gathered In The Kitchen
Pin for Later!
Want More Fall?
Check out these 11 Cozy Recipes for Fall.

Happy Fall, Y’all!


