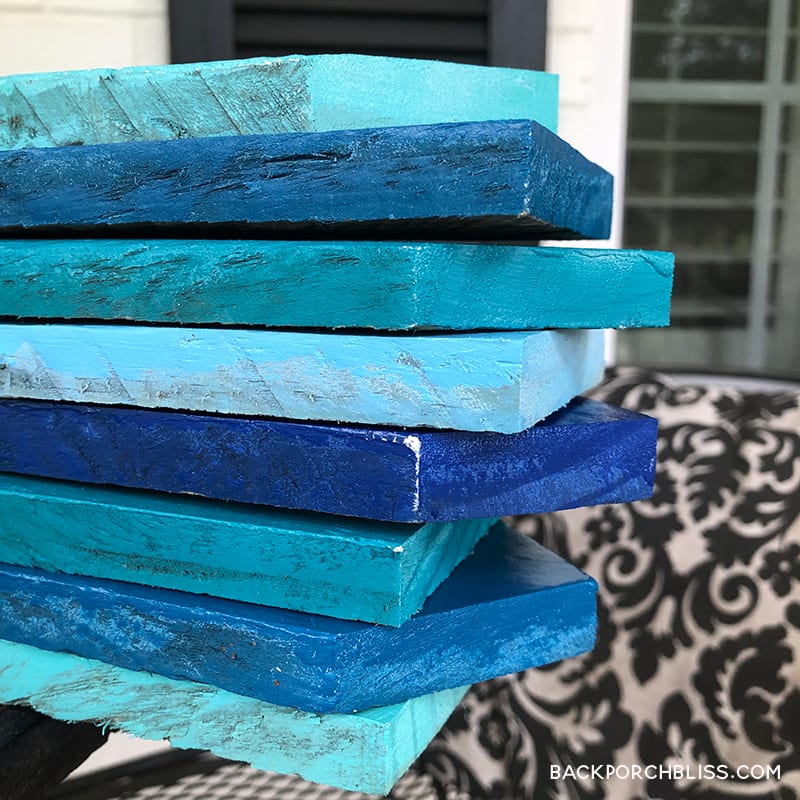
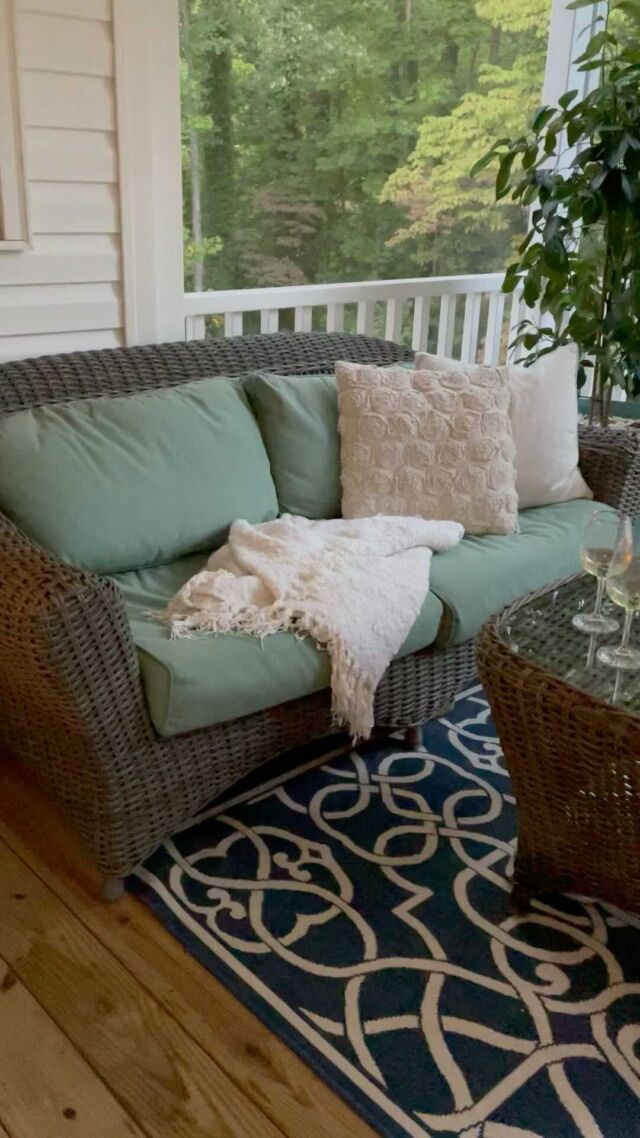
Over the last few months, we’ve spent a lot of time at home, dreaming of favorite & faraway places and creating a DIY Outdoor Oasis to enjoy right where we are. This space sparked the idea for our colorful dream spots sign, made from pallet wood.
You need a colorful pick-me-up too?
Good! I’m going to show you how to add a colorful splash of art showing your favorite spots using vibrant paint products from COLORSHOT®, pallet wood and simple hardware.
I received products from COLORSHOT® for this post.

This simple, cheerful sign is flexible and can be customized to your space and preferences.

Here’s what you’ll need:
- Pallet or scrap wood boards
We used eight boards, cut at 26″ x 3.5″, then cut arrow points on the end of each board. - COLORSHOT® White Primer
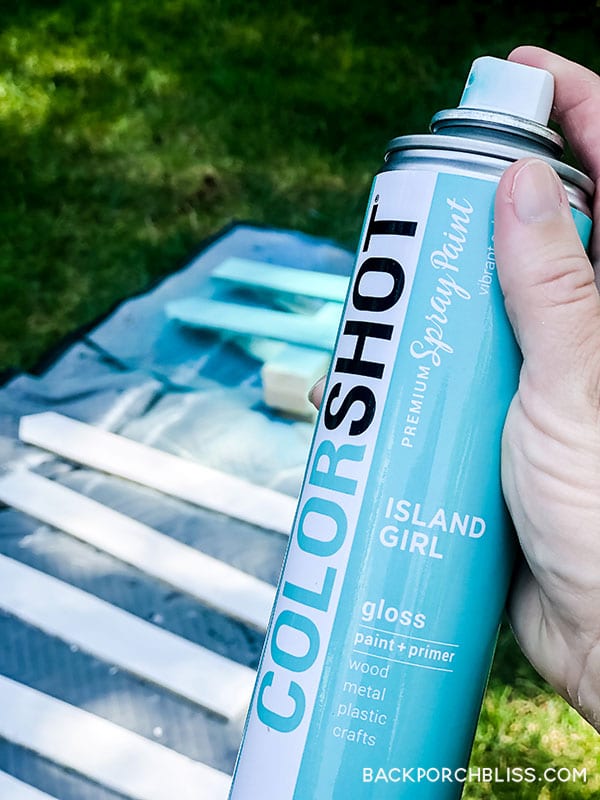
- COLORSHOT® Premium Spray Paint, select the colors that work in your space.
We used Clear Skies, Island Girl, Mermaid, Scuba, Hello Handsome - COLORSHOT® Premium Paint Marker, select your color(s).
We used Clear Skies, Bubble Bath, Marshmallow, Silver Lining - COLORSHOT® Clear Sealer Matte
- 30 Small Screw Eyes, 3/4 inch
- Jute twine
- Picture hanging wire
- Sandpaper or palm sander
- Drill with small bit
Let’s Get Started!
- Cut your boards to the size you want them, and prime the sign faces (where you’ll later paint your locations). Our eight boards were cut at 26″ x 3.5″, then we cut arrow points on the end of each board. If you want the worn wood, texture and nails to show through, don’t sand before painting. We also left the sides and backs of the boards unprimed for the same reason.
Makes it so much more comfortable!
- Once your primer dries, use COLORSHOT® Premium Spray Paint in desired colors on all your sign faces. One coat was enough for us. The COLORSHOT® colors are vibrant and fun, with so many options. Did I mention they are better for you and the environment?
Consider your space and preferences, and let creativity be your guide! This spray paint is quick-drying, so you won’t be waiting around long.
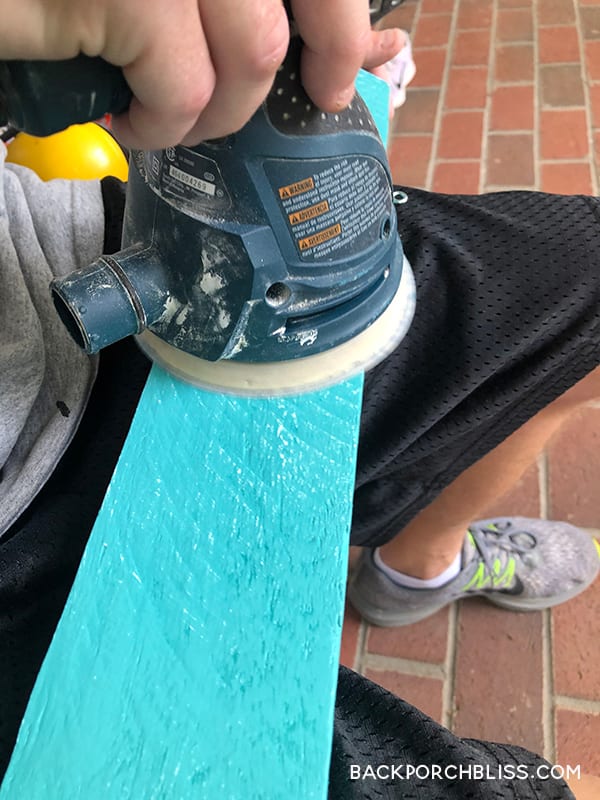
- Next, we lightly sanded our boards so some of the white primer would show through and roughed up the boards a bit before painting the location names.
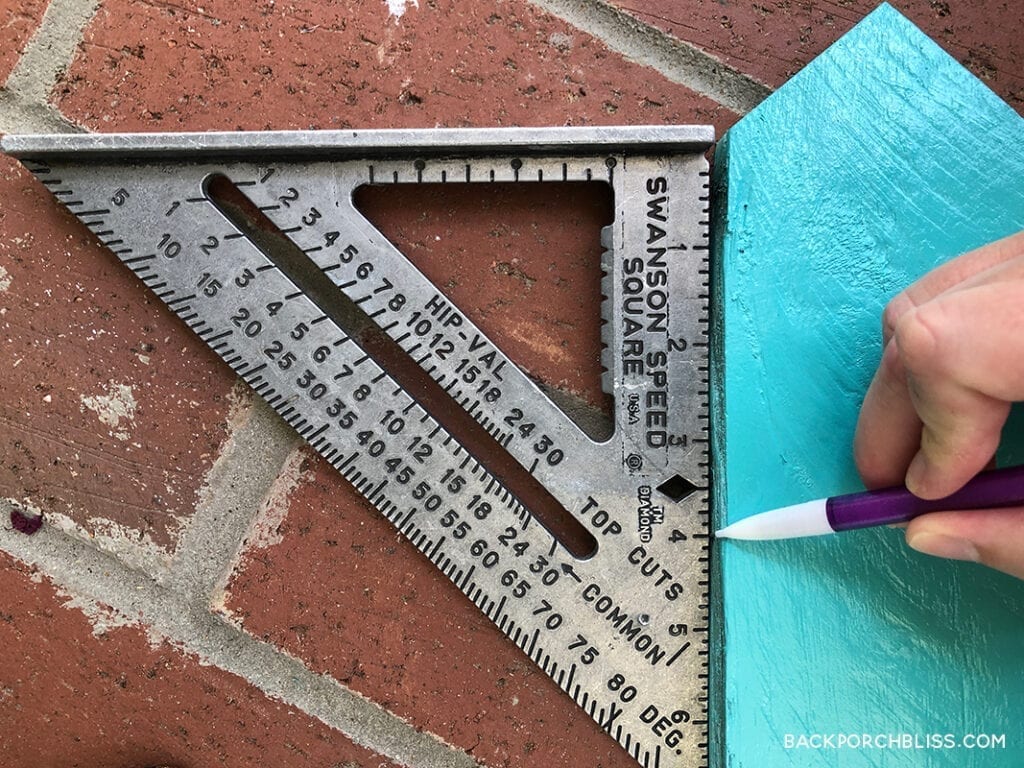
- Measure and mark 4″ from each top and bottom corner. We chose not to measure from the arrow point, because we wanted the signs to stagger and not be perfectly aligned.

- Drill a small hole in the center of your top and bottom boards where you’ve indicated 4″ from the corners. Do this on every board, with the exception of your bottom board. You’ll only need two holes in the top of your last board.
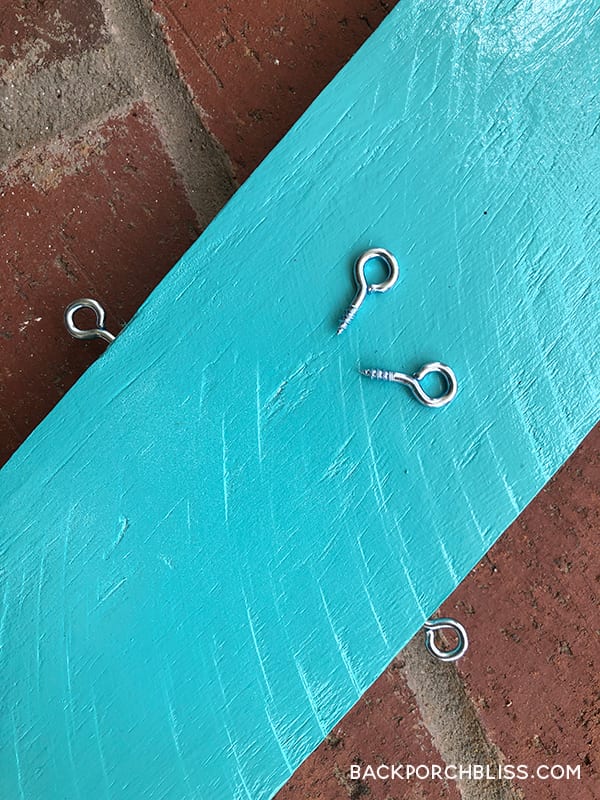
- Screw in your eye screws to each hole as shown.
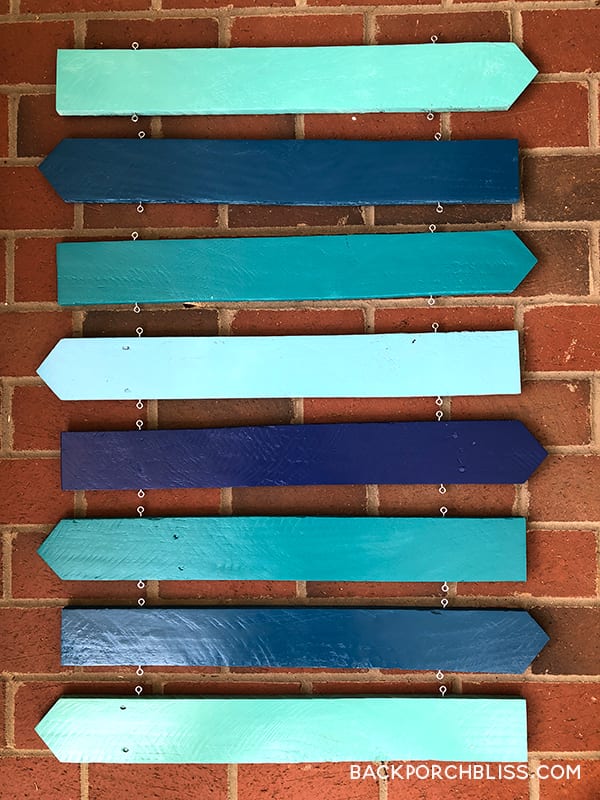
- Next, you can start using your COLORSHOT® Premium Paint Markers to label your signs. Make this fun for the whole family and brainstorm together. If you have kids, let them look up the destinations and find out how far they are from your home.
Marshmallow and Clear Skies showed up best on our color choices. The Bubble Bath was shimmery, which I liked, but I had to do a couple coats with this one. Make sure your spray paint color and paint marker color contrast for best results. I added a few simple symbols to a few of the boards just for fun.
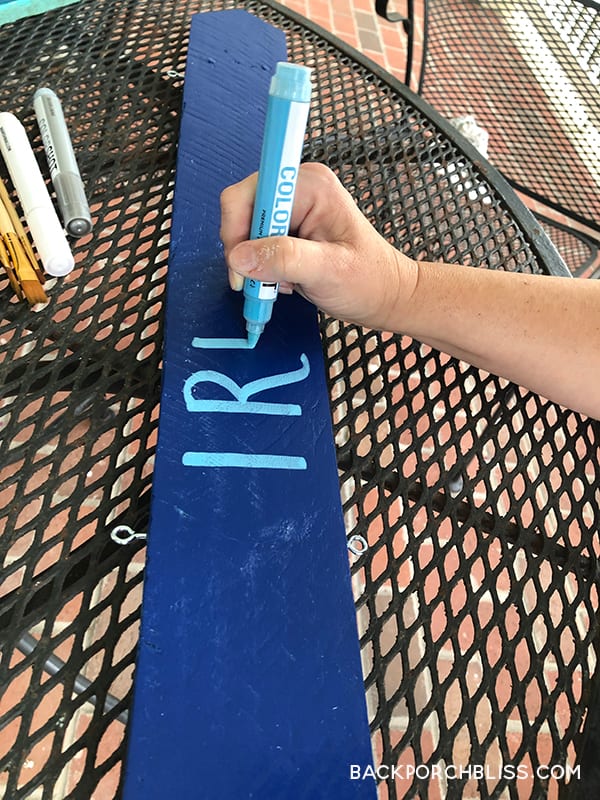
- The paint markers also dry quickly. Once everything is dry, you can spray a coat of COLORSHOT® Clear Sealer Matte to finish.
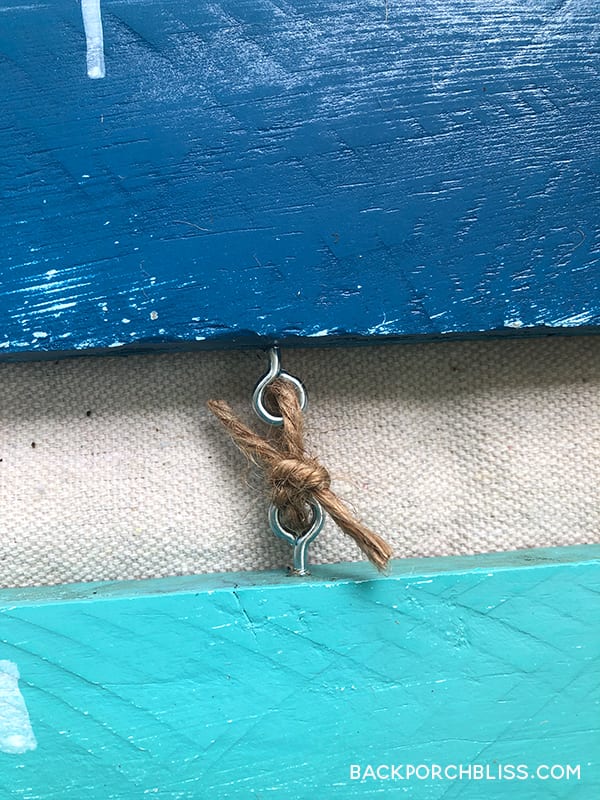
- Use jute twine and triple knot between each of your signs as shown. You can add a dot of super glue to each knot for extra reinforcement.
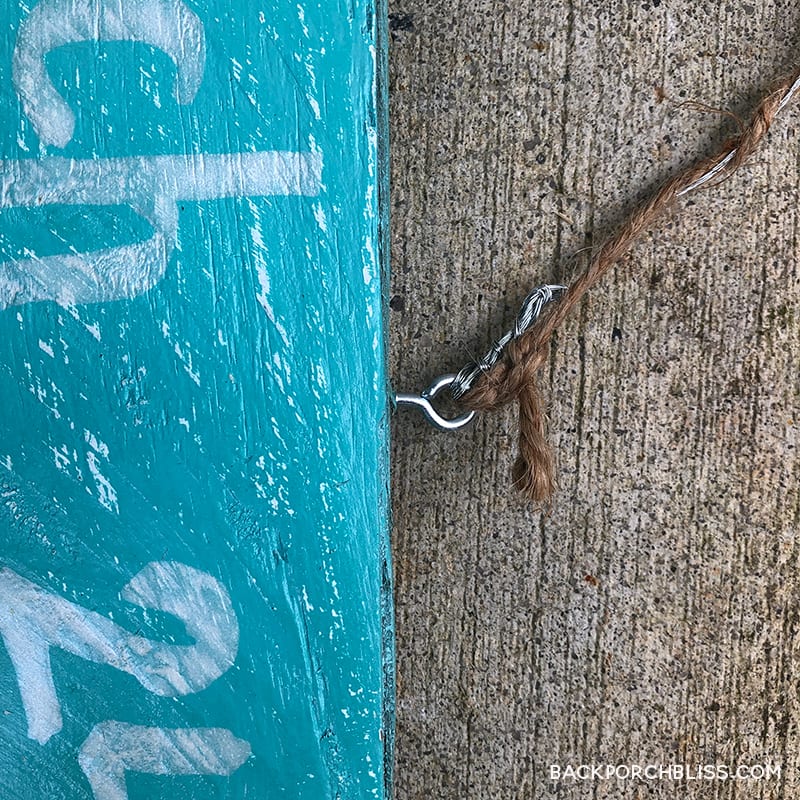
- For the top sign, use picture hanging wire with your jute string before hanging. We used a concrete anchor and screwed into the mortar. Adapt this step depending on your sign location.

We hope you’re inspired to dream, get creative and make your custom sign!
Want more projects made with pallet wood? Check out our Lemonade Stand, Farmhouse Bed Tray, Pallet Wood Signs or a Simple Advent Tree Calendar.
Oh, if you like free downloads + fun in your inbox, sign up for the Back Porch Bliss newsletter. Hint: Right now you can get my Oh Hey, Pumpkin! gift tag download for free when you sign up! You can wrap up some homemade pumpkin muffins in a cute little package and just make someone’s day!
Keep it colorful, friends!





This is too cute – love the paint that works like markers…the lettering is perfect! Can’t wait to show my girls!
Thanks so much, Jeanne! The markers work great! Hope you’ll give it a try. 🙂
Love, love, love all the shades of blue! Oh, and those paint pens are a must have!
Thanks, Linda! Coastal blues are my jam. The pens work great!
What a fun idea! I’ve been wanting to try out Colorspot.
Hi Danielle! Thanks so much, I hope you’ll give it a try. I really like the ColorShot paint, and love that it’s better for the environment.
I LOVE this DIY! Such a great idea. I am going to re-create at this in our outdoor are by the pool..
Thanks so much, Jennifer! Would love to see your project, hope you’ll share!
Right up my daughter’s alley! Sending this over to her for some inspiration. I might just need for myself some outhouse paint pens!
Thanks so much for sharing with your daughter, Linda! The pens are fantastic!
This is such a fun way to highlight favorite vacation spots! Love the colors!
Thanks, Cindy. It really was a fun project! Coastal blues are my fave!
This is such a cool DIY!
Thanks Stacy!
Such a fun idea. Those markers look awesome! I’ve never used them.
Thanks, Marie! The paint markers work great, I hope you’ll give them a try!
This is such a great idea! My daughters are out of the nest, so it would be fun to put up signs for where they live now. I also haven’t tried that brand of paint. Will take a look for my next project! Thanks for the inspiration, Ali.
Oh, I love that idea, Ali! ColorShot is great, love that they are better for us and the environment. And the colors are fab!
What a fun idea!!! Of course we all have dream spots — maybe the spots where our friends and family are. I love this. And your colors are great!!!
Diane, Absolutely and thank you! Love all the coastal blues. Happy day, friend!
These are so cool. I love them. I have never seen those paint pens before – I might have to try them. Thanks so much.
Thank you, Carol! The pens made the project so much easier. Hope you’ll give them a try!
cute idea!! i love the beach vibe!!
Thanks Sharon!
Great job, Misty. I love the colors you chose. They are a nice vacation spot for the eyes!
Thank you so much, Lori! I love all the Coastal blues, sounds like you do too!
I love the colours you used for your dream spots! That colorshot paint looks gorgeous and the markers are brilliant! I have some pallets left over from one of my projects, now I know what to do with them!
Thank you so much, Jayne! Yes, there are so many fun projects you can do with pallet wood. I’d love to see your project if you decide to do this one.
I LOVE this! I am definitely going to try this! The colors are perfect for our beach house! Thanks for the inspiration!
Hi Kim! Thanks you so much. I would love to see your finished sign in your gorgeous space. <3
This is such an awesome DIY! Thank you for the inspiration!
Thank you, Kim!
So pretty!!! Great work! I love color shot stuff!
Thank you so much, Christin! Aren’t their colors the best?!
such a cute idea!!! I love it!
Thanks Kim! 🙂
Misty- I LOVE this! It came out fantastic!
Thank you so much, Jennifer!
This is so cool! I cannot wait to make one.
Thanks, Elizabeth! Would love to see your dream spots sign! Happy weekend!