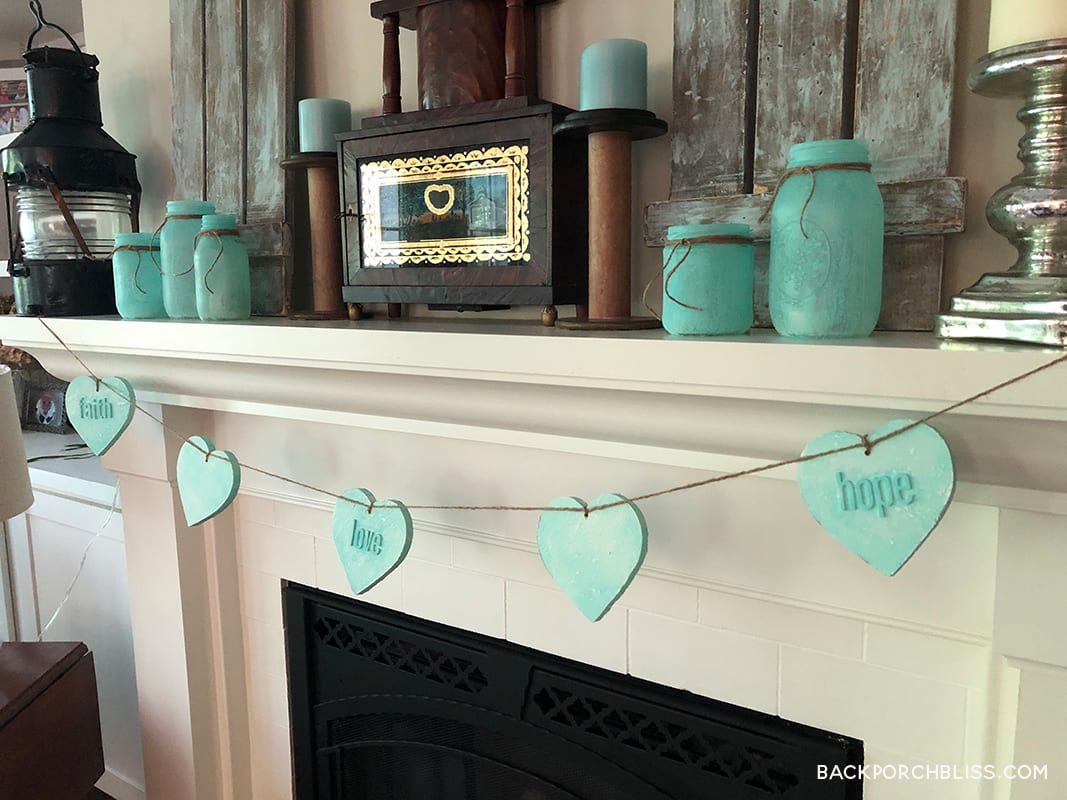
I have been wanting to learn how to make these simple, clay Christmas ornaments for a while, and recently was inspired by a DIY video from my friends at 2BeesInaPod.com. And with a year like 2020, I decided to go with the ‘Let’s Stay Home’ theme, just like my cookies last week. I started this project with the goal of making a garland for my mantel using twine, but it just wasn’t working for me.
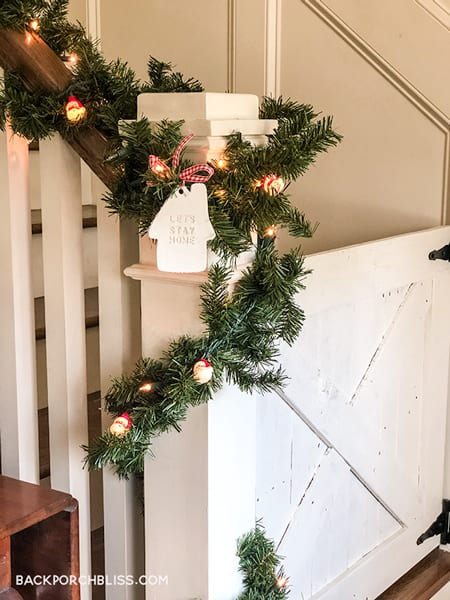
I decided to incorporate them into our garland on the stair railing, and the easiest way to get them to hang correctly was just to tie them on individually. Sometimes the easiest way is the most obvious, right?!
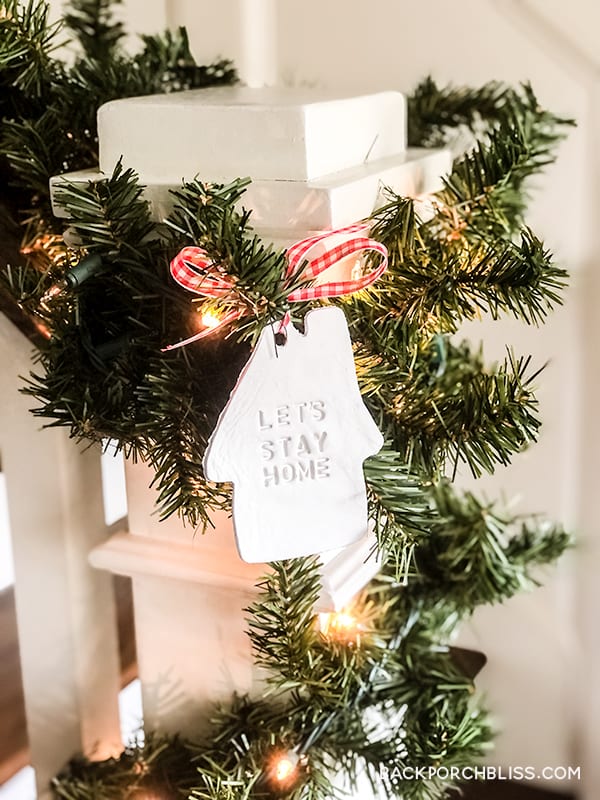
These ornaments can be used in many ways, everything from a simple ornament for the tree, to a gift bag tag, or tied on a gorgeous gift or basket with personalization, or on a wine bottle. You could even hang in the middle of a wreath, like this one.
With these fun letter stamps and cookie cutters, the options are endless.
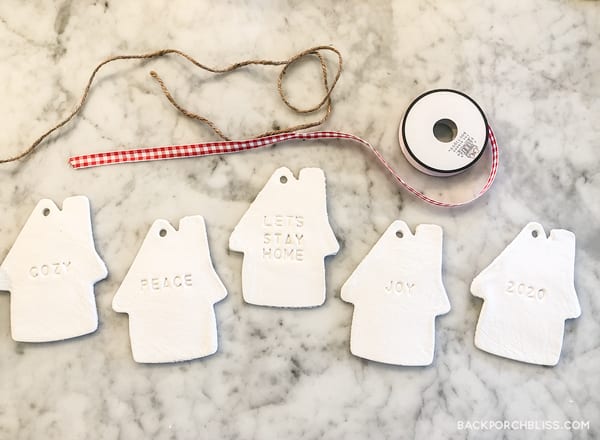
How to Make Air Dry Clay Ornaments
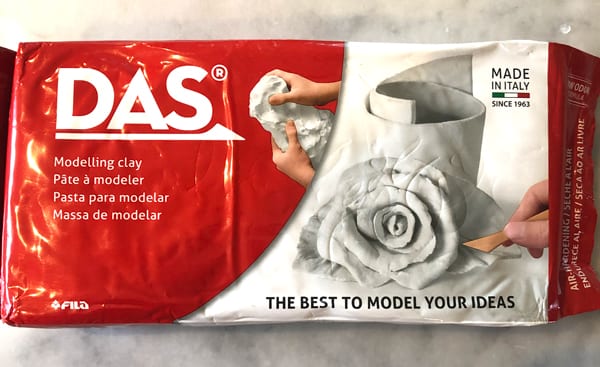
They’re so easy to make and you don’t even have to bake them. I used this DAS air dry modelling clay.
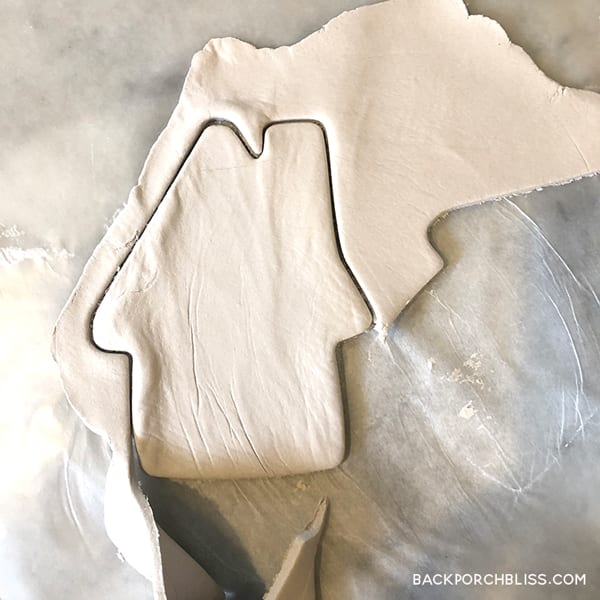
Start by tearing off the desired amount of clay. You’ll want to knead it a bit to soften, then roll out. Flip over and roll the other side. My ornaments are just under 1/4″ thick. Use whatever cookie cutter you’d like. For this set, I used a house, but you could also mix and match.
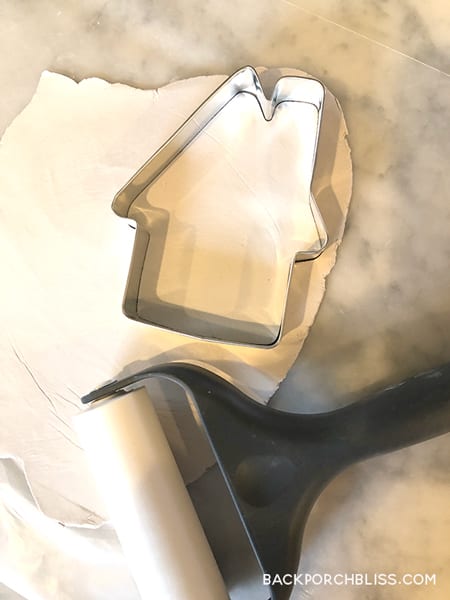
Remove the excess clay outside the cut lines and repeat until you have your batch of ornaments.
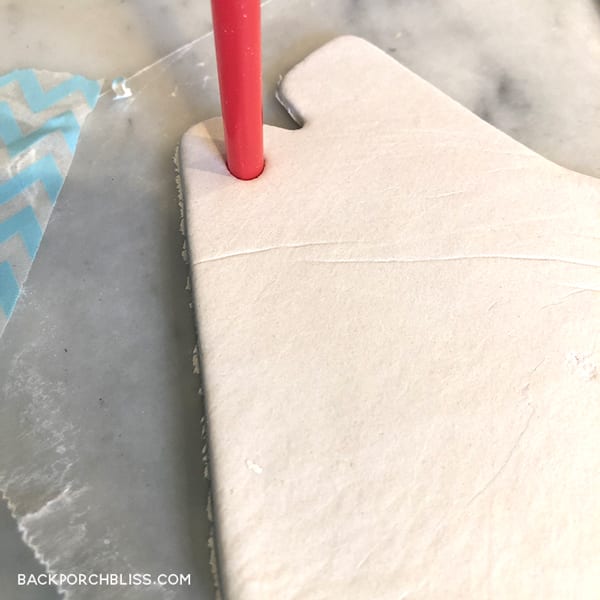
I used a straw to cut a round hole that I could put my ribbon or twine through. Just give it a twist for a clean cut.
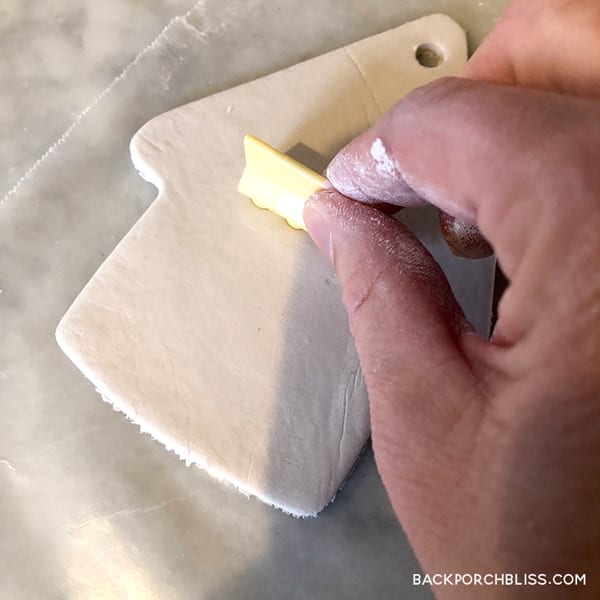
Use letter stamps to personalize or write your sentiment. These stamps are awesome, they connect and lock in place so you don’t have to worry if your letters are straight. They’re also food safe and come with a little bag for storage.
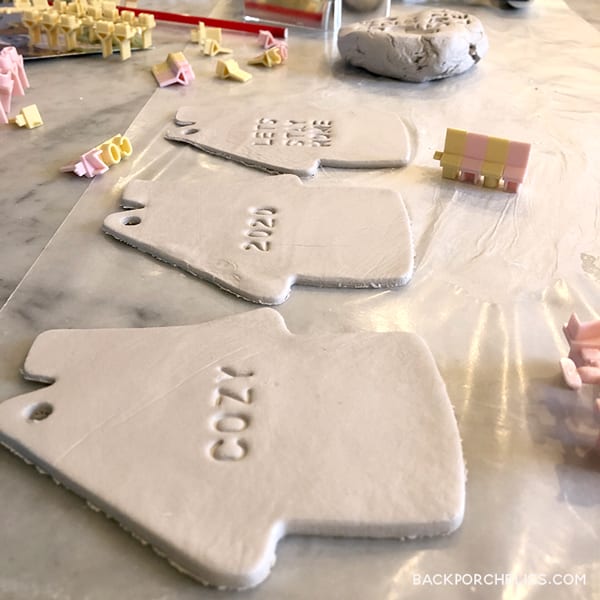
You don’t have to bake them or do anything special. I left mine on wax paper for a few days. After day two I flipped them over and by day three they were solid and completely dry. Once dry, you can sand the edges with fine-grit sandpaper to smooth out rough edges.
Making the Garland
As mentioned, I set out to make a twine garland and they just weren’t hanging the way I wanted them to. I found tying them directly on the greenery of the garland worked beautifully.

You could paint the ornaments or just paint the indentations of the lettering for a different look. I like the simplicity of the white on white against the greenery. And the red check ribbon is speaking to me this year, if you haven’t noticed.
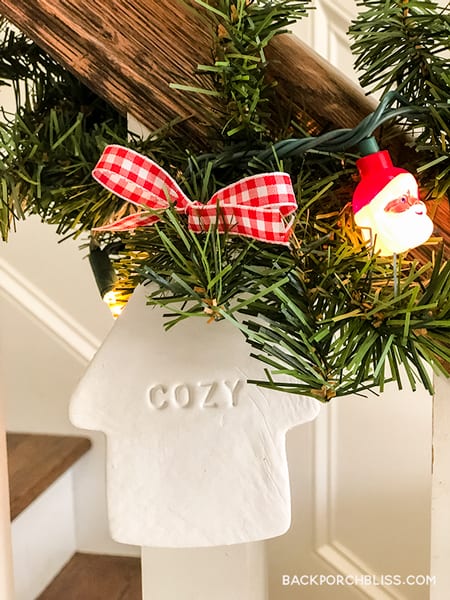
I loved how it turned out paired with these vintage Santa light covers.
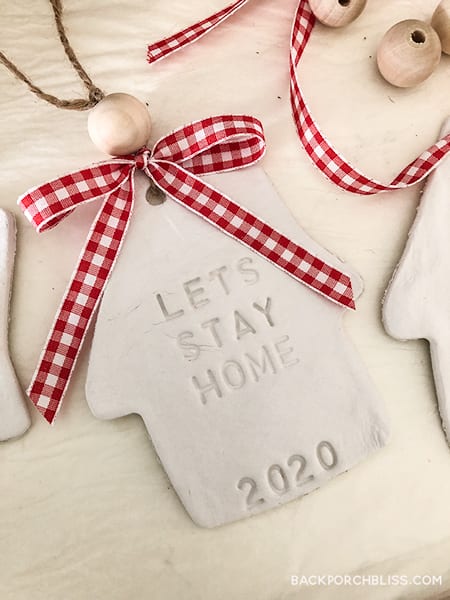
Here’s an extra we used for a tree ornament, customizing with the year and adding a simple wooden bead and twine for the hanger. Easy peasey!
If you like free downloads + fun in your inbox, sign up for the Back Porch Bliss newsletter. Hint: Right now you can get my free holiday gift tags when you sign up!
Wishing you a cozy and safe holiday!







Omg….so stinking’ cute!!