I spend a good portion of my day working from my home office, so having a space that’s bright and inspiring is important to me. This is where all my creative chaos (and work!) takes place, so I wanted something unique and feminine, but also functional. I had been looking for an inexpensive, preferably vintage, piece that would complement the space and hold my favorite books, photos, supplies and mementos. My mom and I went to a local barn sale, and this old dining hutch was THE ONE. My husband and I completed this project around our schedules with a few supplies + paint + sanding and were thrilled with the result. The kids even helped with the painting and sanding. It was in use within a week!
This simple refresh can be easily duplicated– be creative! Caution: this is addictive, you may start to look at Every Piece of Furniture and visualize it painted and lightly distressed. HA!

Here’s the “before.” It was pretty, but I wanted it in a creamy farmhouse white that would coordinate with my desk and complement the lighter palette in my office.
Supplies
- Rubber Gloves
- Liquid Sander Deglosser
- Rags or old t-shirt
- Paint- we used regular interior paint in eggshell. Our color is an old favorite we’ve used for years, called Crumb Cookie. It’s a creamy, off-white.
- Sanding blocks or hand sander
- Paste Wax (optional)
First, remove all the hardware.
Next, we applied a liquid sandpaper de-glosser, applying in a circular motion all over the furniture. Be sure to wear gloves for this step.
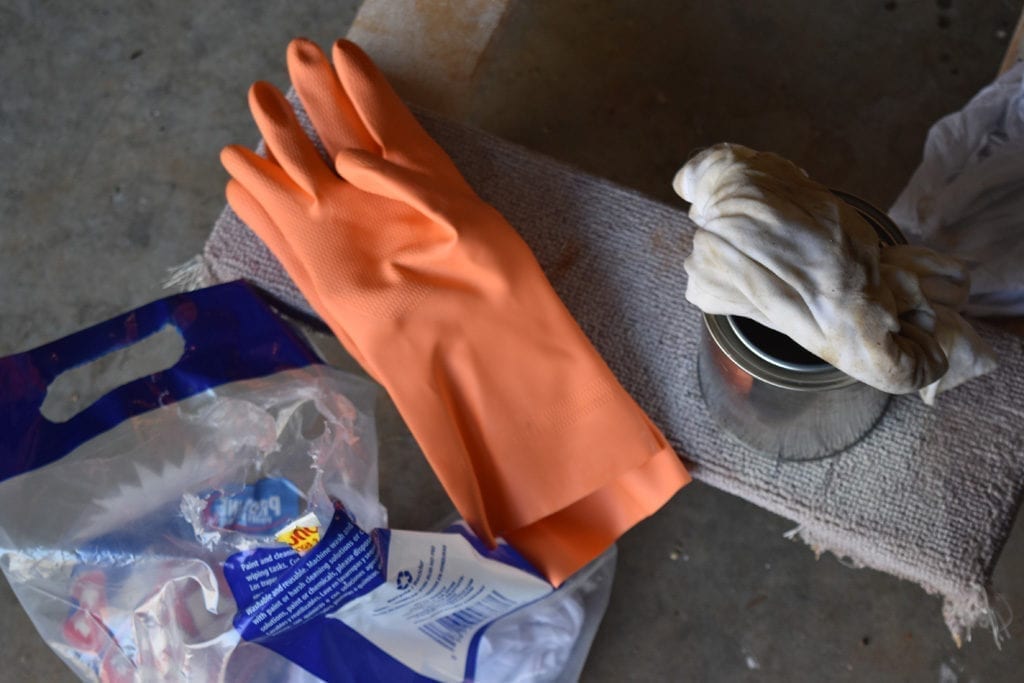
Once applied, wait for the de-glosser to dry. It takes about an hour or less. Check to make sure all the smoothness of the previous finish is gone. The wood will feel a little rough. Once it’s well-covered and dry, you’re ready to paint!
A lot of people asked if we used chalk paint for this. I’ve made chalk paint with plaster of Paris and really like the look of regular flat or eggshell just as much. And the premade chalk paint can be expensive. Use whatever kind of paint/texture works for your project.
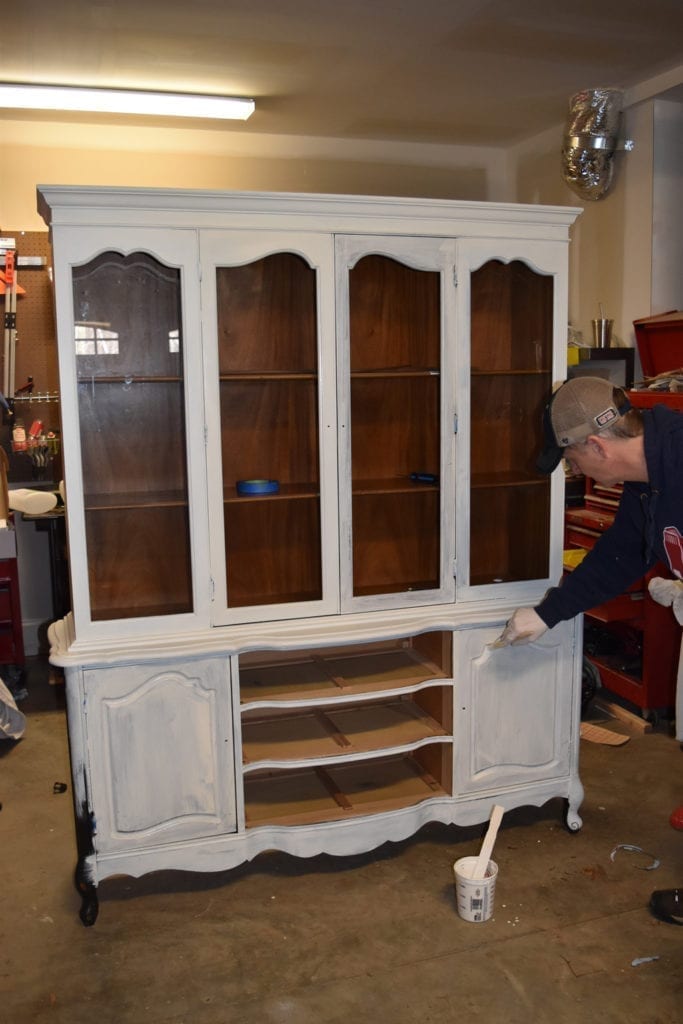
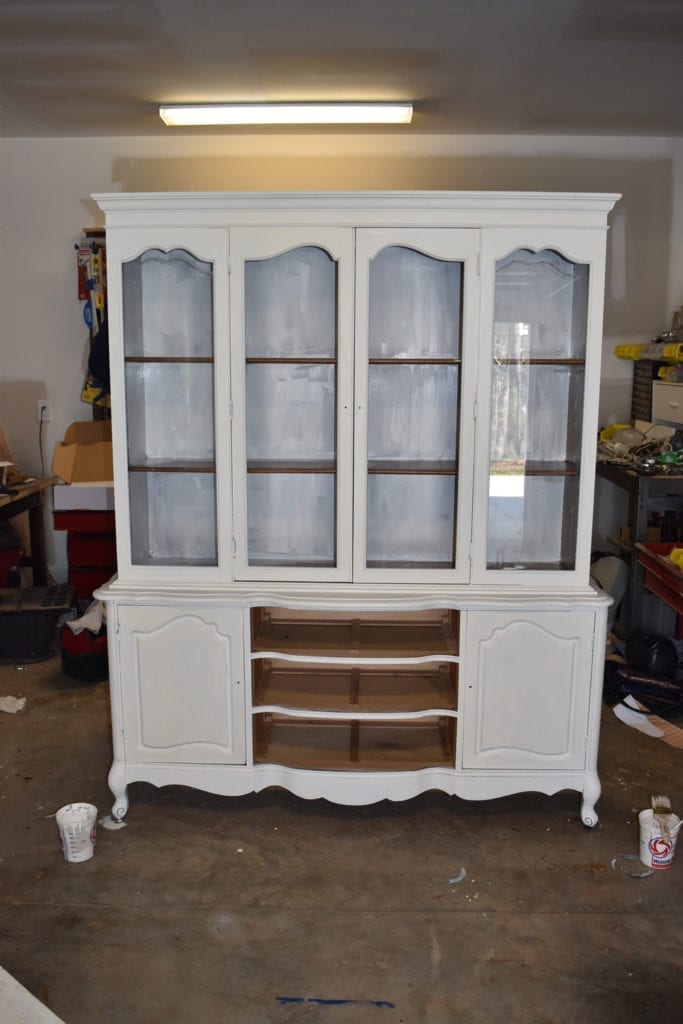
We did the painting over the course of a few days, it took about two coats + more in certain places.
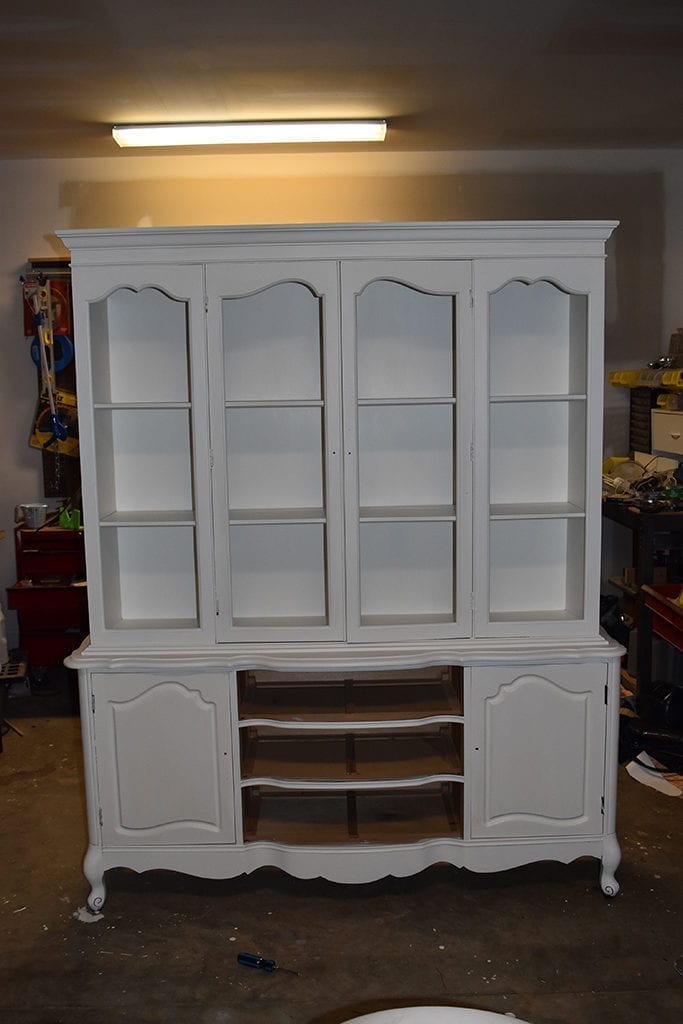
Once we finished painting and it was fully dry, we began sanding. Oh, and feel free to make this an all-hands-on-deck family project. Kids love painting and sanding.
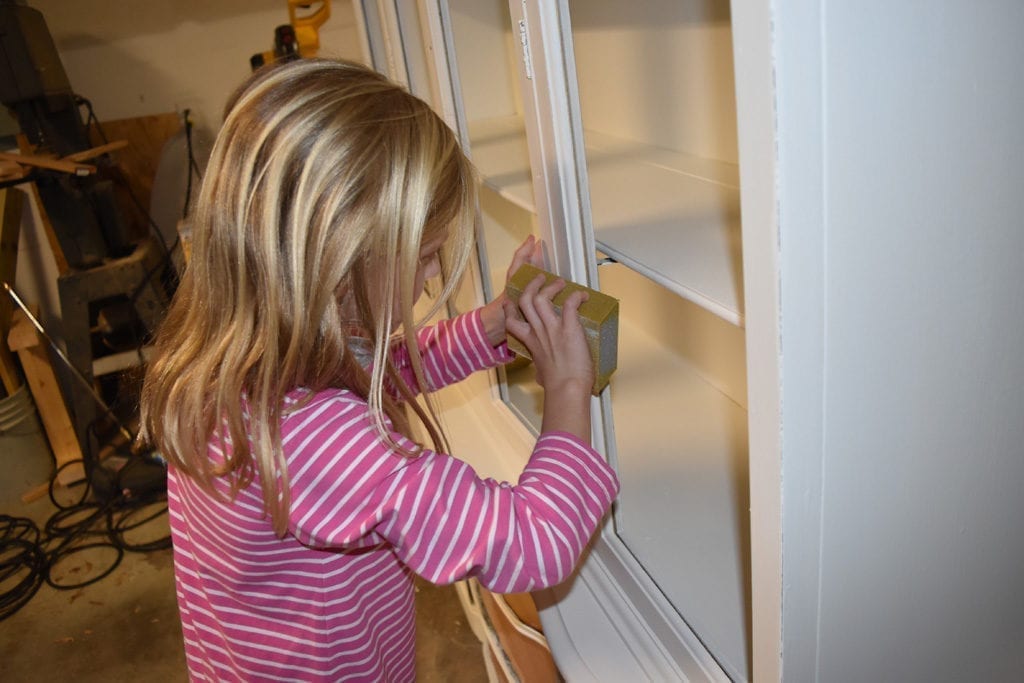
We sanded in places where natural wear would occur, like on edges, corners and grooves. Sanding in these places adds natural contrast and makes a new piece instantly vintage.
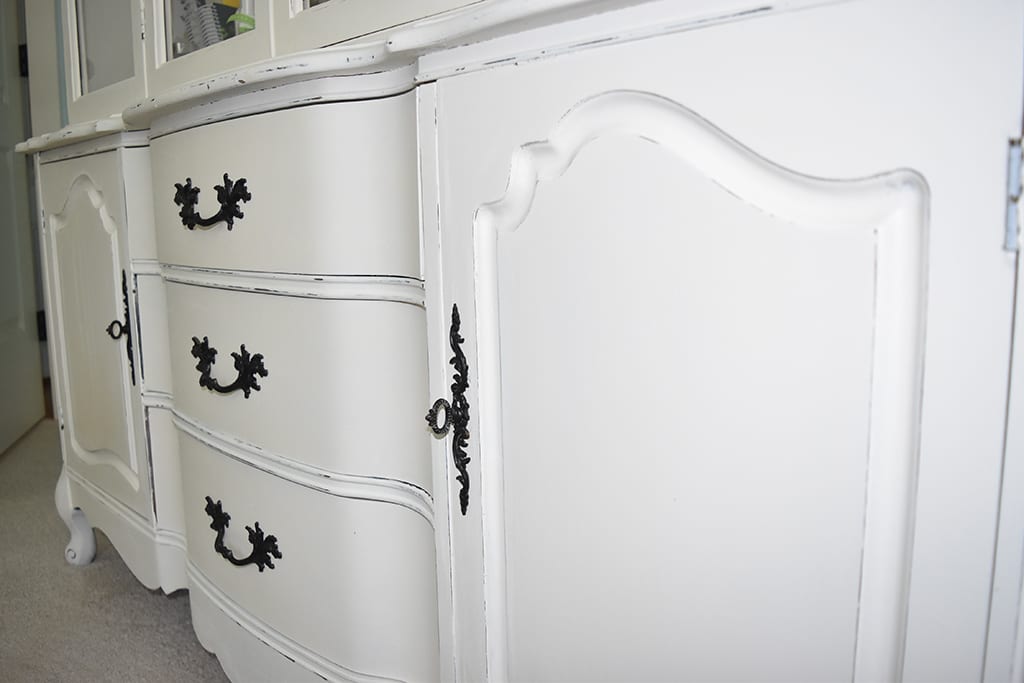
So easy, so much fun, and it has become one of my favorite pieces.
SaveSave
