The last several months have come with a lot of mixed emotions– full heart, then heavy heart. Hectic schedules and home schooling. Then time and space. Fear, anger and tears. Then gratitude. Injustice, then glimmers of hope. Division, then unity.
This open-ended, emotional time– coupled with unemployment– has given me time and inspiration for creative expression. I’ve done a lot of listening, learning and healing.
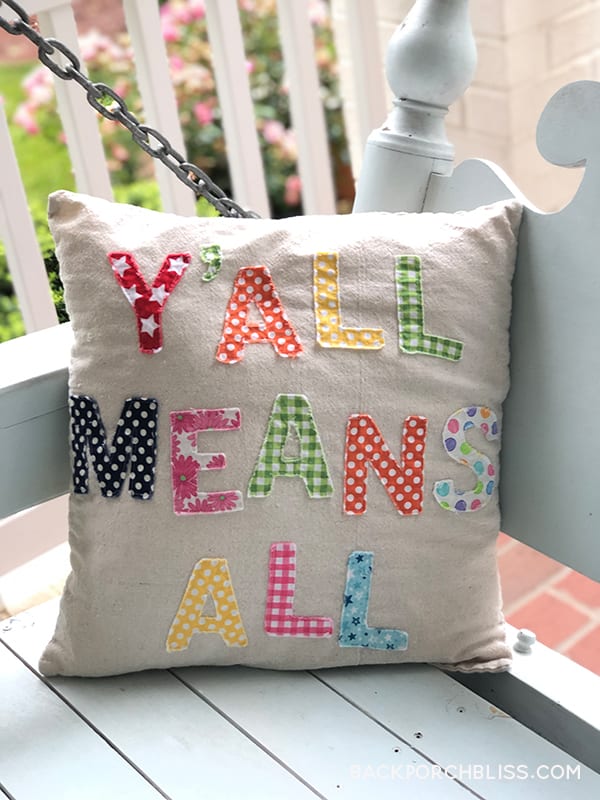
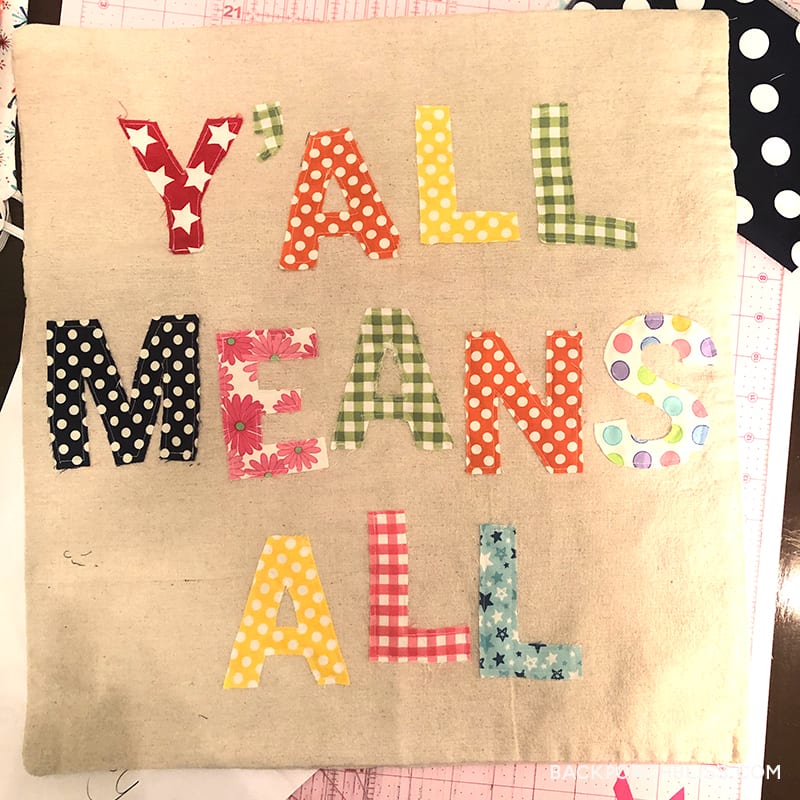
The Y’all Means All pillow was brought to you by fabric scraps from mask-making and inspired by recent events, lots of soul searching, and well, my childhood Sunday School teacher.
I can’t stop singing this song:
“Jesus loves the little children
All the children of the world
Red, brown, yellow
Black and white
They are precious in His sight
Jesus loves the little children
Of the world.”
I started making masks for health care workers through Project Mask Winston-Salem, an AMAZING community effort, then for family and friends. I’ve lived vicariously through my seaside and brightly-colored fabrics while set up in my dining room. With all this has come an abundance of FABRIC SCRAPS.
I don’t like to waste anything. I save jars, fabric, paper, ribbons, bottles, furniture, etc., because I know we MAY NEED THEM SOMEDAY. My poor husband.
But y’all. I’ve been digging into my craft supplies and have had so much fun using all the stuff Marie Kondo might have thrown out. And yes, it has sparked joy.
I had natural 18×18 pillow covers in my stash, so I created this pattern to fit within the pillow square. You can download, print pages 2-6 at 100% and cut out the pattern. The first page just shows the letters and layout.
Y’all Means All letters download (pdf pattern)
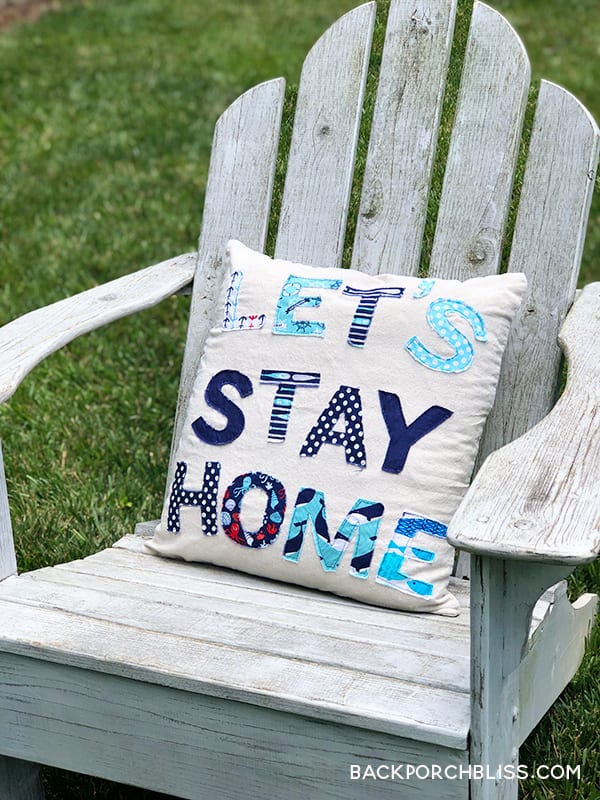
Let’s Stay Home letters download (pdf pattern)
I’m out of pillow covers, so I’ve ordered these to test next. You could also use two squares of drop cloth canvas, which is inexpensive and would work well.
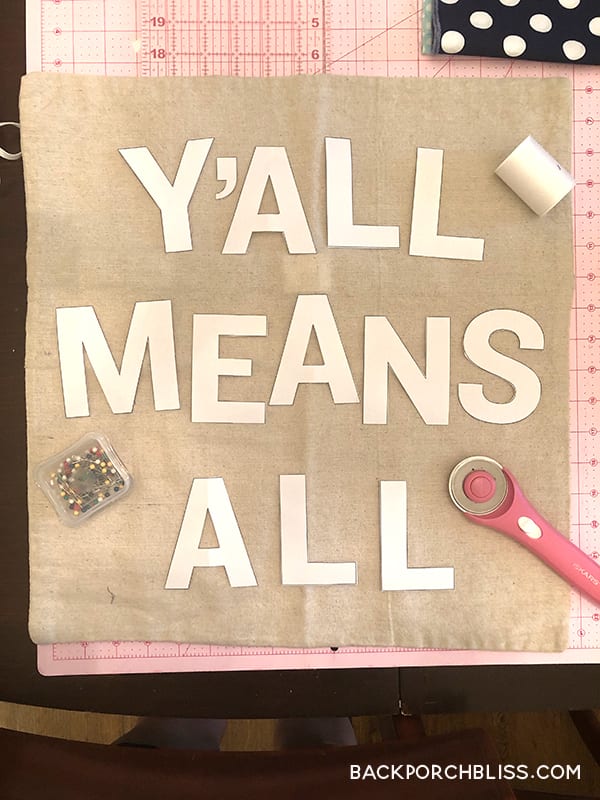
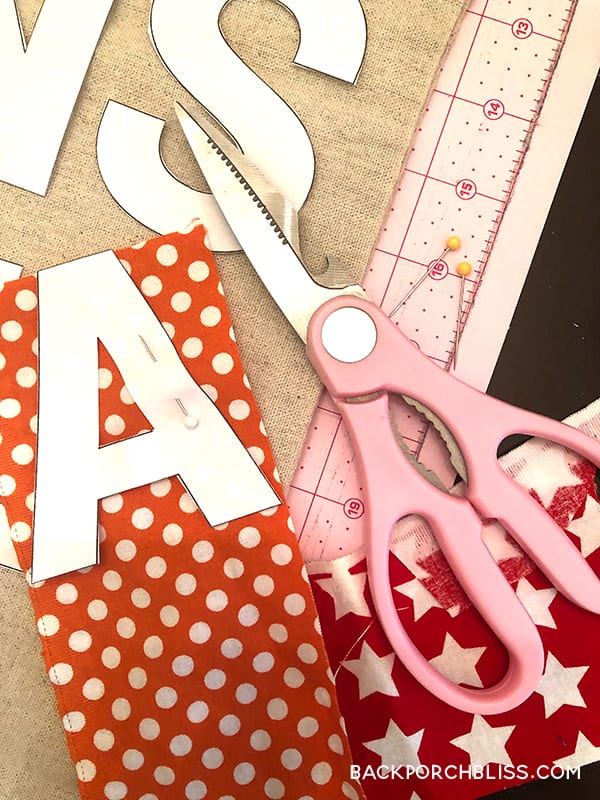
Once you cut out your paper letters, dig into your fabric scraps. Pin letters to fabric and cut. Tip: for the letter “A” just fold in half and cut out the inner portion.
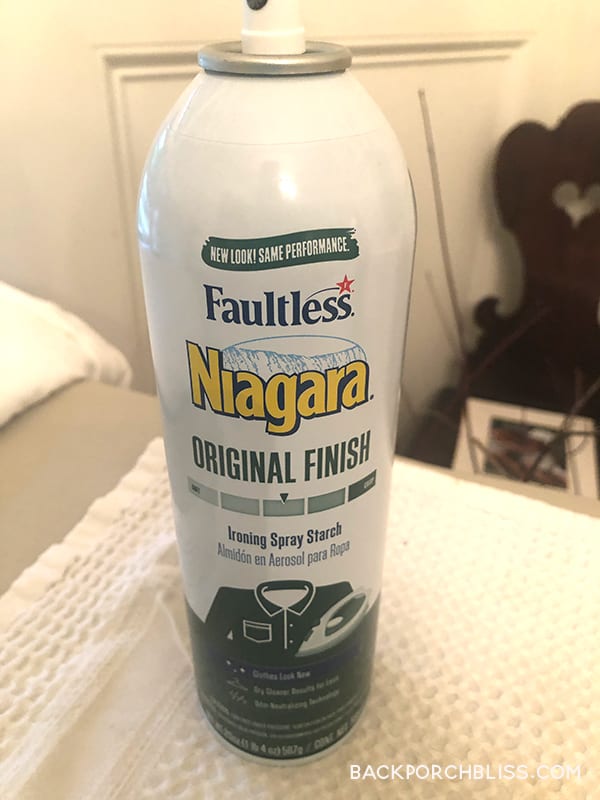
I starched and ironed all the letters before pinning. This just makes them a little stiffer and easier to deal with when sewing.
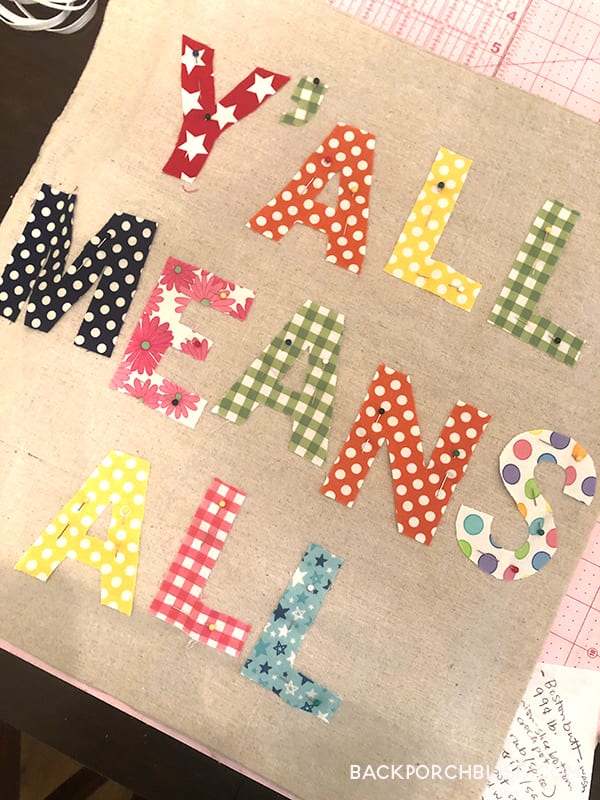
Pin all your letters in place. I wanted a more whimsical look, so you’ll notice they aren’t perfectly aligned. Tip: Slip in a board or card board between your pillow layers to avoid pinning to the back of the pillow.
Carefully sew around the edge of each letter leaving just over a 1/4″ border. I wanted the edges to fray a bit, so this edge will allow for that. It’s not a hard and fast measurement, just aim to do them about the same. The fraying is (thankfully) forgiving.
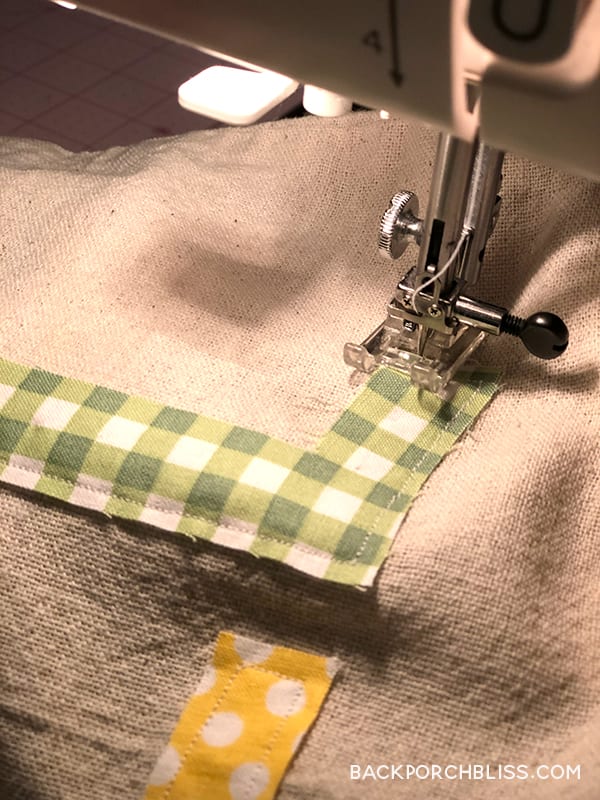
This will seem like a no-brainer: if you’re using a pillow cover, be careful to only sew the letters to the top layer. Ask me how I learned this lesson…
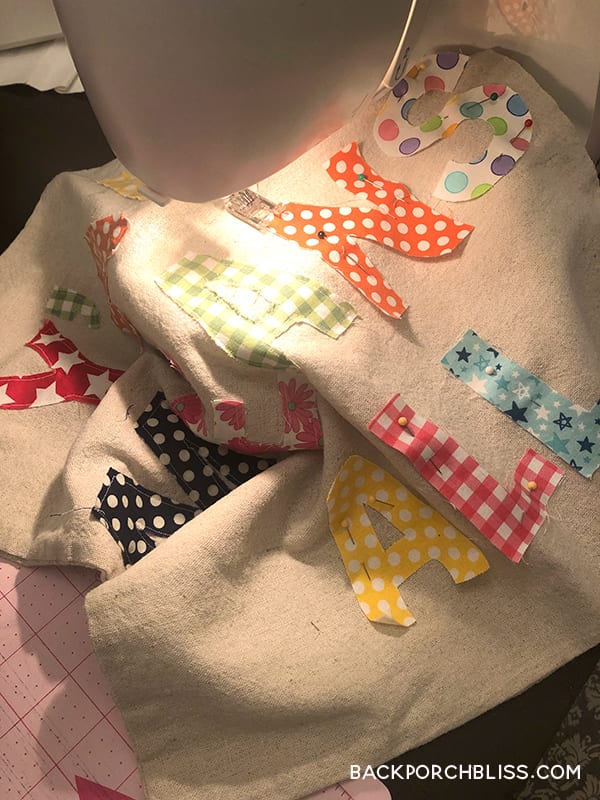
Once you have all your letters sewn, it will look something like this.
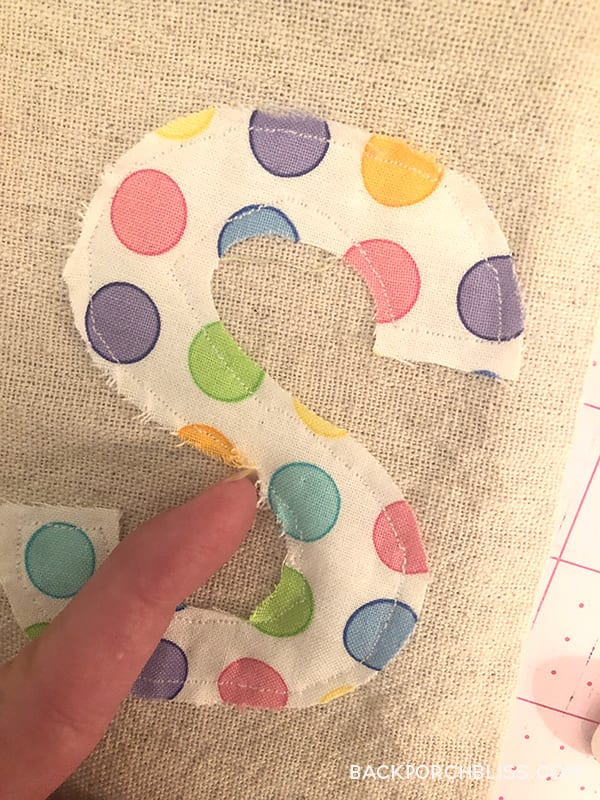
Next I smoothed all the edges up against the edges of the stitching and scraped with my nail (or you could use a butter knife) to begin raveling the edges. Don’t look at my stitching on this one– an S is hard to sew around.
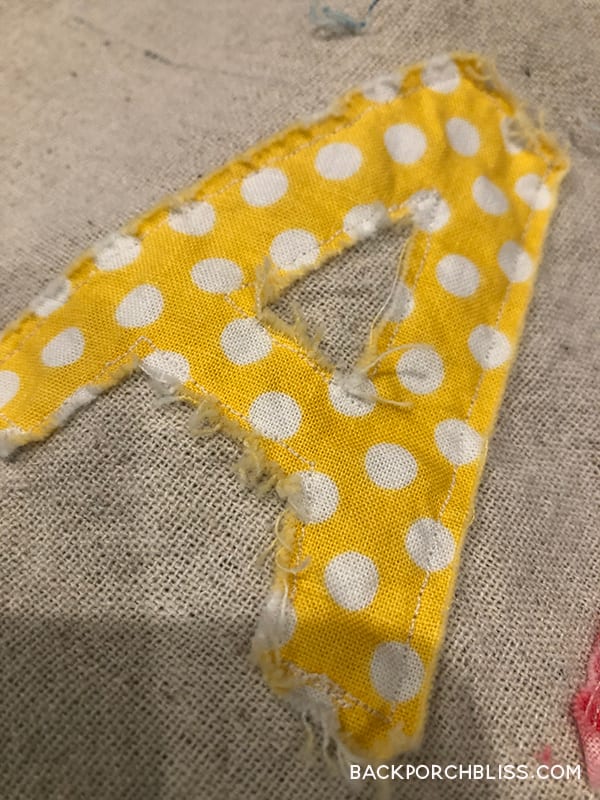
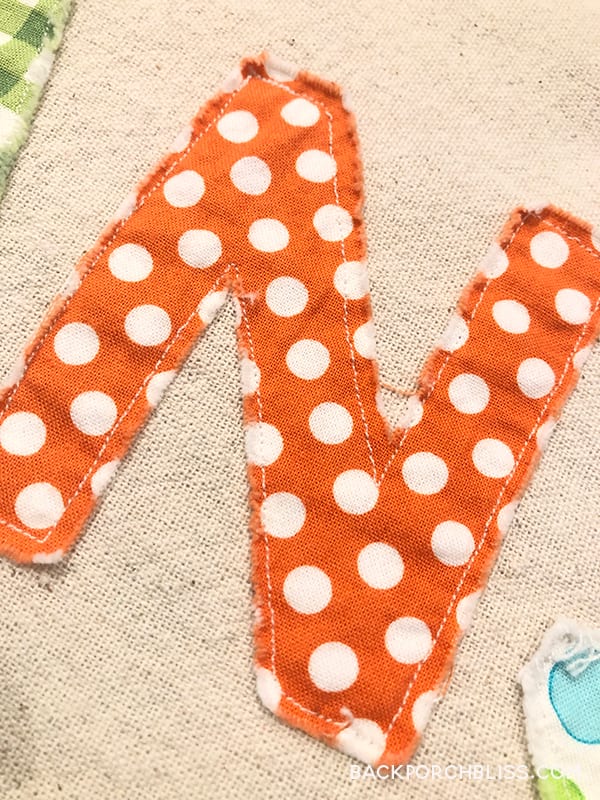
Wash the pillow cover on the quick wash cycle and dry in the dryer. During this step, you’ll see a lot of fraying and loose strings. The yellow “A” below shows before trimming; orange “N” shows after. Snip all the strings, leaving the frayed borders around the edges.
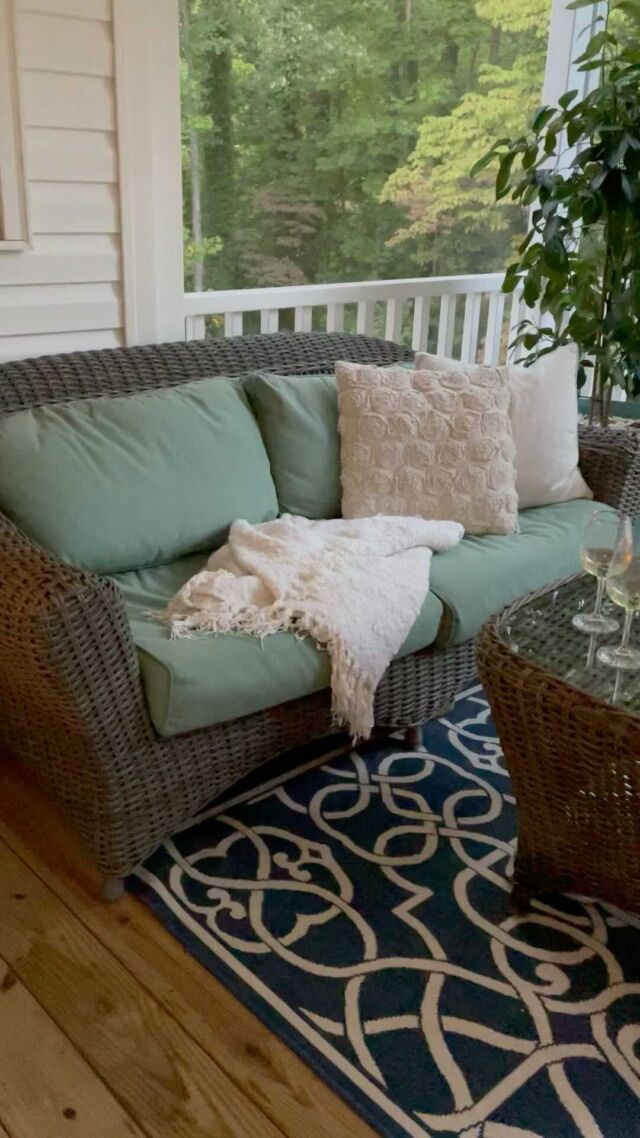
Once you’ve trimmed to your satisfaction, place your pillow insert inside the pillow cover. Throw it in your favorite corner of the couch or your front porch and pour yourself a cool glass of Cherry Sangria. Good job, y’all!

