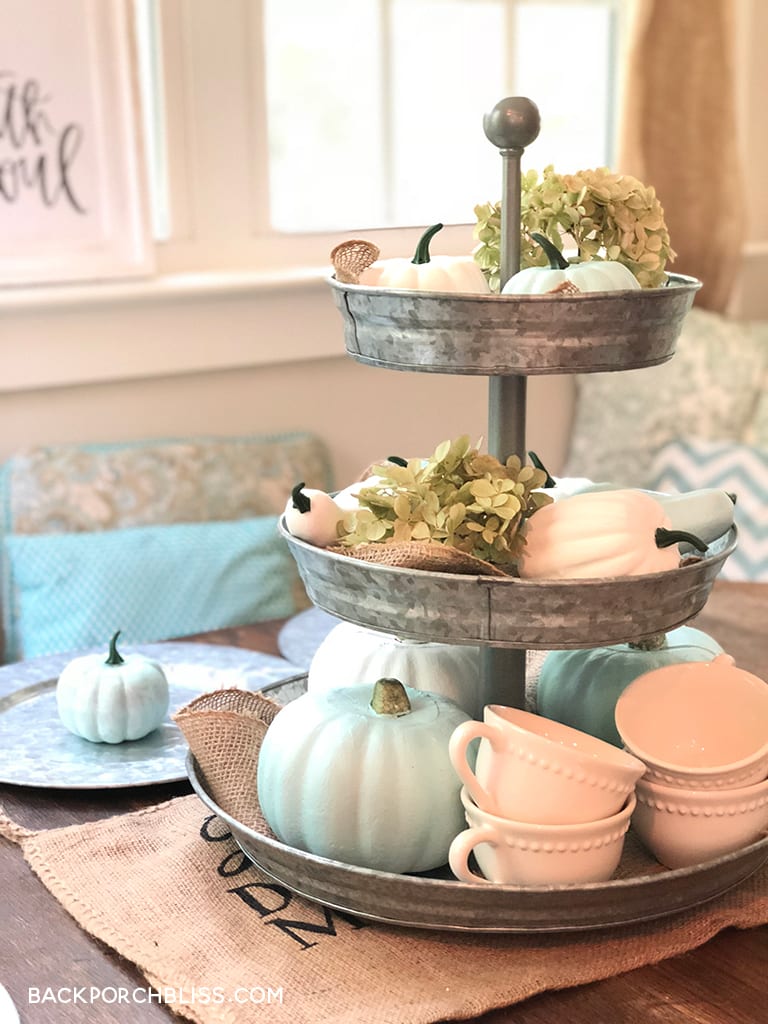
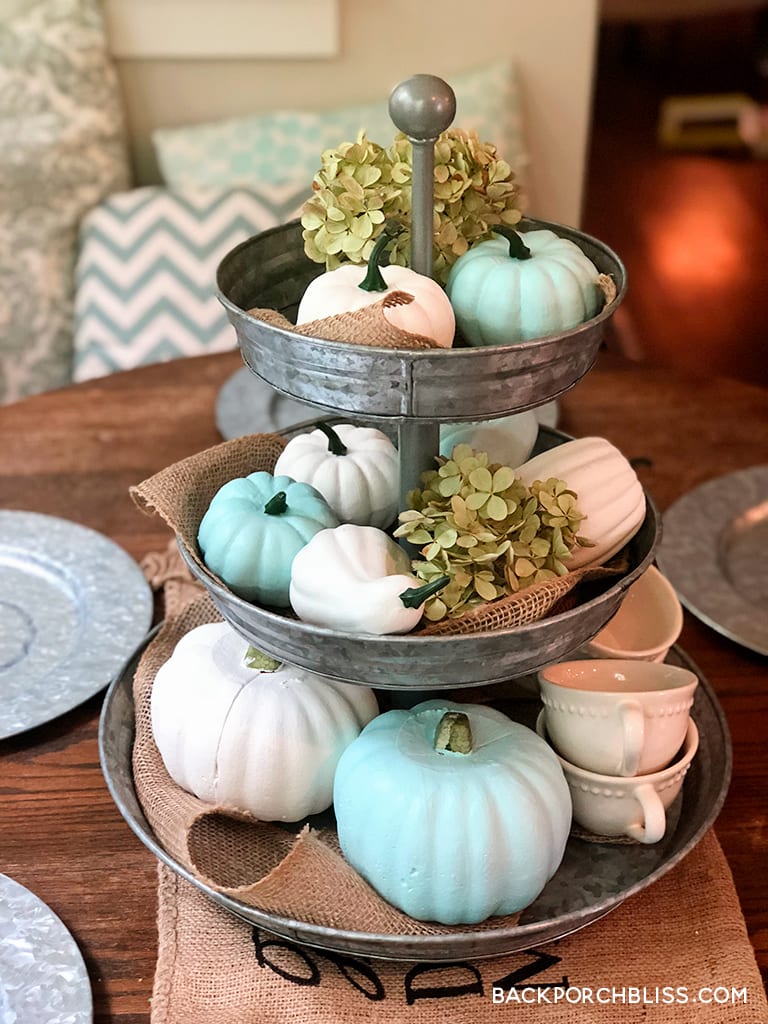
It’s (almost) Fall y’all! I wanted to create something Fall-ish for the breakfast room table without getting out the bright orange pumpkins. My smart mama came up with the idea to paint dollar-store pumpkins. I went for burlap, farmhouse white and my favorite bird egg blue. I had chalk and acrylic paints on hand, so we decided to put together this simple centerpiece that ever-so-delicately says Fall without screaming Halloween. The hardest part of this project was waiting for the paint to dry. And yes, my pumpkins do match my pillows. #matchymatchy
Here’s a “before” shot of our unpainted pumpkins.

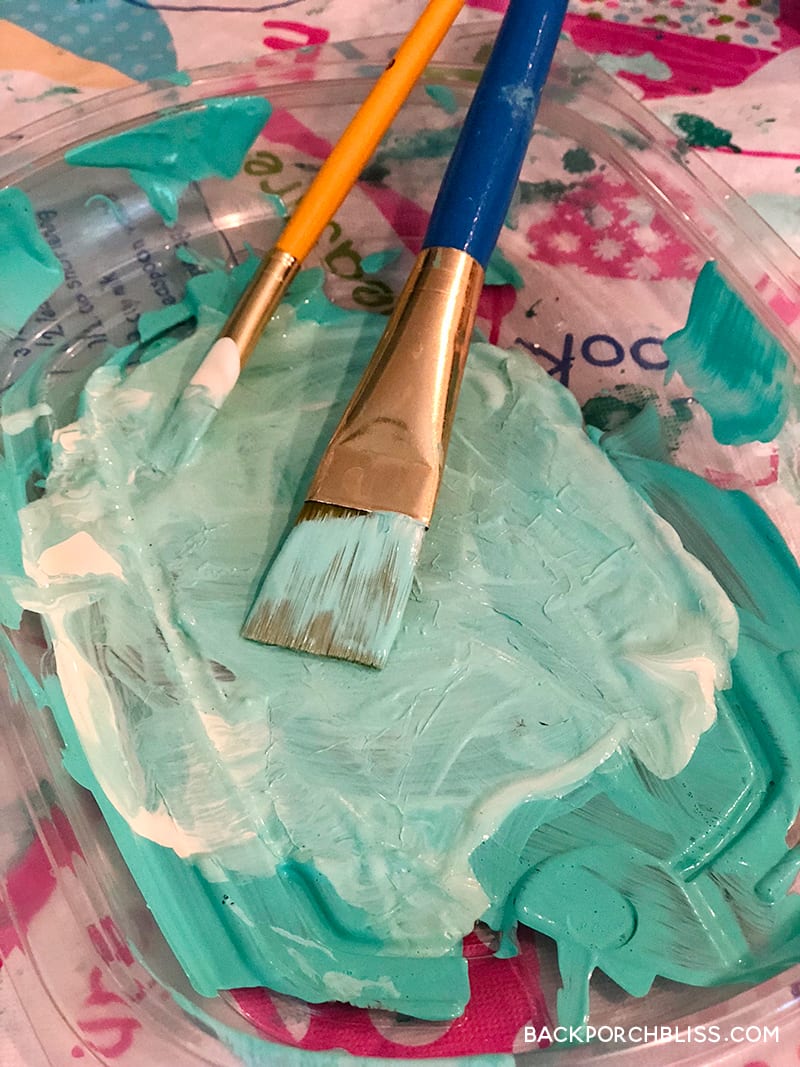
We have a huge piece of oilcloth we use for painting/messy projects, so we covered the kitchen island and painted all the pumpkins at once. Use whatever color your heart desires. I also had a big container of white chalk paint, so we mixed chalk paint into every color we blended for a matte look.
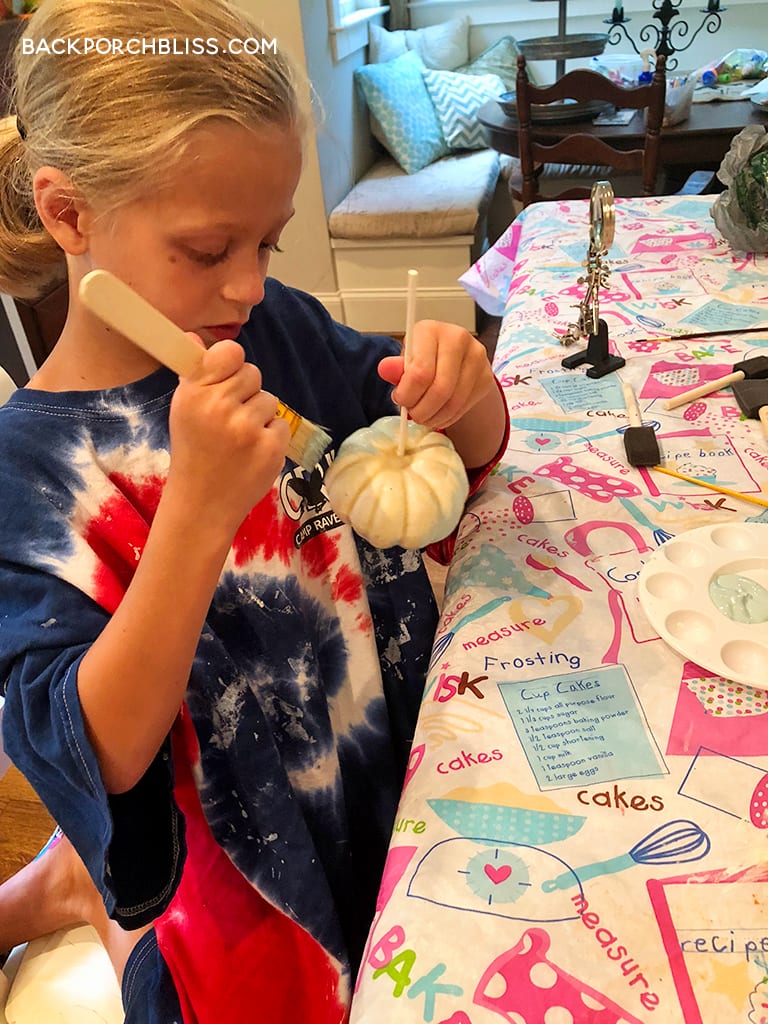
This project is also fun for kids- my daughter had the best time blending colors and painting with us. Tip: We removed the stems and used lollipop sticks to help us paint around the pumpkins without touching them. You could also use skewers.
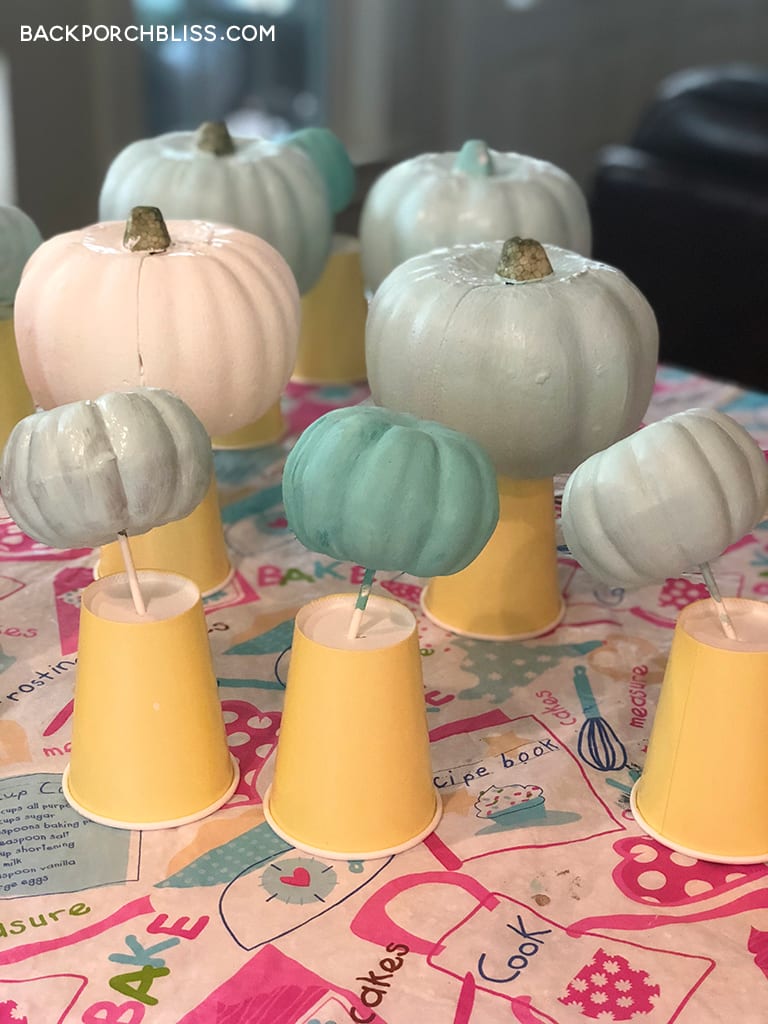
We created drying stands from paper cups with a slit in the bottom. Each pumpkin got two coats of paint.
The pumpkins dried overnight. The next morning we arranged our pumpkins on a galvanized metal stand, adding burlap strips, cream mugs and dried hydrangeas. You could also use a wooden box, a metal bucket or just arrange them on the table on a burlap runner. Simple, inexpensive and gorgeous. Thanks for the idea, Mom!




It was such fun doing this project with my girls!