I’ve taken many awesome classes at Southern Home & Kitchen, but this week’s class was the MOST FUN– Cookie Decorating with Laurel from Southern Parm. What a great opportunity to be creative and take home adorable treats for the fam. I’ve been checking out all the cookie designs and videos on Laurel’s Instagram page and I’m totally addicted.
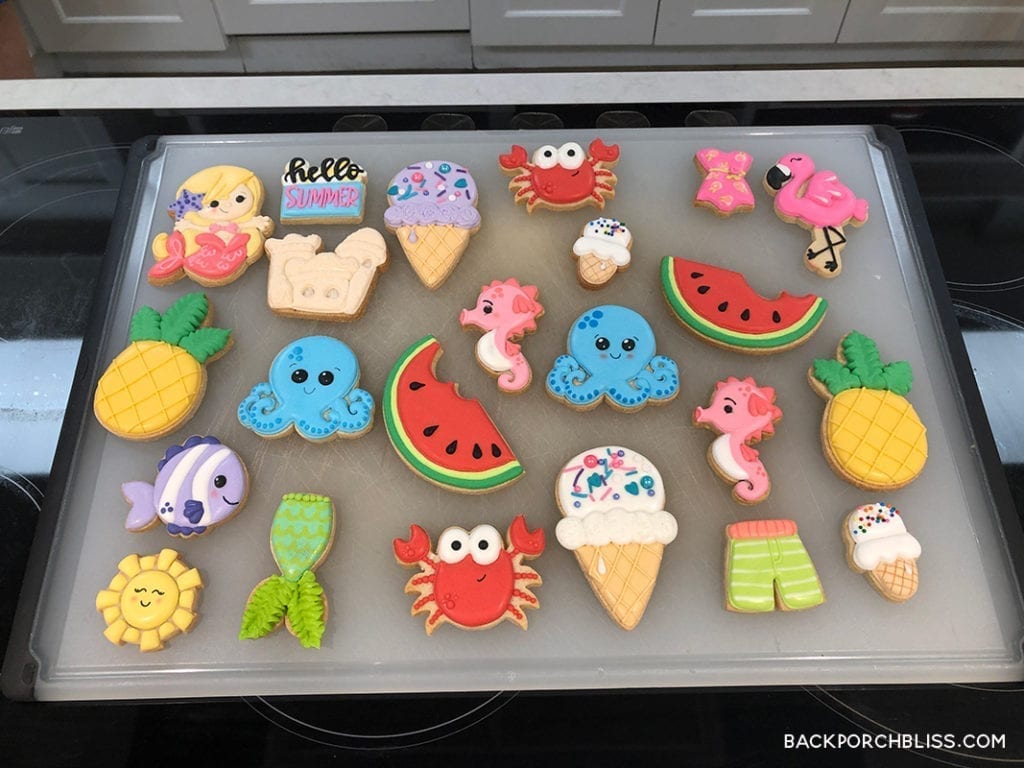
Laurel brought many of her own designs to share with us. See above, aren’t they incredible?
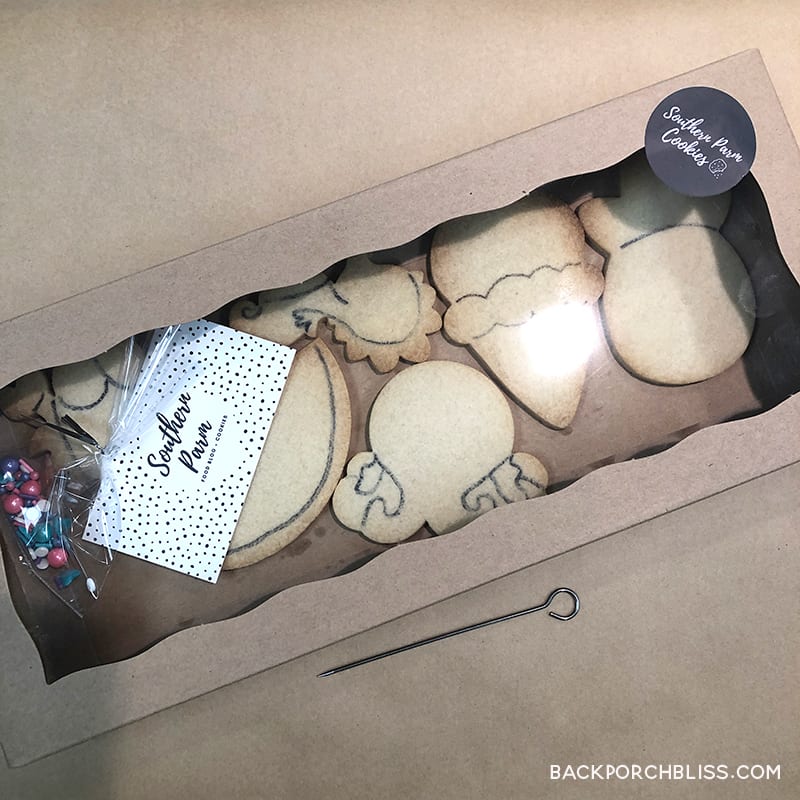
Each individual got the cutest little box of six cookies to decorate ourselves.
Laurel shared many of her tips and tricks for baking perfect and uniform cookies, as well as how to make, mix and applying the royal icing.
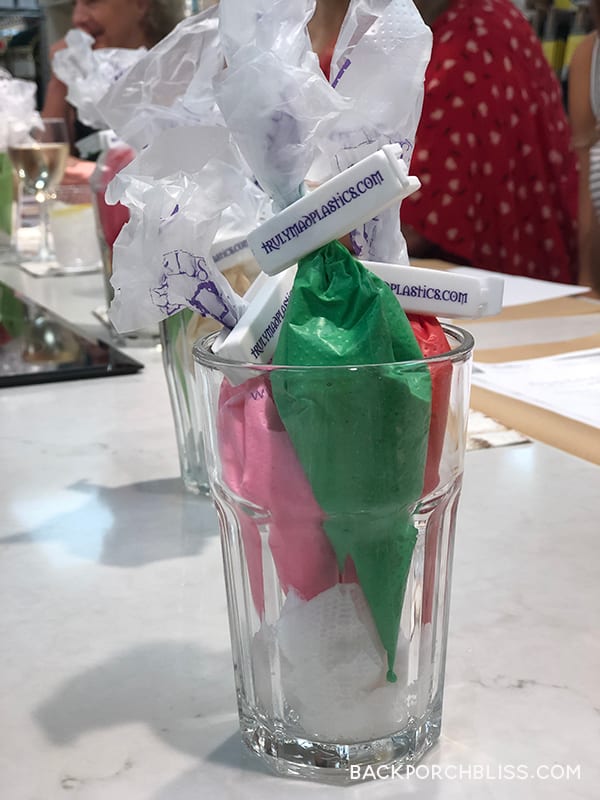
These tip-less piping bags made it really easy to outline color blocks and fill from one bag.
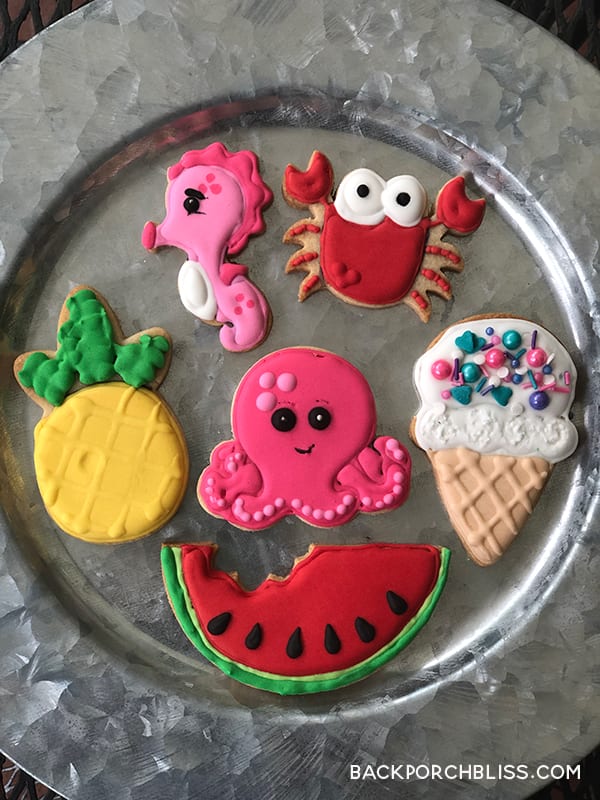
Here are my finished cookies– not too bad for a first try (if I do say so myself).
It was really fun and even therapeutic. I cannot wait to try this with my kids before they go back to school.
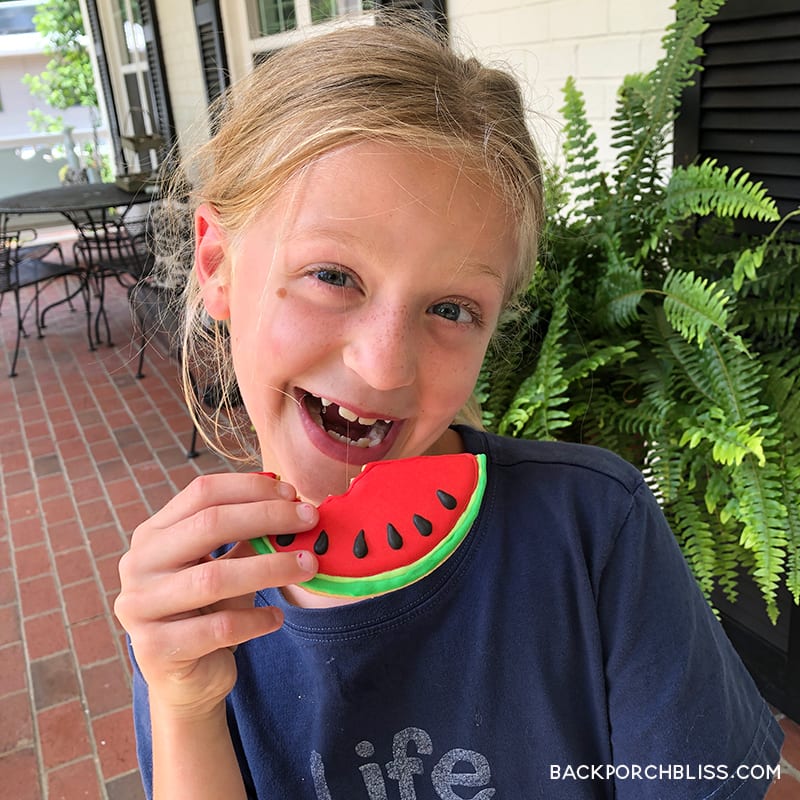
Here’s a shot of one of my taste-testers– no this doesn’t count as fruit.
Special thanks to Laurel for sharing her cookie wisdom and for allowing me to share her Royal Icing recipe in this post. Now, go sign up for her class!
I’m thinking I will be at the fall one for a new batch of cookies…

Laurel’s Royal Icing
- Total Time: 0 hours
Ingredients
- 2.25 pounds of powdered sugar
- 3/4 cup room temp water
- 1 teaspoon cream of tartar
- 5 Tablespoons Wilton meringue powder
- 2 teaspoons clear vanilla
Instructions
- Add powdered sugar to a stand mixer.
- Using a whisk, gently sift the powdered sugar with the whisk to break down lumps
- Into a measuring cup add water, meringue, cream of tartar and vanilla
- Whisk ingredients to gather until the water mixture starts to foam.
- Add the water mixture to the powdered sugar
- Put the paddle attachment on the mixer and begin mixing the ingredients together on low speed.
- Your royal icing will begin to look like a thick syrup, continue to mix on low speed for 8-10 minutes.
- Once icing begins to thicken, increase the speed to medium high for 1-2 minutes.
- Icing should be like thick marshmallow fluff out of the mixer. You can place it in an air tight container and use within 2 weeks.
- Coloring the icing: Use a liquid gel to color, add just 2-3 drops at a time. Color one cup at a time in separate containers. Color will deepen as it sets.
- Before use: Use a spritz bottle to add water as needed- this helps control the amount of water. For this icing, she used about 12-18 squirts, consistency should “ribbon” off spoon– not too thick and not too runny. We used this consistency for creating the lines and for filling.
- Prep Time: 0 hours
- Cook Time: 0 hours
More tips:
- Use an edible marker to trace sections.
- With this consistency of royal icing, it’s key to wait for each outline and section (sections that are touching) to dry if you want separation between sections. If you want the colors to blend, you won’t need to wait.





[…] We followed our old standby recipe from the American Girl Cookies cookbook to make the sugar cookie dough, and we use this recipe for royal icing. […]