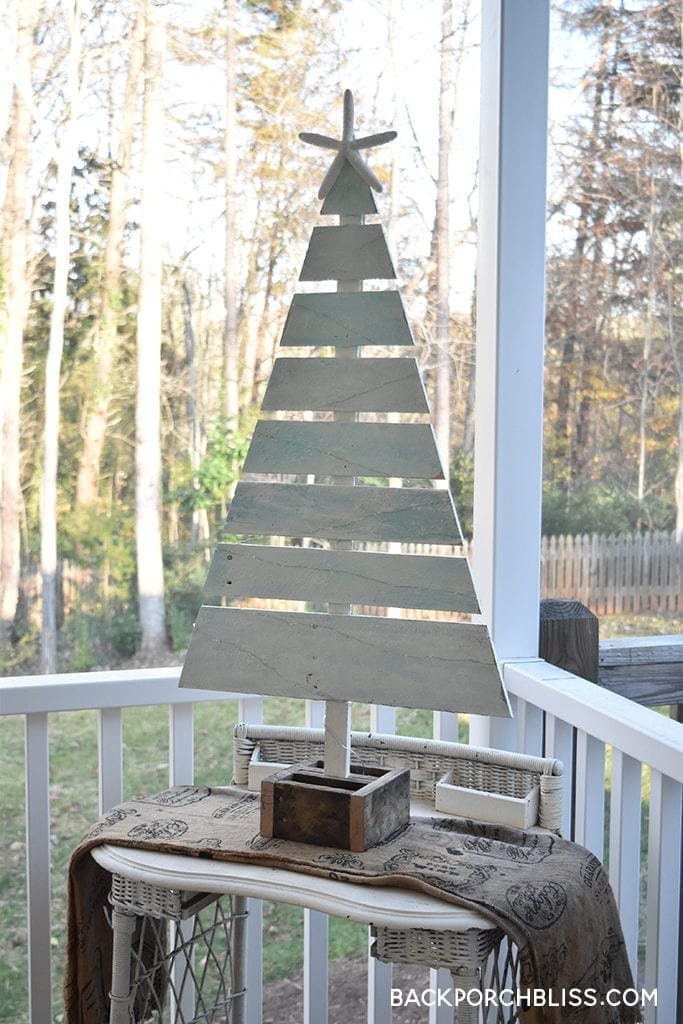
Sea trees: because who doesn’t love a coastal-looking tree?! This project is so simple, we used pallet wood we already had on hand. Because we finished with Salt Wash and wanted a rugged, worn look, we didn’t pre-sand any of the wood.
Here’s what we used:
Tools
- Orbital Sander
- Nail Gun
- Miter Saw
- Clamps
- Table Saw for middle base scoring
- Chisel for middle base
Supplies
- Scrap pallet wood
- 1″ Brad Nails, tree
- 2″ Brad Nails, base
- Salt Wash
- Cream, Blue Paints
- Wood Glue
- Chip Brush, Foam Brush
- Starfish
- Velcro dot
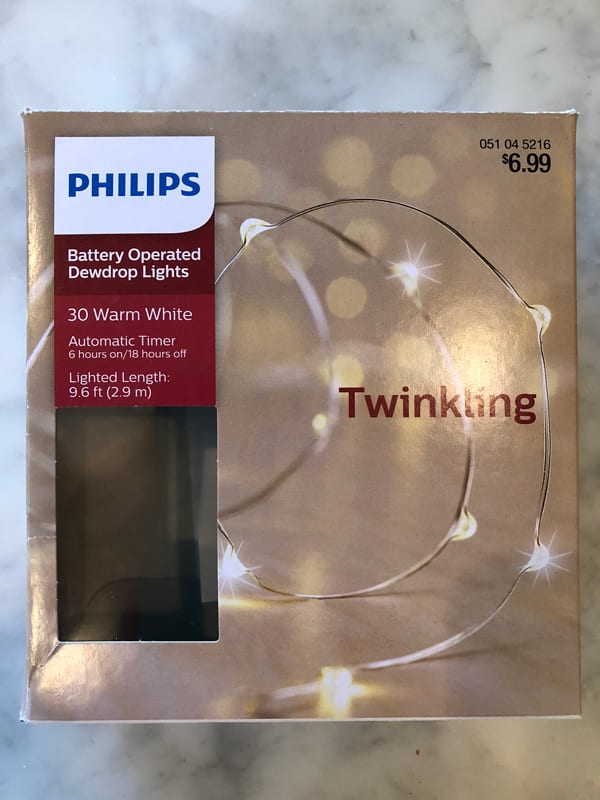
- Twinkling Lights, 30 Warm White (We used Phillips brand with an automatic timer)
I created this pattern and printed on card stock to use as a guide for the height and angles. Make sure you print “Actual Size” on a “Poster” (see screen below). It will tile the pieces for you.
Sea Tree Pattern (click to print pdf)
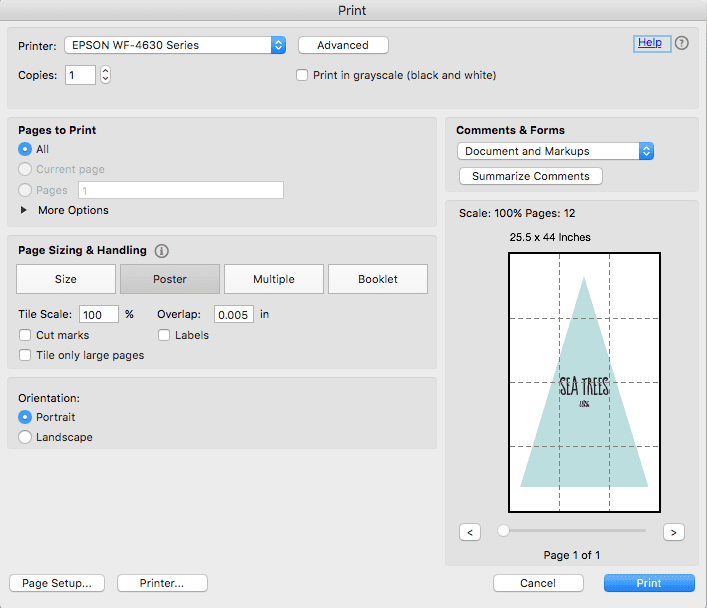
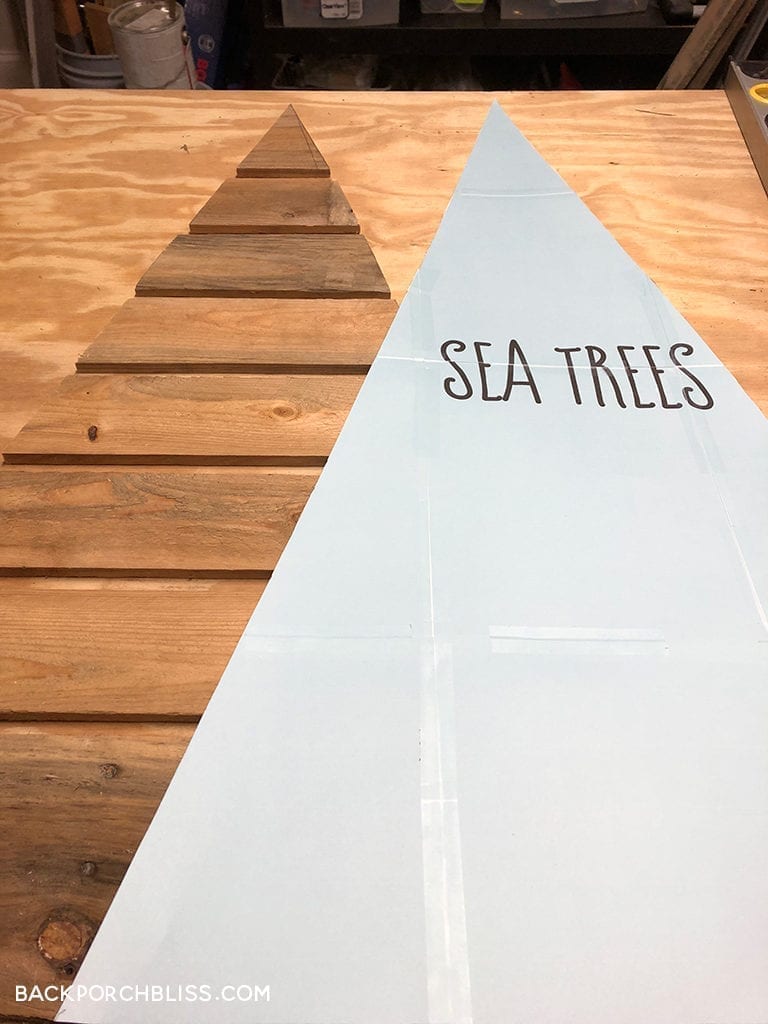
I cut the pattern with a paper trimmer and taped together so we could reuse it. Line up your boards and space them as desired– this is not an exact science, but we left about an inch between boards. We used wider boards for the top and bottom boards.
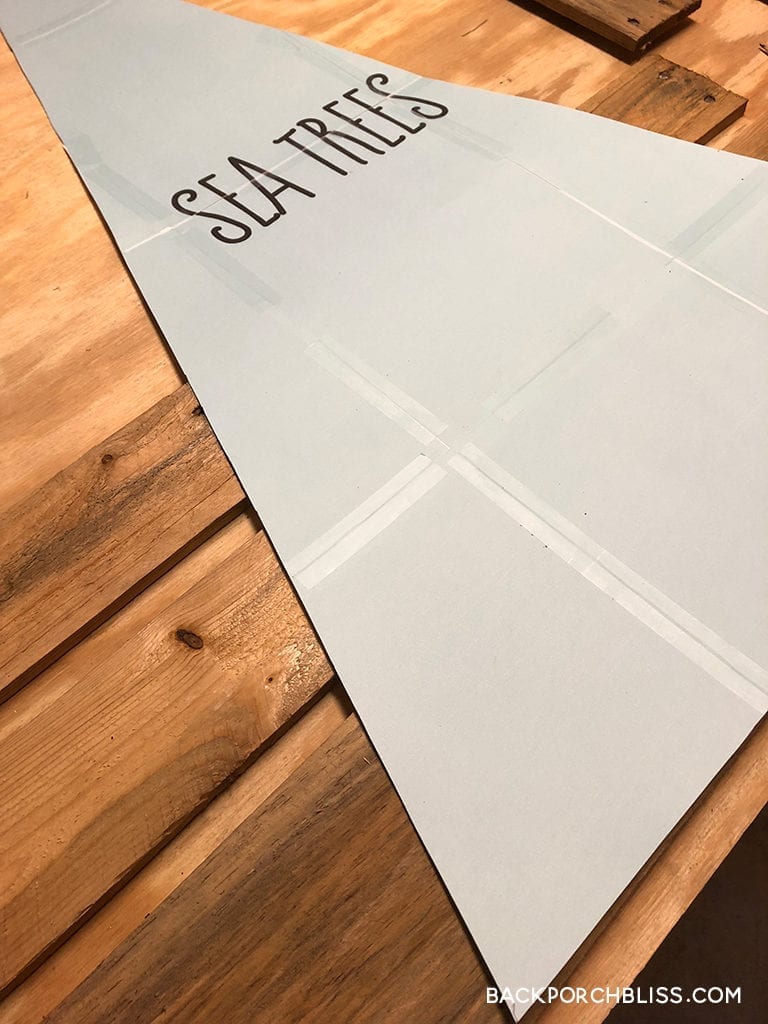
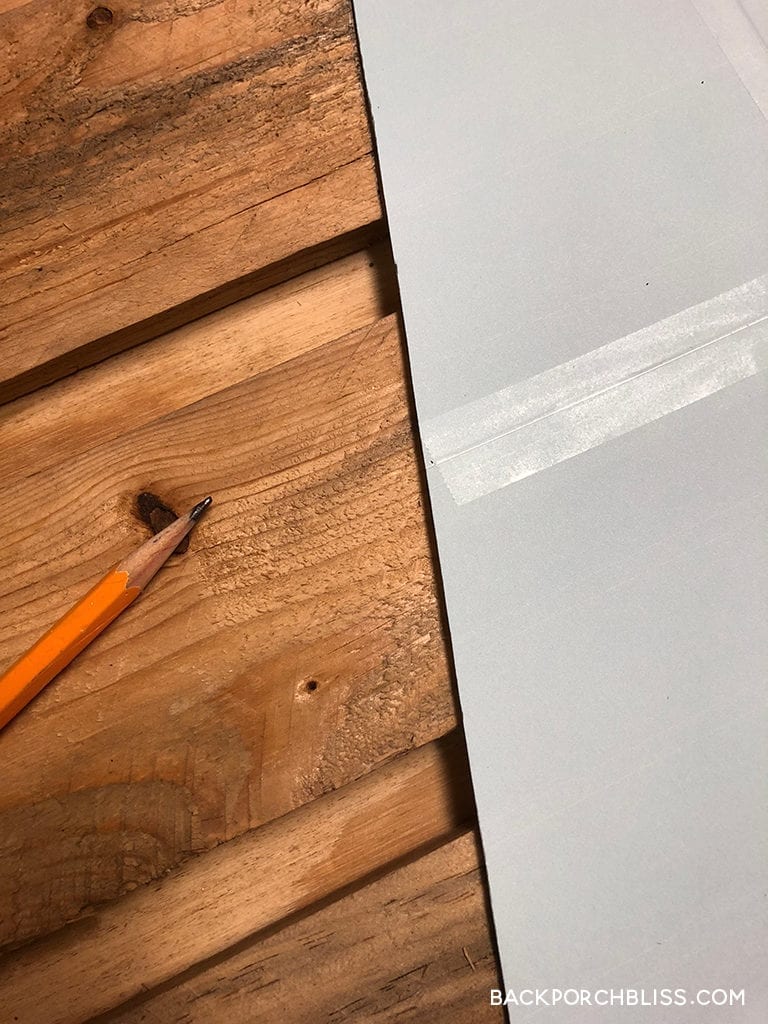
Once we lined them up how we wanted them, we traced the edge of the pattern on either side and cut the boards.
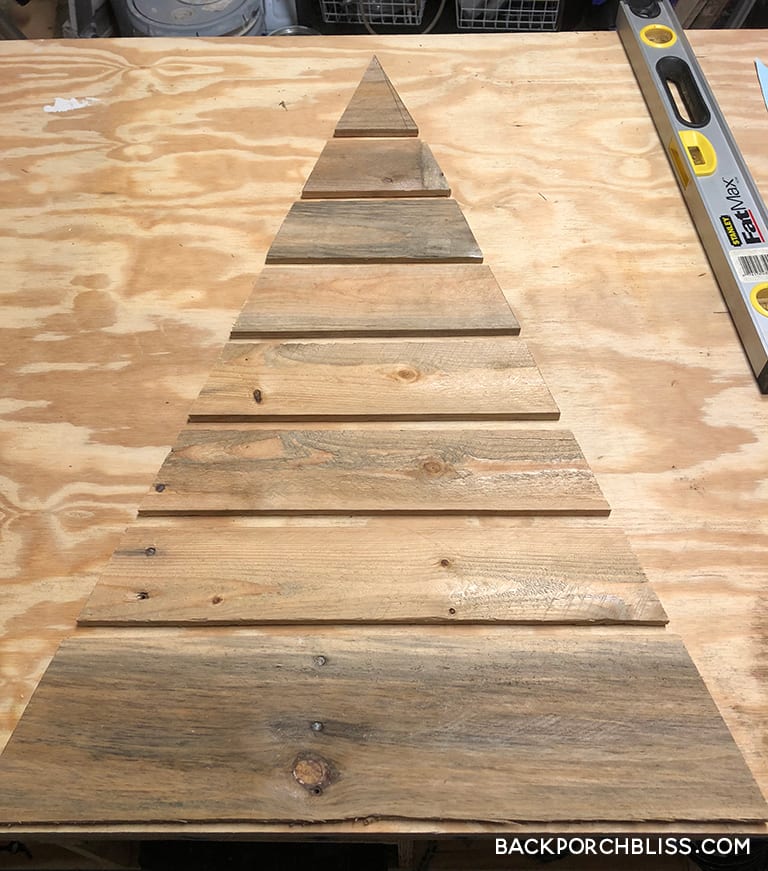
We used another scrap pallet board (about 1.5″ wide) and glued it to the back. Leave enough at the bottom for the tree stem and base.
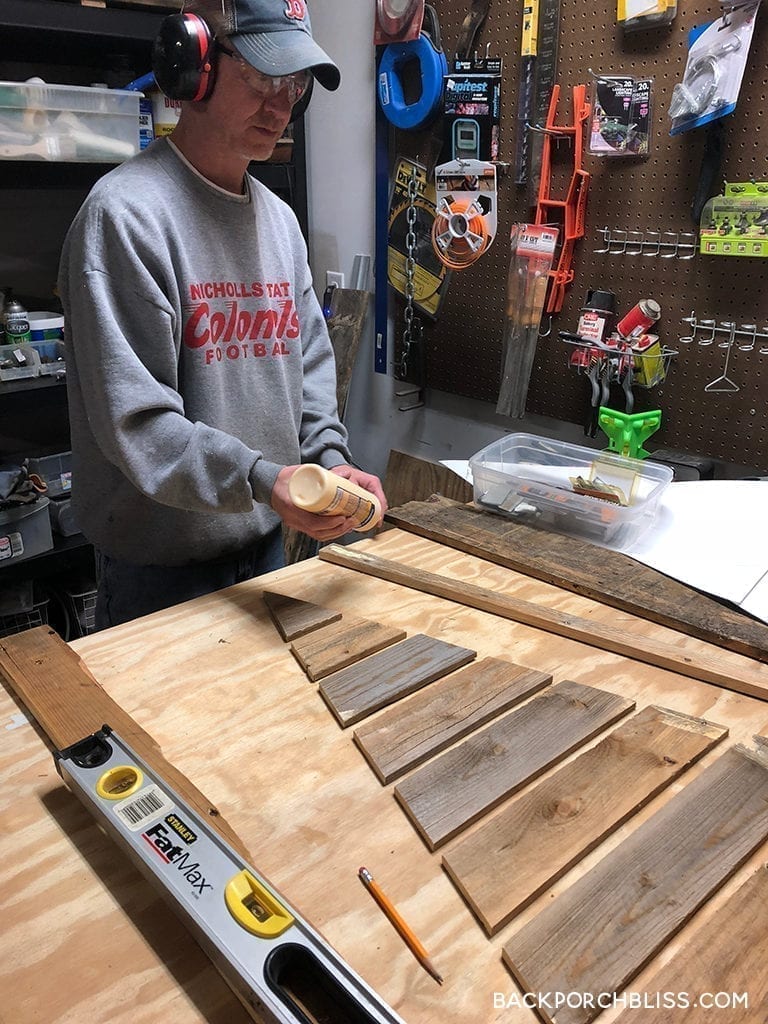
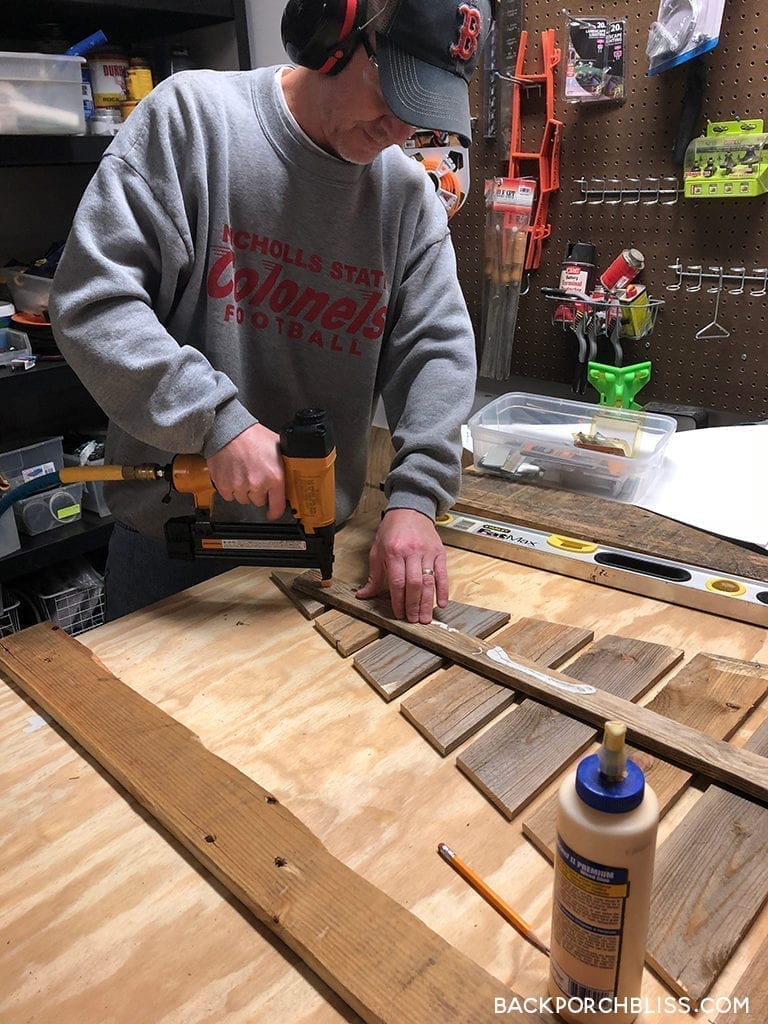
We secured the back piece using 1″ nails.
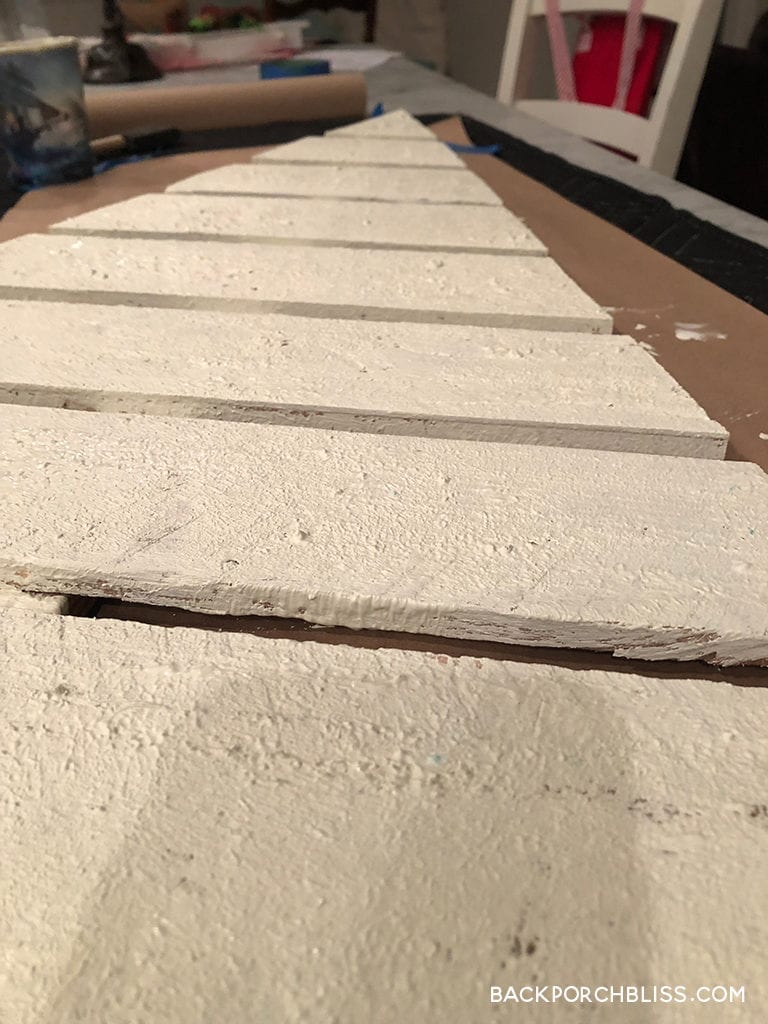
I had never used Salt Wash before, but was excited to try it for this project. I wanted a coastal look for my tree, so this was the perfect opportunity to try it, and it was super easy. I used an acrylic paint in a creamy white– you mix the Salt Wash into the paint 1:1, stirring until you get a consistency that resembles icing.

You apply the paint onto the wood using a dabbing technique, so you see peaks and texture. I covered the entire front and sides with the cream-colored Salt Wash.
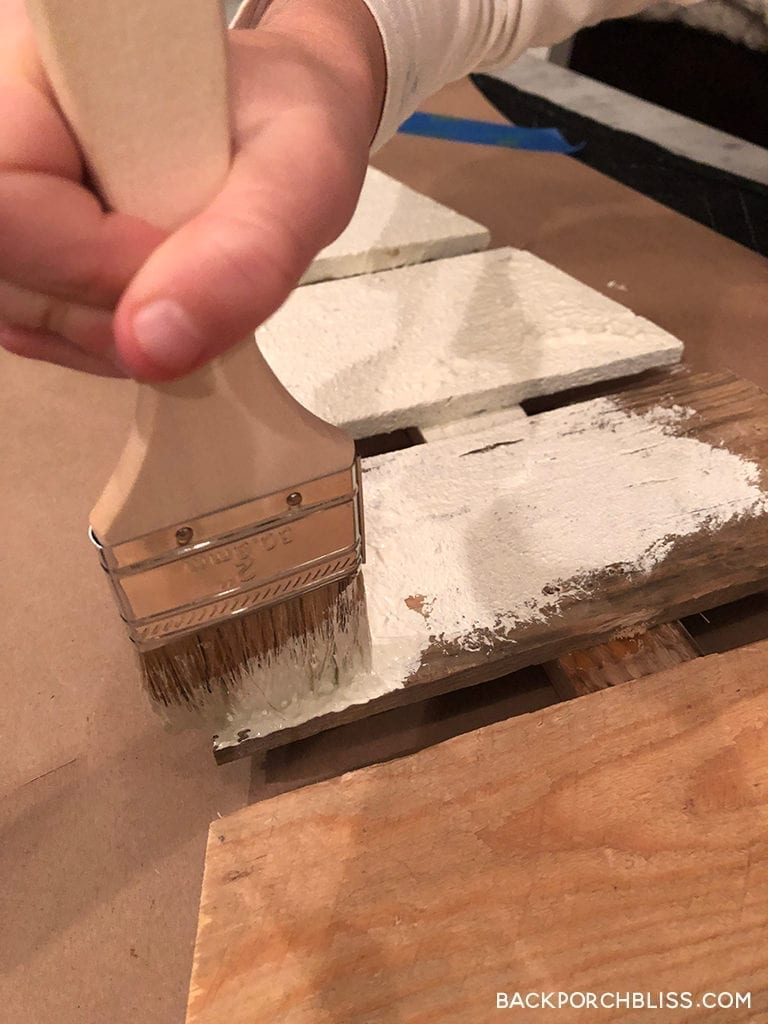
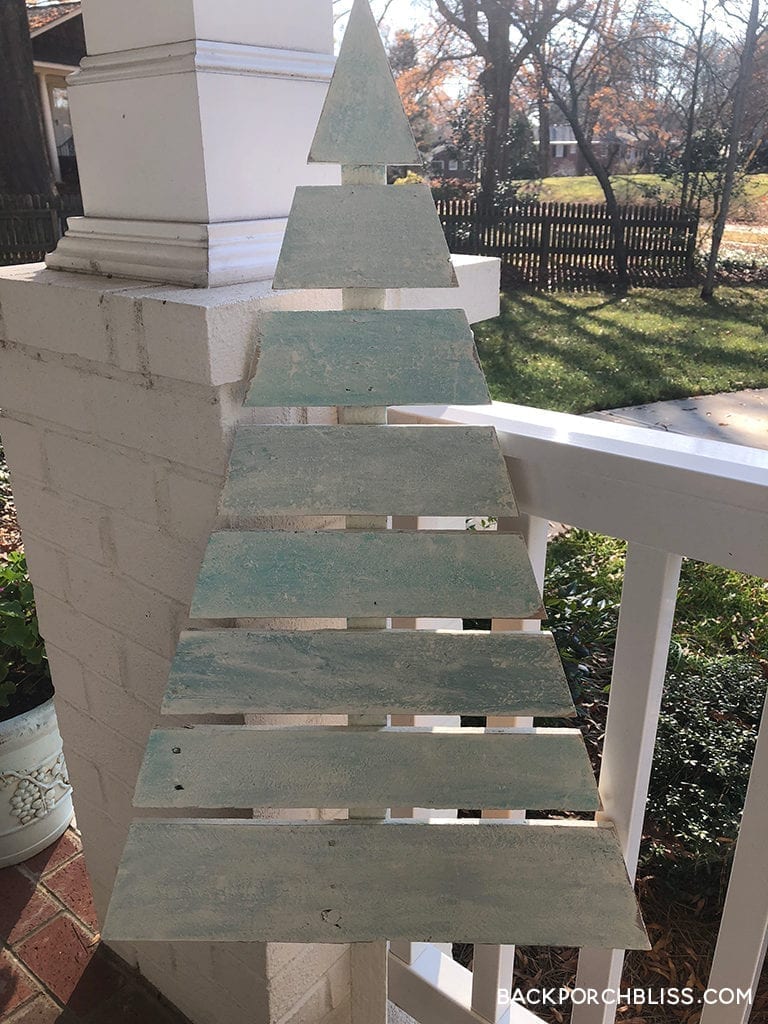
I love the texture here– it gives that rugged, sea worn, vintage look.
Next, I used a couple different coastal blues and dry brushed a thin layer until I got the amount of color I wanted.
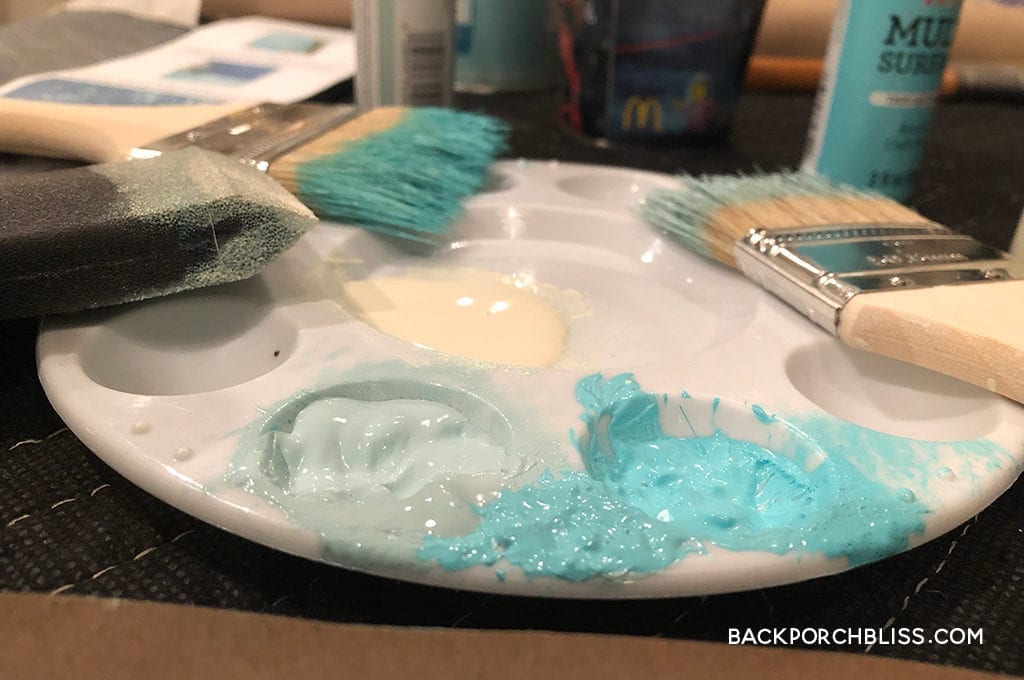
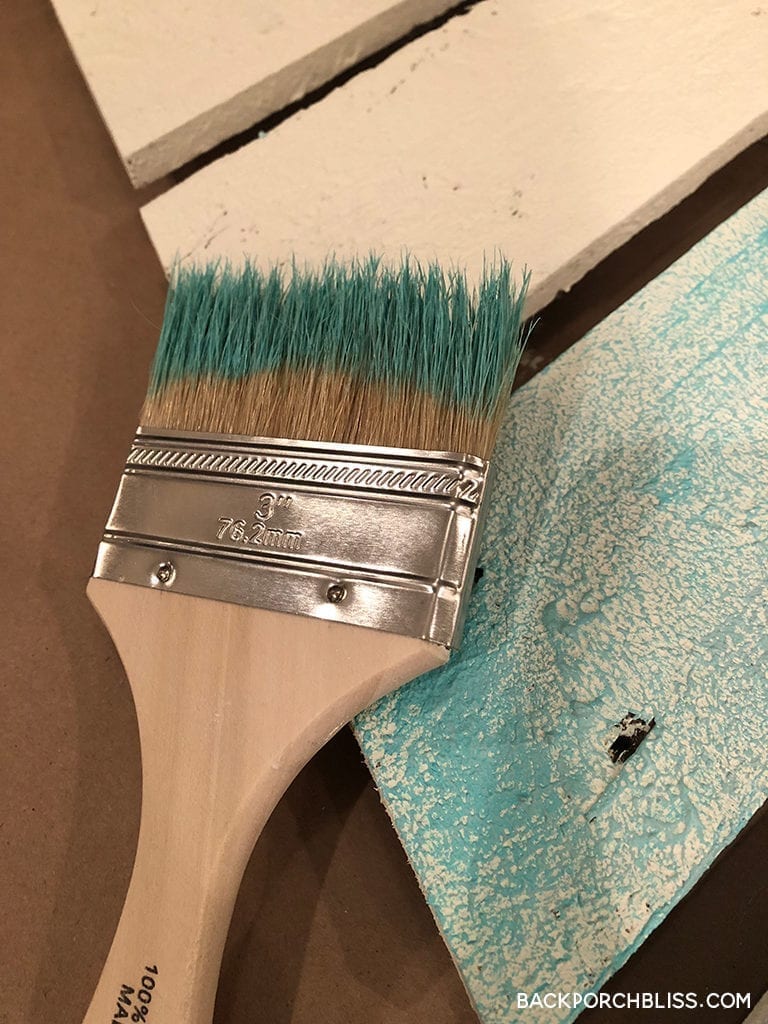
It was a little too dark for me, so I used more of the cream color with a foam brush to soften the blues.

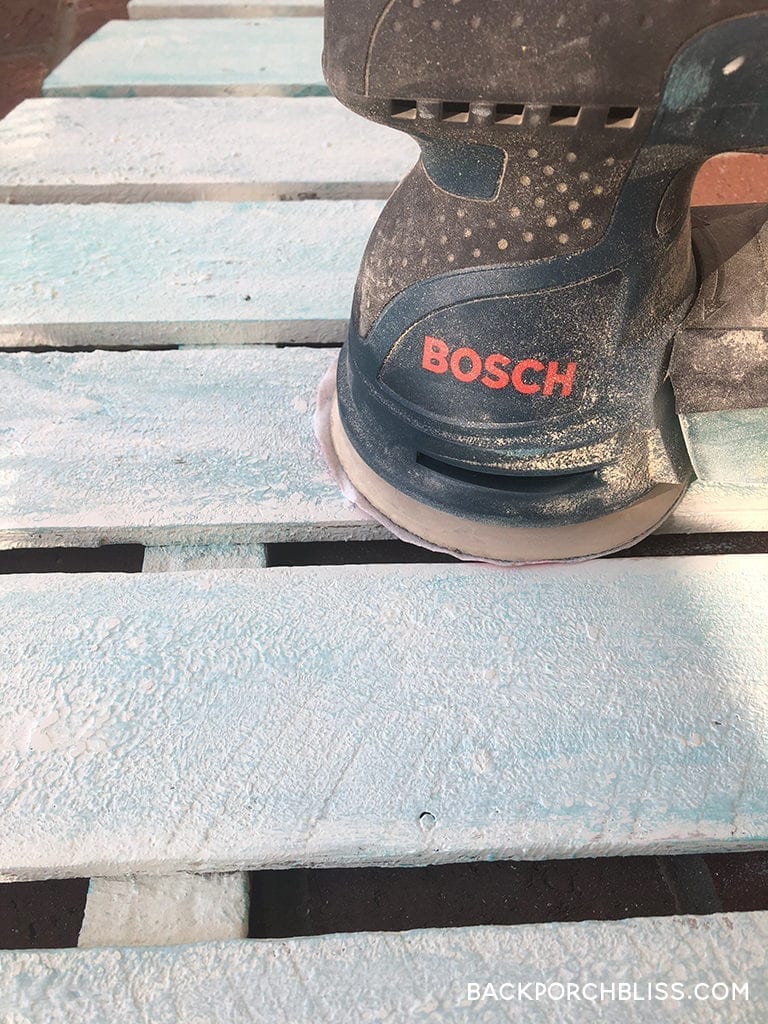
I let the paint dry overnight. Then, I sanded to further blend and bring more of the cream color underneath until I had the color and desired texture. I also knocked off some of the ends and edges for a distressed, worn look.
Next, we built the tree base, using a 2×4– (4) 5″ pieces and (2) 7″ pieces.
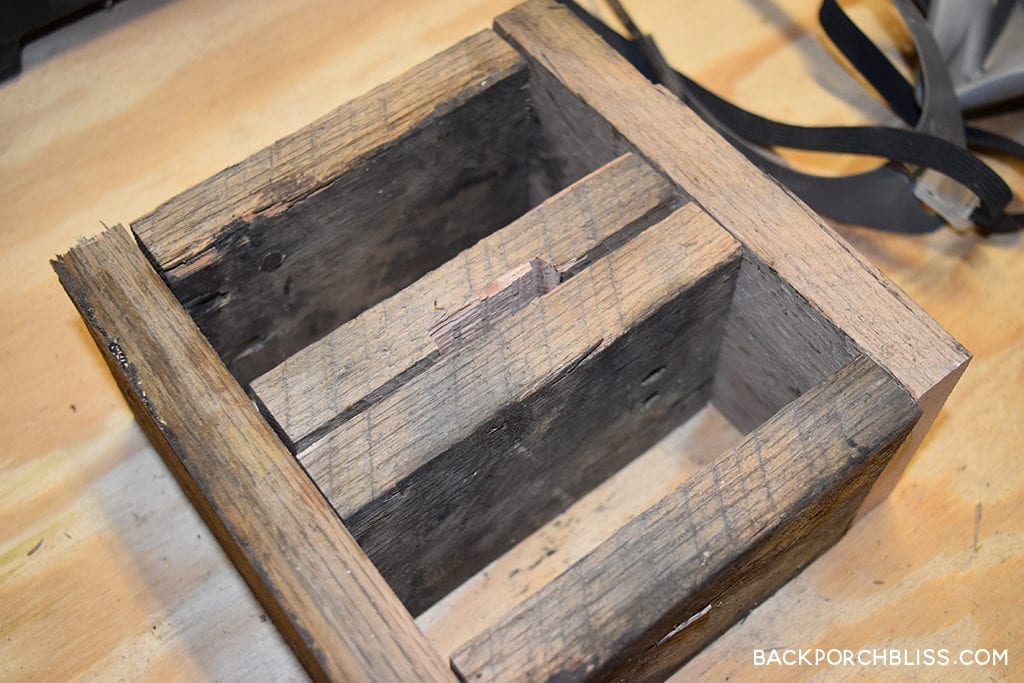
Glue and nail to assemble the box.
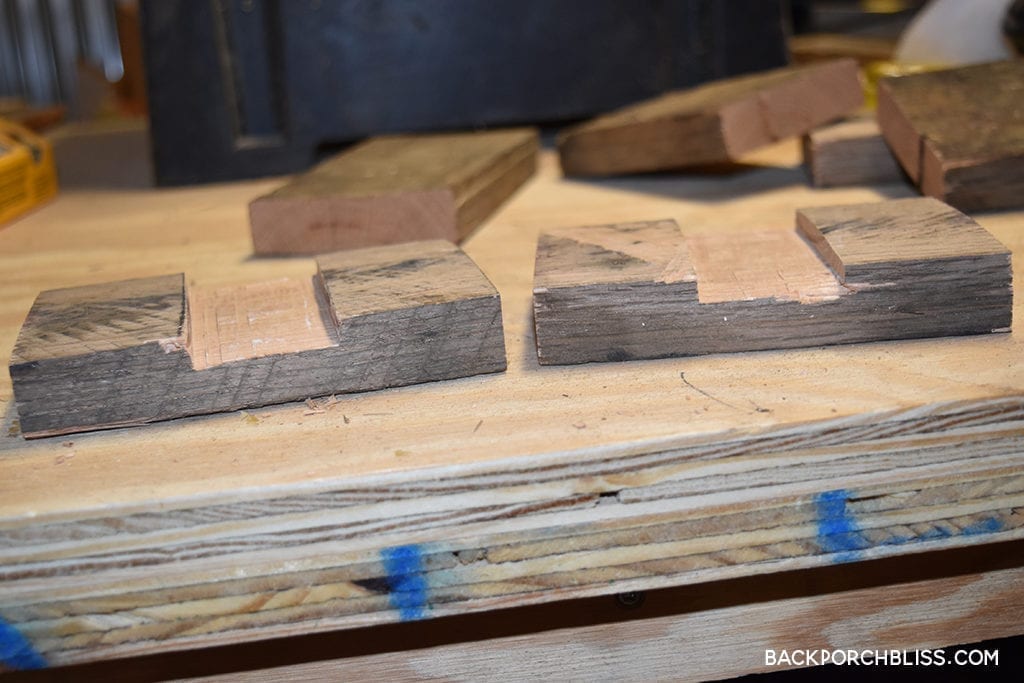
We used the table saw to score the appropriate depth that would house the tree stem and chiseled out the grooves. If your stem needs to be shortened to the desired height, go ahead and trim that as well.
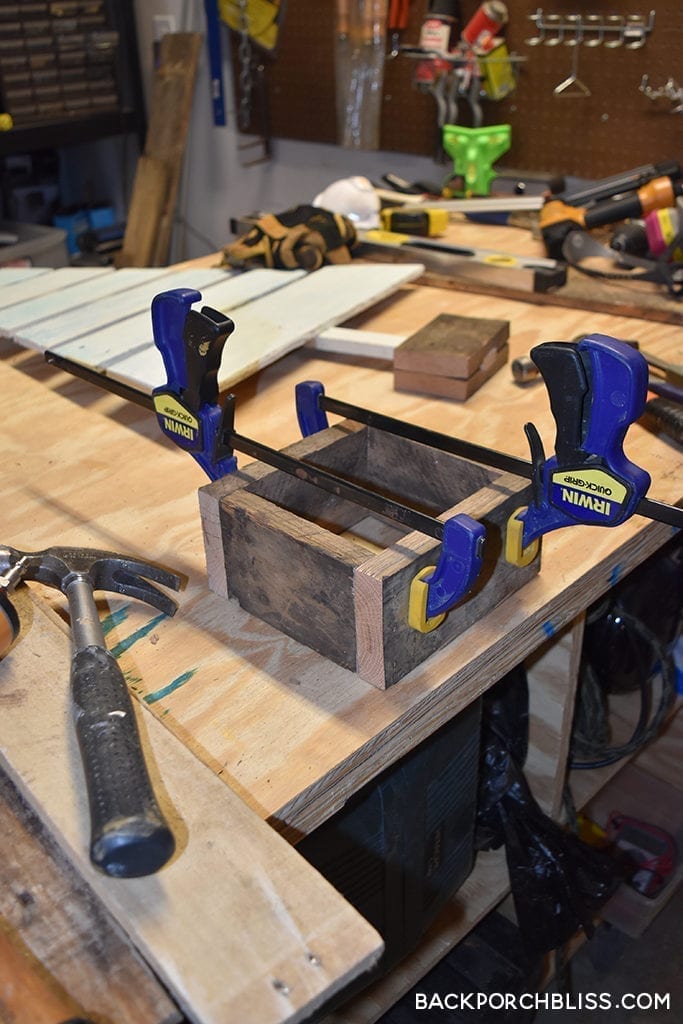
Glue the middle base pieces to the stem and nail them using 2″ nails.
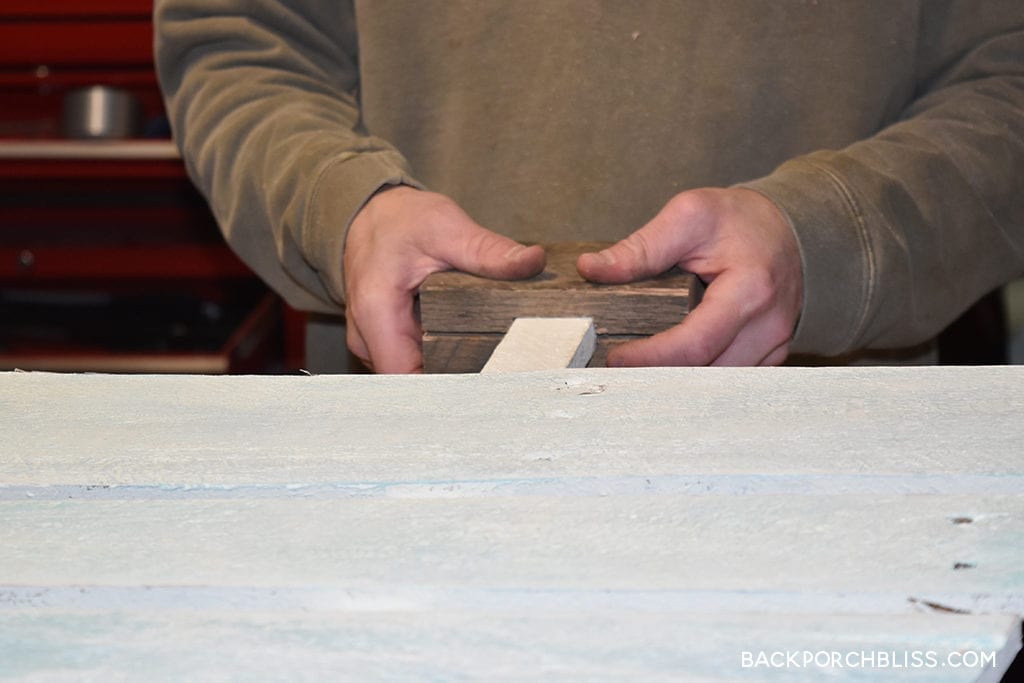
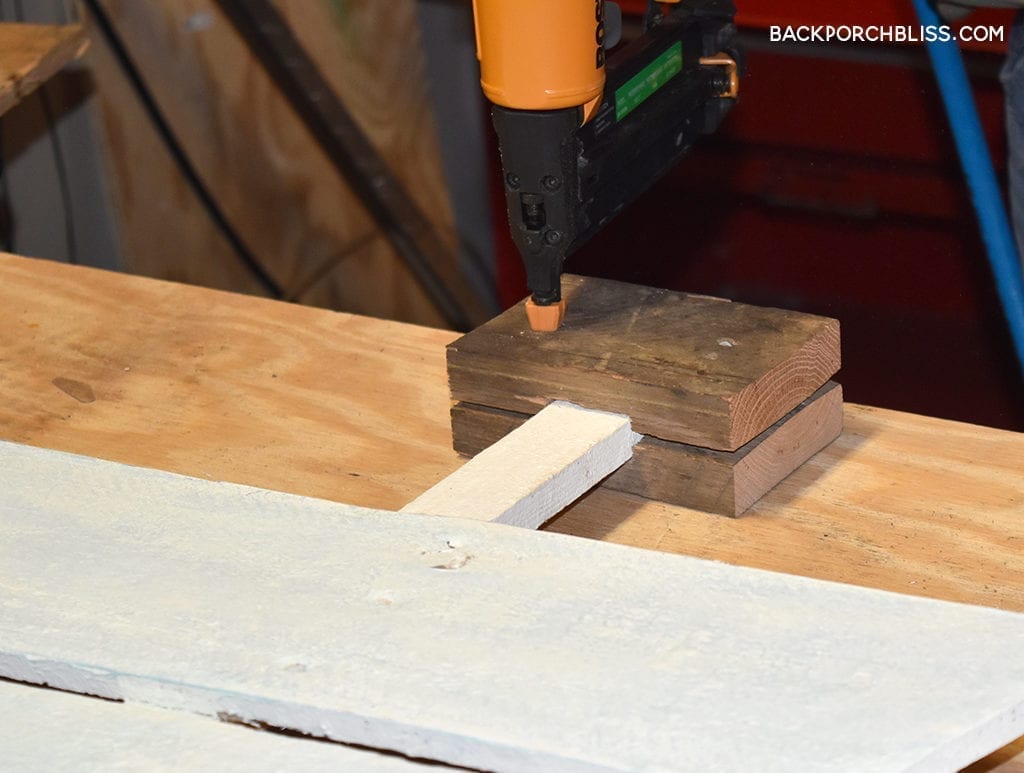
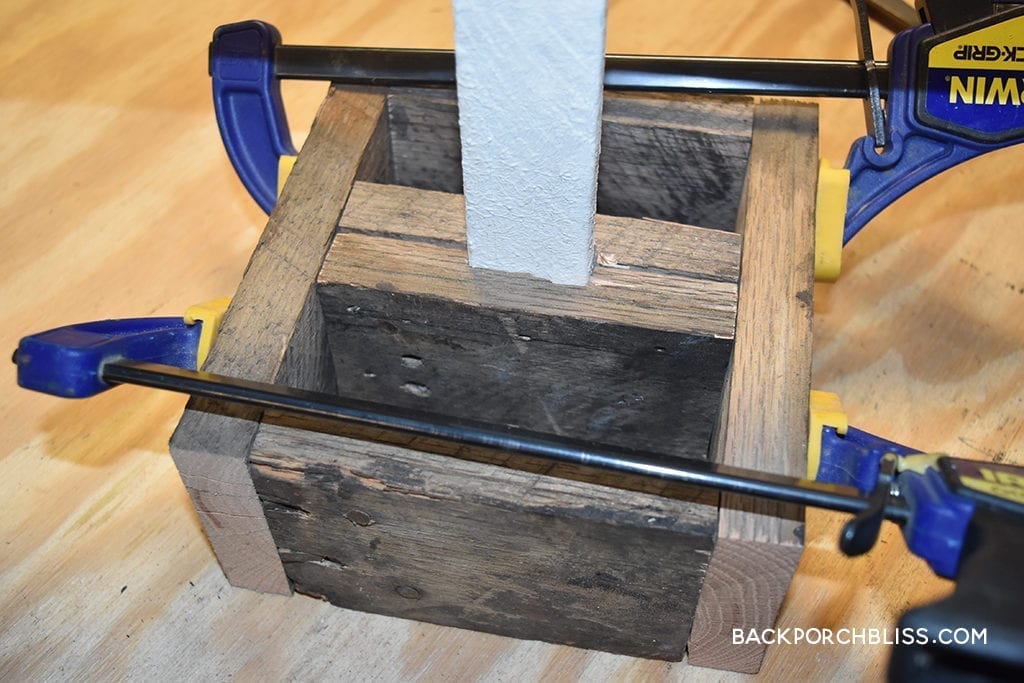
We used the clamps to hold the middle section into the box, nail into place.
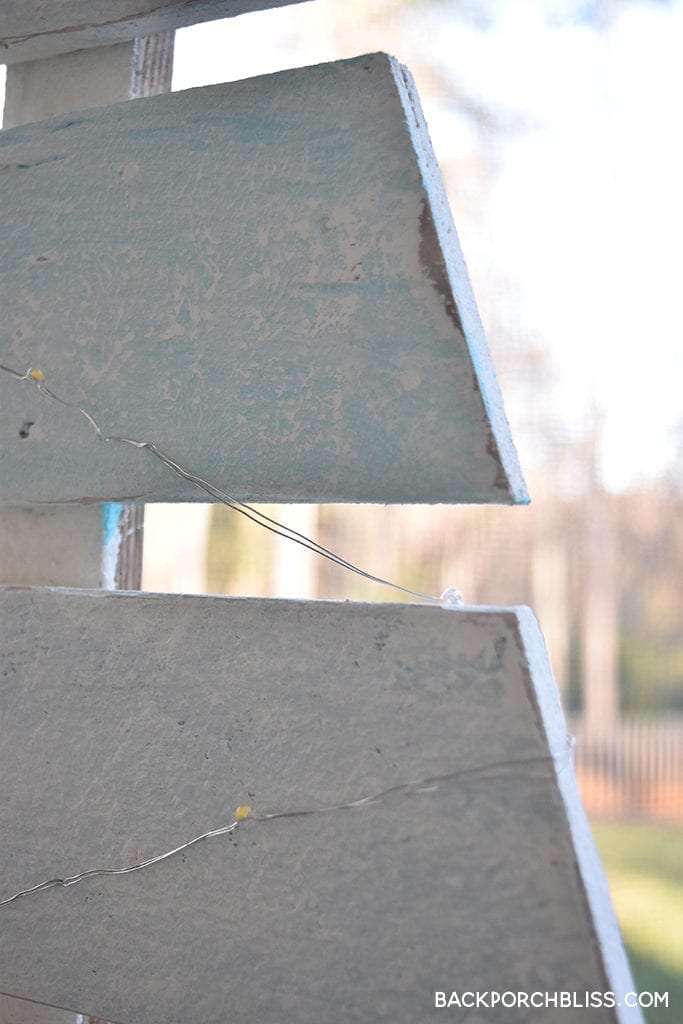
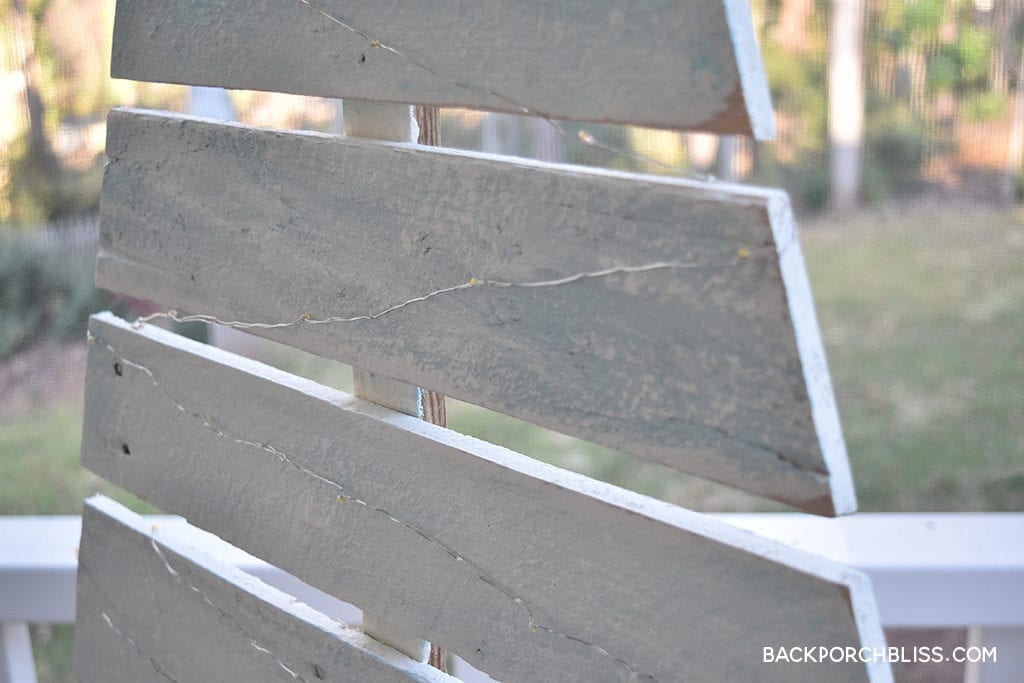
Once the tree was assembled, we used these small battery operated lights to finish our tree. These are fantastic, they have an automatic timer and the strings are wired. The wired string made it simple to twist the lights around the edges of the wood.
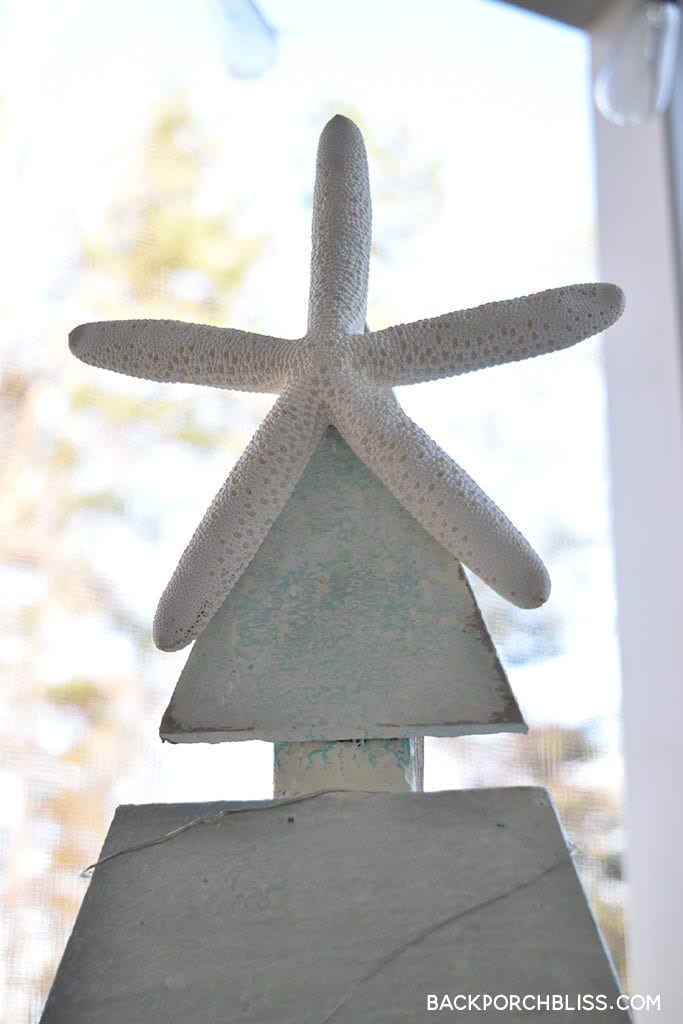
We used an adhesive piece of velcro to attach the starfish.
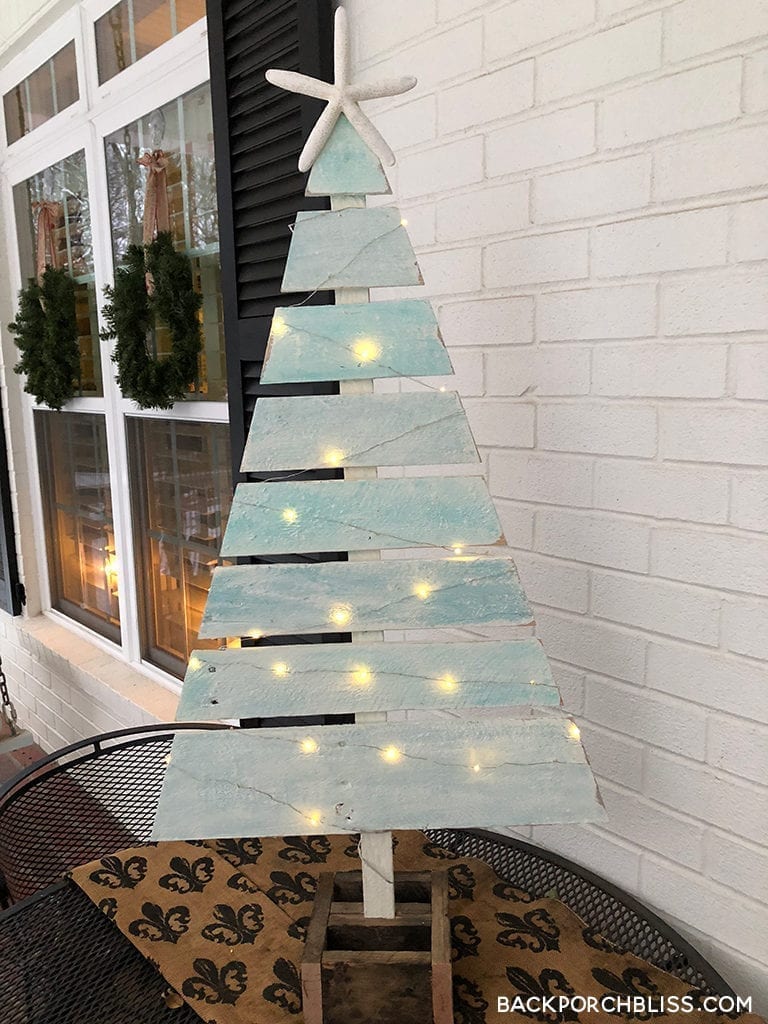
Here’s the finished product, just in time for the holidays. Where’s ours? On the back porch, of course!
SaveSave
SaveSave
